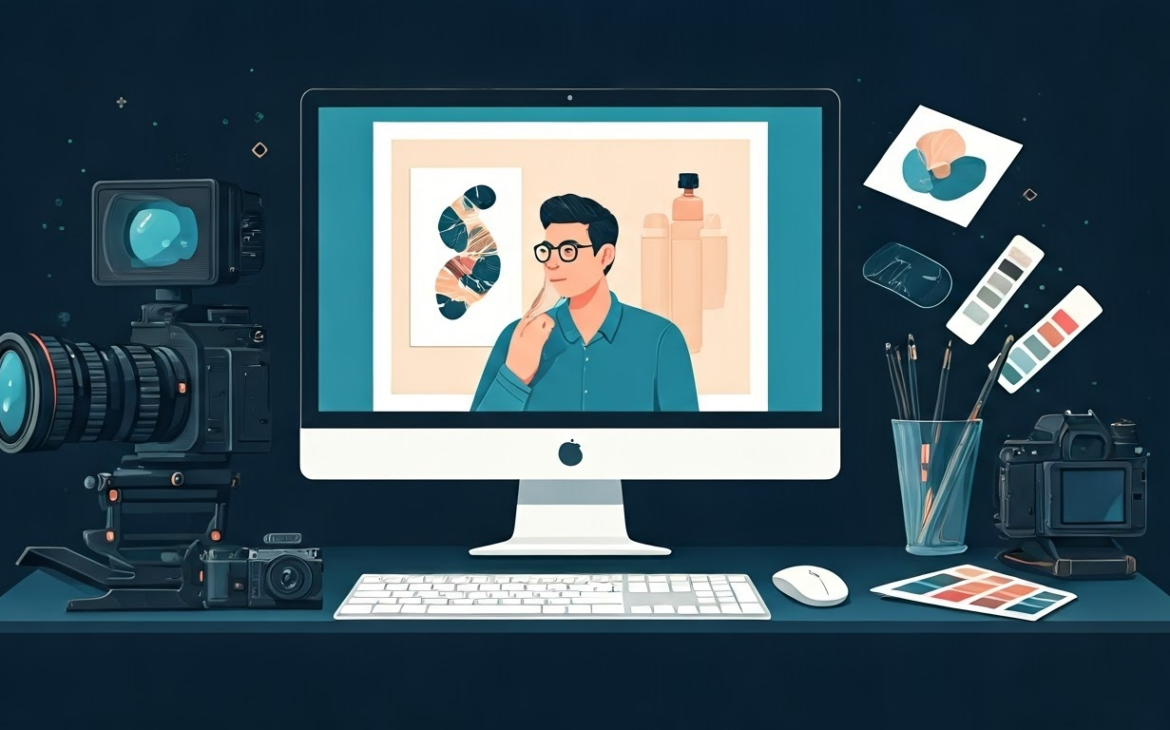
“A picture is worth a thousand words,” they say, but in the world of e-commerce, it might be worth a thousand sales. High-quality product photos aren’t just about looking good—they’re about building trust, driving decisions, and ultimately, boosting your bottom line. And when it comes to selling online, a polished, professional image can make all the difference between ‘Add to Cart’ and ‘Keep Scrolling.’
This is where product photo retouching takes center stage. It’s not just about removing blemishes or tweaking the brightness; it’s about transforming your images into powerful visual narratives that captivate your audience and elevate your brand.
Ready to take your product images from ordinary to extraordinary? Let’s know all the retouching techniques to help you stand out in the competitive online marketplace.
What is Product Photo Retouching?
Product photo retouching, a key aspect of product image editing, is all about making your product pictures look their absolute best. It’s a process where you fix things like lighting, colors, and any imperfections in the image so your product stands out. Think of it as giving your product a little makeover to make it look more attractive and professional.
So, whether you’re selling clothes, gadgets, or anything in between, product photo retouching can make your pictures pop and help you leave a great first impression.
Types of Product Photo Retouching
Different products need different editing styles to make them shine. Here are some common types of product photo retouching:
- Basic Touch-Ups
- This is all about fixing small flaws like dust, scratches, or smudges. It’s quick and keeps the photo looking clean and simple.
- Best for: Everyday items like kitchen tools or electronics.
- Advanced Editing
- This is where the magic happens—adjusting colors, fixing lighting, and making textures stand out. The goal is to give the photo a polished, high-quality look.
- Best for: Fancy items like jewelry, fashion, or high-end gadgets.
- Background Removal
- Need a clean, plain background for your product? This technique removes any clutter behind the item and replaces it with a white or custom background.
- Best for: Products on platforms like Amazon or eBay.
- Creative Editing
- Want your product to stand out with dramatic effects or artistic backgrounds? Creative editing adds flair and personality to your pictures.
- Best for: Marketing campaigns or social media posts.
4 Reasons Why Product Photo Retouching is Important
Product photo retouching plays an instrumental role in the success of e-commerce businesses, particularly on platforms like Amazon. It enhances the visual appeal of product images, leading to increased conversions and sales. And here are 4 reason why we say so!
1. Visual Appeal
Irresistible product images of glossy products and apparel play an instrumental role in luring prospective customers. Photo retouching enhances product aesthetics by improving lighting, correcting colors, ensuring perfect symmetry, and removing imperfections. This attention to detail can subtly influence potential buyers into making a purchase, subsequently boosting sales numbers.
2. Brand Recognition
Uniformly edited and retouched product images across all platforms help inculcate a unique brand identity. Customized retouching can involve color schemes, lighting styles, backdrop selections, and more, tailored according to your brand guidelines. This consistency aids in quick brand recall, contributing significantly to long-term customer loyalty and trust.
3. Bridging the Gap Between Online and Offline
Utilizing advanced techniques such as color correction, background removal, and adjusting to a pure white background can elevate your product images, aligning them with your brand identity. By ensuring the highest standards of quality and color accuracy in your product photos, you can provide a true representation of your product, build customer trust, and appeal to a wider audience seamlessly.
4. Marketplace Standards and Technical Requirements
Retouched images also conform better to various technical specifications set by different online marketplaces. These requirements might involve specific imaging standards including:
- High-resolution images for better detail visibility
- Uniform backgrounds, typically white for a neat and professional look
- Specific file formats supported by different platforms
- Proper sizing to ensure ideal thumbnail and zoom-in views
How To Do Product Photo Retouching in 8 Easy Steps?
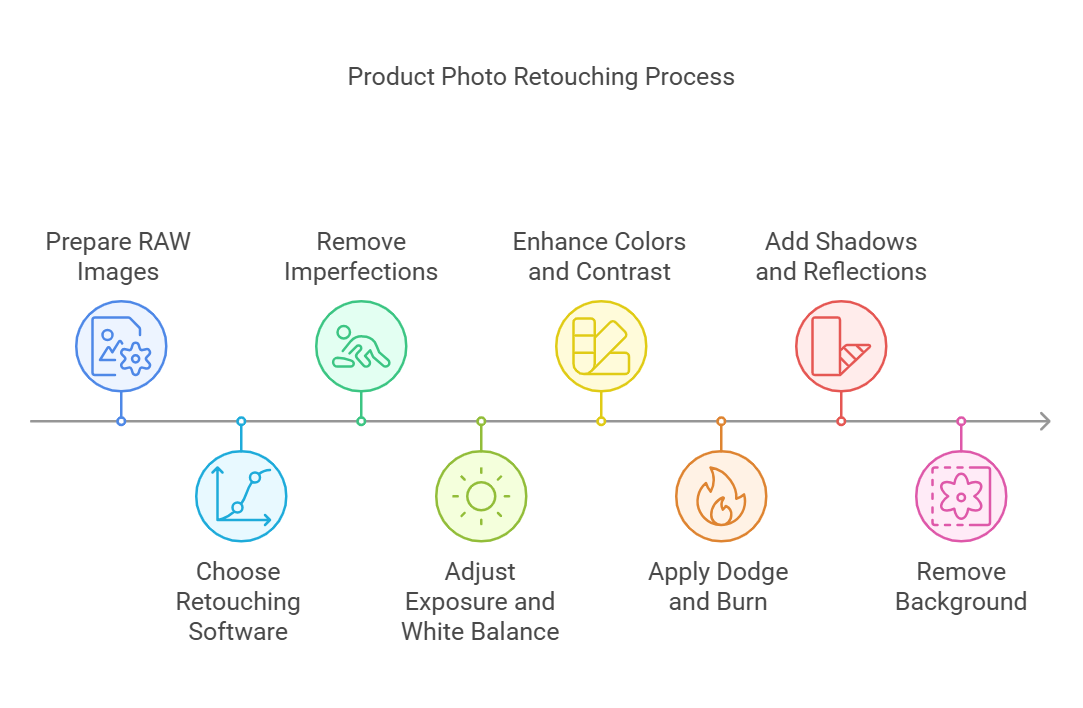
How To Do Product Photo Retouching in 8 Easy Steps?
Product photo retouching helps you enhance images to captivate potential customers. Follow these steps, and keep best practices in mind for professional and consistent results.
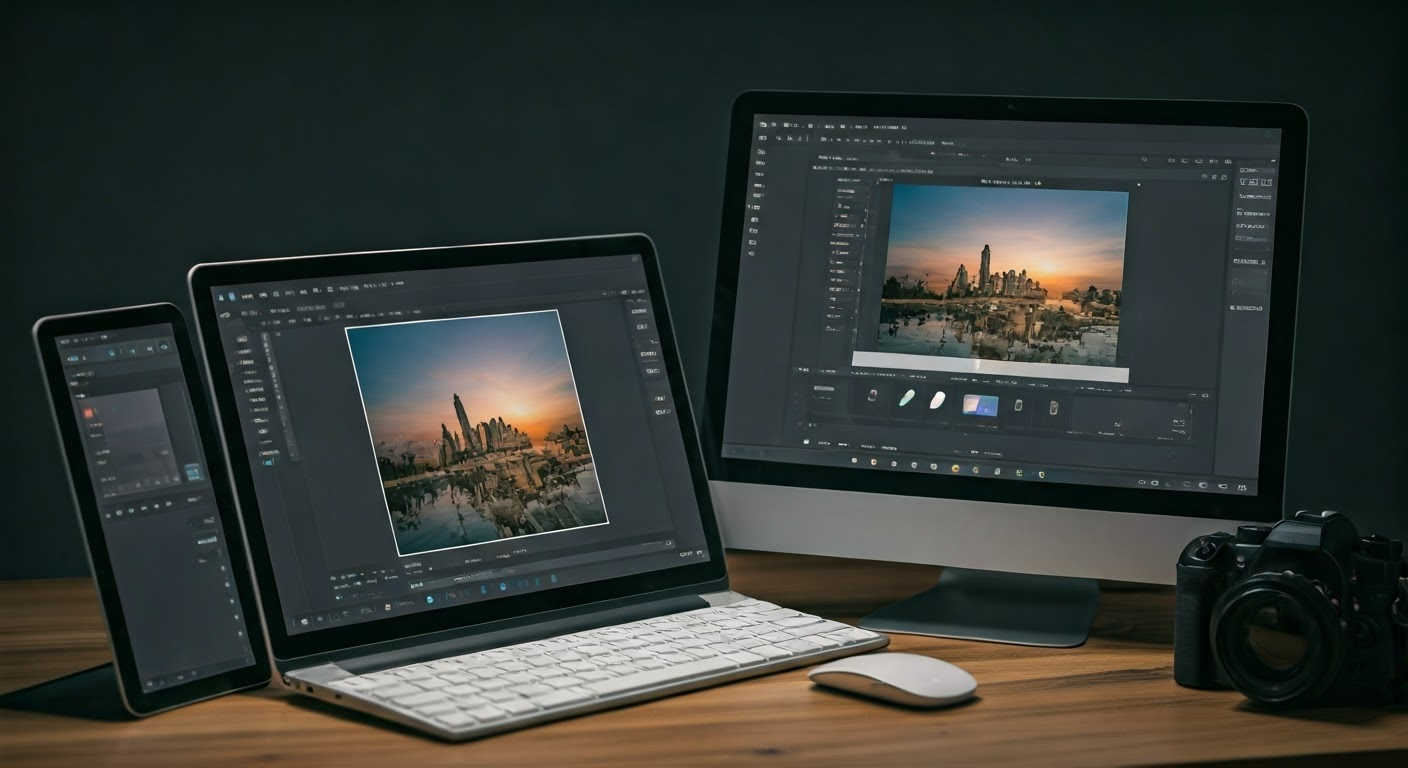
1. Prepare Your RAW Image Files
Import RAW files into editing software like Adobe Lightroom or Photoshop for better flexibility during editing.
- Adjust Exposure: Correct any underexposure or overexposure.
- Fine-Tune Contrast and White Balance: Ensure natural lighting and accurate colors.
- Pro Tip: Well-prepared RAW files create a solid foundation for retouching.
2. Pick the Right Retouching Software
Choose a tool that suits your needs and expertise:
- Adobe Photoshop: Best for detailed edits.
- Adobe Lightroom: Perfect for batch processing.
- GIMP: A free alternative with robust features.
- Tip: Lightroom is user-friendly, while Photoshop provides precision for advanced users.
3. Maintain Consistency Across Multiple Images
Uniform lighting, tones, and settings across images provide a polished, professional appearance. Use editing presets to apply the same adjustments to all product photos, ensuring consistency across your store or campaign.
Example: Matching shadows and highlights across a shoe catalog enhances visual harmony.
4. Clean Up and Remove Imperfections
Use tools like the Healing Brush or Clone Stamp to eliminate blemishes, dust, and unwanted marks.
Pro Tip: Clean details contribute to a flawless, professional image.
5. Refer to Real Products for Accuracy
Keep the physical product nearby while editing to ensure accurate colors, textures, and details.
- Example: When retouching a blue t-shirt, adjust the hues to replicate the real-life shade and vibrancy. This approach ensures the image represents the product faithfully.
6. Preserve Natural Shadows and Highlights
Natural shadows and highlights enhance the three-dimensional look of your product.
- Use the Dodge tool to brighten highlights and the Burn tool to deepen shadows, creating a balanced and realistic effect.
- Example: Retain original reflections on metallic surfaces, like stainless steel appliances, to avoid a flat or artificial look.
7. Enhance Colors and Contrast
Boost vibrancy while ensuring the colors stay true to life.
- Use the HSL panel for precise adjustments.
- Avoid oversaturation for a natural appearance.
- Pro Tip: Striking the right balance makes your product stand out while appearing realistic.
8. Use Layer Masks for Non-Destructive Editing
Layer masks allow selective adjustments without affecting the entire image.
- Example: Increase saturation on a product’s logo without over-coloring the rest of the item.
- Tip: Non-destructive editing ensures flexibility for future revisions.
Final Step- Finalizing and Saving Your Retouched Images
Upon achieving satisfactory retouching results, you need to finalize your product images to prepare them for online uploading or print media. The final steps involve verifying image resolution, exporting in appropriate formats, and reviewing the images to make necessary adjustments if required.
1. Verify Image Resolution
To ensure your product images look clear and sharp on every platform, you must verify their resolution before finalizing. High-resolution images are necessary for reproducing detail clarity, especially when zooming in. When presenting your merchandise online, a high-resolution image enables customers to inspect the fine-product details, just like real-life retail.
For printing purposes, high-resolution images ensure quality prints without any pixelation or blurriness. Therefore, always scrutinize your image resolution before saving, ensuring that it meets the standards set by your chosen online platform or print media.
2. Export in the Appropriate Formats
The exporting stage is equally essential as maintaining an appropriate format ensures compatibility and optimal loading speeds across different platforms. Different formats serve various purposes.
For instance, ‘JPEG’ is ideal for images with many color gradations, such as product photos, while ‘PNG’ is perfect for images with transparent backgrounds. ‘TIFF’, although larger in size, can be excellent for print due to its lossless compression. Depending on where you plan to use your images, save in the format that best aligns with your needs. Remember, select the right balance between file size and quality to prevent excessively long load times that may put off potential customers.
3. Review and Make Necessary Adjustments
The final check involves meticulously reviewing your product images and making any necessary adjustments. Monitor your images from various angles and lighting conditions. Zoom in to ensure all details are sharp and visible, and zoom out to get a comprehensive look. Check if the colors reflect accurately across various devices as they possess different color calibrations. Ensure your edit hasn’t altered the product’s representation drastically.
If there are over-edited areas or any detail overlooked earlier, make the required refinements to ensure that your craftsmanship is highlighted. A thorough final review makes sure that your product photos depict your products accurately and free from fingerprints, attractive, ready for impressive online listings or print catalogs.
Why Settle for Less? Let FlixStudio Transform Your Product Photography
Creating stunning product images can feel like a never-ending task—tweaking colors, perfecting shadows, and ensuring every detail looks flawless. But why struggle when you can partner with experts who make the process seamless? At FlixStudio, we specialize in transforming your product images into polished, professional visuals that grab attention and drive sales.
Here’s how FlixStudio makes a difference:
- End-to-End Solutions: Whether you need catalog images, creative visuals, or product videos, we’ve got you covered.
- Cutting-Edge Technology: Leveraging generative AI and 3D tech, we deliver results that are not only visually stunning but also cost-effective.
- Customization at Its Core: From e-commerce platforms to social media campaigns, we tailor our retouching services to fit your unique brand identity.
- Save Time and Boost Efficiency: No need to juggle multiple tools or spend hours on edits—we handle it all so you can focus on growing your business.
Professional-quality product images are no longer a luxury; they’re a necessity. And with FlixStudio, you can achieve this without breaking a sweat—or your budget. Ready to make your products the star of the show? Get in touch with us today and let’s create visuals that convert!
Conclusion
Product photo retouching is a vital component that drives conversions and builds an impressive brand image. Professionally retouched images not only enhance a product’s visual appeal but also give it a realistic and trustworthy look, backed by years of experience—encouraging customers to make a purchase decision.
This blog provides an extensive guide into product photo retouching techniques that businesses can utilize to escalate their product images’ quality, appeal, and professionalism for social media. As important as learning these techniques is employing best practices that achieve a perfect blend of enhanced yet natural-looking product photographs. With the right tools, careful adjustment, and keen attention to detail, businesses can adeptly create high-quality product images that inevitably boost online sales and magnify their brand recognition.
Frequently Asked Questions
What software is best for product retouching?
Adobe Photoshop and Lightroom are highly recommended for professional product photo retouching owing to their extensive features and usability. However, if you’re looking for a free alternative, GIMP is a capable option. For advanced color grading, consider Capture One.
How much does product photo editing cost?
The costs for product photo editing services can vary greatly based on the complexity of the task, the finer details involved, the volume of images, and the turnaround time required. It’s advisable to seek quotes from various service providers to get a competitive price for your specific requirements.
How do I avoid making my product photos look over-edited?
Avoid over-editing by making subtle adjustments to brightness, maintain natural textures, preserving shadows, and highlights, and applying non-destructive editing techniques like layer masks. Ensure consistency across images and always reference the real product for accurate color and detail representation.
What are the stages of product photography editing?
Product photography editing includes various stages such as preparing raw files, choosing the right editing software, cleaning and removing blemishes, correcting exposure and white balance, enhancing colors and contrast, using dodge and burn technique, adding shadows and reflections, removing background, and finally saving your retouched images in an appropriate format.