In today’s growing online market, taking high-quality clothing photos is more important than ever. As consumers are rapidly inclining towards online shopping, apparel photography plays a pivotal role in influencing their purchasing decisions.
However, the traditional days of exhibiting your clothing line against a plain white background have long passed. Today, elaborate displays of product photos showcasing various styles and angles cater to a broader consumer base, providing them with a more comprehensive view of each piece.
This blog offers an in-depth understanding of the various aspects of apparel product photography, from common photography styles to essential equipment, the procedure to capture compelling images and lastly, how to overcome common challenges for a successful photoshoot. Let’s get started!
What is Apparel Photography?
Apparel Photography primarily fuses fashion trends with photography techniques to showcase clothing in an appealing and flattering manner. Unlike traditional photography, this variant aims to make potential customers visualize themselves wearing the clothing item in focus.
Using both natural light and artificial lighting, apparel photography emphasizes the textures, colors, form, and style of each clothing piece. The chief purpose is to present these details as accurately as possible to customers, thereby increasing their likelihood of making a purchase.
This is considerable as, with the rise of ecommerce stores, skillful apparel photography is heavily playing a critical role in driving sales and building the brand’s online presence.
What are the different styles of apparel product photography?
There are multiple styles of apparel photography, and your selection primarily depends on what you aim to convey to your online shoppers. In the following section, let’s uncover each one of them in detail.
1. Flat lay photography
Flat-lay photography is a popular style of displaying apparel that involves laying out clothing pieces on a flat surface and then capturing images from overhead.
Key characteristics and tips to master Flat lay technique:
- Theme Selection: Opt for an intentional color palette or theme to make your flat lay more captivating.
- Layout: Ensure there is balanced spacing between the objects and include negative space to prevent the photograph from looking cluttered.
- Lighting: Try to use natural light for the most accurate representation of colors.
- Consistency: Maintain a consistent style throughout your flat lays to uphold your brand image.
2. On models and mannequins
Modeling garments on either humans or mannequins can show a customer how a product might fit and drape on the human form.
Key highlights for using models and mannequins:
- Body variety: Use various body types and heights to give customers a broader fit perspective.
- Mannequin Usage: Mannequins are more affordable and flexible than models, making them a valuable asset for clothing photography.
- Clothing Drape: Both models and mannequins indicate how clothes drape and shape the body.
- Fit Preference: Models and mannequins demonstrate the product’s fit, a crucial factor influencing online clothing purchases.
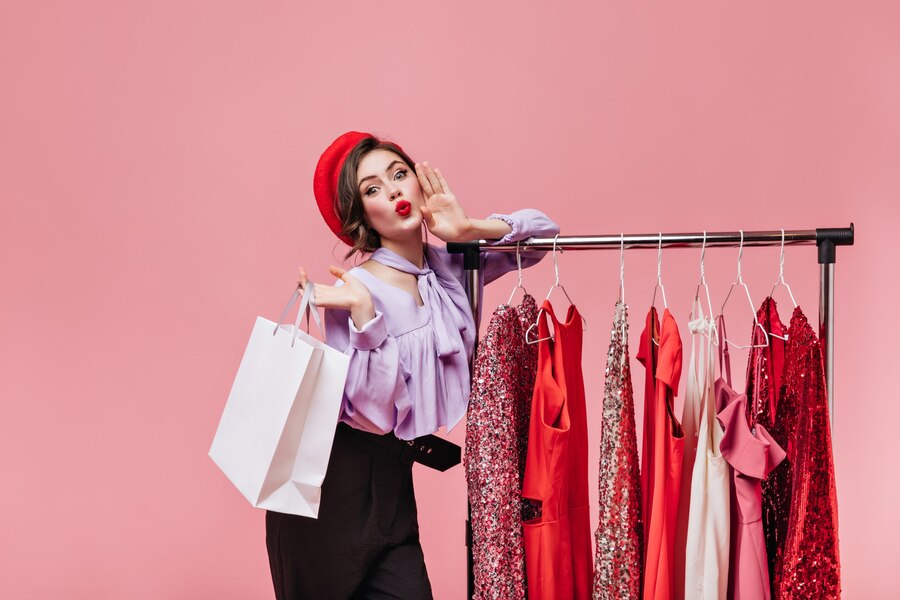
3. Editorial Style
Editorial style photography focuses on telling a story or conveying a theme through a series of images, often used in fashion magazines and advertising campaigns.
Key features of Editorial Style Photography:
- Storytelling: Each shot in editorial photography aims to narrate a unique story or concept related to the brand or clothing line.
- Environment: The shoot location plays a vital role in establishing the mood and enhancing the aesthetic appeal of the photos.
- Styled: The focus isn’t just on the clothing item but also on how it is accessorized and presented in an entire outfit.
- Models: Professional models playing characters help uphold the narrative and allow potential customers to visualize themselves in the apparel.
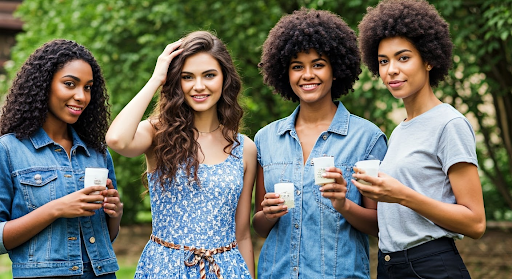
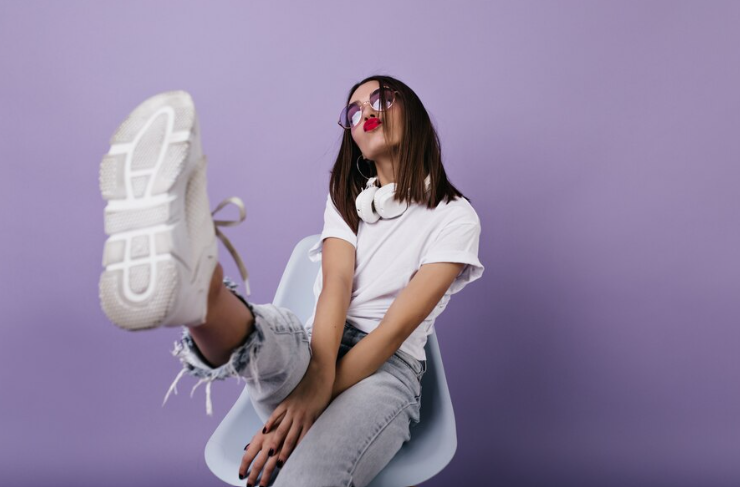
4. Lifestyle photography
Lifestyle photography is about portraying your clothing line in a real-world setting, focusing on a more authentic, candid, and casual depiction of apparel.
Key traits of Lifestyle Photography:
- Real World Setting: Lifestyle images encourage customers to visualize clothes in everyday scenarios and settings.
- Natural Light: Natural lighting adds to authenticity and makes colors appear more realistic.
- Styling cues: These photos depict potential ways customers can style your apparel in their everyday lives.
- Brand Image: Lifestyle photography bolsters your brand image and connects with customers on a personal level.
5. 360-Degree Photography
360-degree photography provides an interactive and immersive shopping experience by allowing customers to view the product from virtually all angles.
What makes 360-degree Photography effective:
- Interactive: This style provides a virtual “touch and feel” experience, offering an almost in-store shopping feel.
- Detailed view: 360-degree image quality shows all aspects of a garment, including texture, fit, and intricate patterns.
- Customer trust: Detailed viewability reduces purchase hesitation and builds consumer trust.
- Reduced Returns: It helps in minimizing product returns due to a better understanding of the product before buying.
Which equipment is required for apparel product photography?
Essential equipment, such as a high-quality camera, a suitable lighting kit, and the right backdrop, is instrumental in creating professional-caliber photos. Let’s discuss this equipment in detail.
1. Camera selection
Seize the power To capture visually stunning photographs, always opt for the right camera. Whether a high-end DSLR, a mirrorless camera with cutting-edge features, or a good-quality smartphone camera, the choice rests significantly on your intended outcome and budget constraints.
Here are three camera options you might consider:
| Camera Type | Features | Advantages |
| DSLR | Manual Mode, Aperture-Priority setting, Various focal length | High-quality Image, Budget-friendly |
| Mirrorless | High-speed, Top-grade features | Professional-level Images |
| Smartphone | Manual Mode, Easy to use | Ideal for casual product shots, Lower budget |
2. Lighting setup
The art of lighting is crucial in both product and model photography. While natural light is the most accessible and cost-effective option, it may not guarantee the level of control a photo studio light setup does.
Key things to remember about Lighting Setup:
- Key Light: The primary light source facing your product.
- Fill Light: Illuminates the opposite side of the product.
- Backlight: Positioned behind the product to highlight specific details like stitching and graphics.
- Three-Point Lighting Setup: Allows maximum flexibility to showcase various details. It can be created with a purchased kit or by setting up individual studio lights.
3. Choosing the right backdrop
The backdrop, usually white or light grey, simplifies highlighting the clothing line’s colors and textures by eradicating distracting background objects.
Key Points for choosing the right Backdrop:
- Color: White or light grey; varying based on the color of the garments.
- Contrast: Important for lighter colors that might not stand out on a pure white background.
- Simplicity: A simple backdrop ensures that the clothing remains the primary focus of the photograph.
- Setup: Can be created with readily available materials like sheets, large rolls of paper or premade ones.
What is the step-by-step process of capturing stunning apparel product shots?
Following a systematic preparation plan, space setup, lighting alignment, skillful styling and posing, shooting, and post-production editing enhances the possibility of acquiring startling apparel photographs. The following section will walk through the step-by-step process of capturing apparel product photos.
1. Prepare your clothing items
Preparing your clothing for the shoot is similar to grooming a superstar gearing up for the red carpet. You may require a lot of preparation with the dresses to get a high-quality photo that instantly catches a potential customer’s eye.
Key tips for Preparing Clothing Items:
- Detail Check: Examine garments closely for imperfections, including wrinkles, lint, pilling, and loose stitches.
- Steamer or Iron: Use these to smooth out wrinkles and present a clean, crisp clothing item.
- Lint Roller: Essential tool to give garments a once-over, removing stray lint or dust.
- Post Prep Care: Keep the pieces on a rack away from the workspace till you’re ready to shoot, maintaining their prepared state.
2. Setup your photography space
Choosing when and where your photoshoot will take place is strategic for optimal results. For instance, Lifestyle shots can be captured anywhere with good natural light, but the time of day and the sun’s position relative to your shooting location are crucial factors.
Essential things while setting up Photography Space:
- Lighting: Natural light during specific hours can offer different tones to your photos.
- Location: Selecting appropriate venues that complement your clothes’ color palette.
- Space Management: Adequate space is needed to position your backdrop, camera, lighting, and clothing effectively.
- Environment: Ensure the environment enhances the look and mood of the shoot.
3. Arrange the desired lighting
Suitable lighting is essential for creating the right ambiance for your apparel photoshoot. For example, artificial lighting in a studio setting allows full control over shadows and intensity.
Other vital aspects of arranging the desired lighting:
- Key Light: This is the primary light source and should be facing the product.
- Fill Light: Illuminate the product’s opposite side to reduce the shadows’ intensity.
- Backlight: Position behind the product to emphasize specific details on the clothing.
- Shadow Management: A good balance in lighting can prevent unwanted shadows that might distort the product image.
4. Style and pose the apparel
Visualizing and strategically styling your apparel is essential to attract your target consumer base. Presenting different apparel combinations and accessories can give potential customers styling ideas, aiding their purchasing decisions.
Essential points for Styling and Posing the Apparel:
- Styling Combinations: Pairing different clothing items and accessories can inspire potential customers.
- Posing: Innovative posing of clothing items can enhance visual interest.
- Props: Use props that complement the apparel’s theme/style.
- Variety: Offer a wide range of styled and posed options to keep shoppers engaged.
5. Shoot your photos
Once everything is set, you can finally begin the long-awaited photo shoot.
Crucial pointers for the Shooting Process:
- Camera Stability: Use a tripod to stabilize your camera and prevent blurry images.
- Focus: Choose manual or auto-focus based on your comfort and requirements.
- Variety: Take multiple photos of each item from different angles to provide the fullest presentation.
- Close-ups: Zoom in on pertinent details or textures that might interest potential customers.
6. Post-production and editing
Once the shots are captured, the next step is post-production and editing. However, note that the post production process phase will primarily take your time and effort.
Key roles of Post-production and Editing:
- Background Removal: Eliminate unwanted distractions in the image.
- Color Correction: Ensure accurate portrayal of colors.
- Filters: Apply stylistic enhancements while image editing.
- Lighting adjustment: Adjust exposure for even lighting.
- Image Framing & Resizing: Crop and resize images for better framing and social media compatibility.
What are some common product clothing photography challenges and their solutions?
Encountering challenges while photographing fashion products is quite common, but an adept photographer can navigate such hurdles proficiently. Let’s learn about these challenges and their available solutions in detail.
1. Managing wrinkles and creases
One of the most common challenges in photographing clothing is managing wrinkles and creases. They make the clothes look unappealing, which results in a poor impression on potential customers.
However, you can deal with wrinkles and creases by following the below tips:
- Steamer or Iron: These tools can effectively smooth out wrinkles.
- Cloth Inspection: Inspect the clothes thoroughly to spot potential wrinkles and creases.
- Proper Storage: Hang clothes properly after ironing to maintain wrinkle-free clothing until shooting.
- Post-production: Minor creases can be fixed during this phase using photo editing tools.
2. Eliminating dust and lint
Dust, lint, or any foreign material on the clothing can affect the aesthetics of your apparel photographs. Before the shoot, it is an excellent practice to scrutinize each garment closely for such imperfections.
Essential Practices in Eliminating Dust and Lint:
- Prep-Time Examination: Check each garment closely before the shoot to spot and remove any existing dust or lint.
- Lint Roller: A lint roller can easily remove stray lint or dust particles.
- Clean Environment: Keep the shooting space clean to ensure minimal dust accumulation on clothes.
- Post-production: Minor dust particles can also be removed during editing.
3. Avoiding camera shake and blurring
Camera shake often results in unfocused and blurry photos, which can drastically lower their quality. But there are a few great ways to ensure a smooth dress product photography.
Crucial Steps to Minimize Camera Shake and Blur:
- Tripod Usage: Fix the camera on a tripod for stable, shake-free photos.
- Shutter Speed: Choose a faster shutter speed to prevent motion blur.
- Image Stabilization: Utilize your camera’s image stabilization feature (if present) effectively.
- Minimal Touch: Use a remote or timer to capture photos, avoiding unnecessary contact with the camera.
Maximize Your Apparel’s Full Potential with FlixStudio
At FlixStudio, we know that every piece of apparel tells a story, and we’re here to ensure your products shine. Our skilled team specializes in presenting high quality, visually stunning product images that highlight the details of your clothing and draw your audience in. So, without further delay, connect with us at info@flixstudio.io, and let’s bring your vision to life with breathtaking imagery that turns heads and drives sales!
Conclusion
Creating standout apparel photos doesn’t have to be overwhelming. With a thoughtful approach and a few creative touches, you can transform simple shots into compelling visuals that resonate with your audience. Additionally, by mastering fundamental techniques like lighting, styling, and post-editing, you’ll showcase your products and strengthen your brand’s appeal.
Remember, a well-executed photoshoot is more than just an image—it’s a powerful tool to engage customers and boost sales. So, let your photography perfectly reflect your brand’s style and vision!
Frequently Asked Questions
Do I need clothing product photography?
Absolutely! Clothing product photography is a quintessential aspect of your online store. High-quality, detailed photographs enhance your products’ visual appeal and instill trust in potential customers, thereby driving sales.
How do you photograph clothing for online stores?
You can photograph clothing for online stores using different styles, such as flat lay, on-model, lifestyle, and 360-degree photography. A white or light grey backdrop, suitable lighting, and a high-quality camera help you capture professional-caliber product images.
What is the ideal camera setting for apparel product photography?
The ideal camera setting for apparel product photography would be manual or aperture-priority mode on a DSLR or mirrorless camera. These settings allow you to skillfully manage the focus, shutter speed, and aperture for the desired photo exposure.
How much does professional apparel photography cost?
Professional apparel photography costs vary based on factors like the photographer’s expertise, location, and project complexity. Prices could range from $200 to $500 per hour. However, investing in basic equipment and learning the art could be a more cost-effective option for small retailers.
How can professional apparel photography impact your sales?
Professional apparel photography can significantly drive your sales. High-quality, detailed photos of your products provide customers with comprehensive visual information, increasing their confidence in purchasing. They also add aesthetic value, enhancing your brand’s image and creating a lasting impression on customers.