In the competitive world of Etsy, where buyers can’t physically touch or inspect products, product photography becomes your most powerful sales tool. A visually appealing, high-quality image can make or break a customer’s decision to purchase. In fact, an Etsy customer survey revealed that Etsy product photos outweigh even customer reviews or shipping costs as the top factor influencing buyers.
Many Etsy sellers struggle to create professional-looking listing photos without expensive equipment or professional photographers. That’s why we’ve crafted this comprehensive Etsy product photography guide for sellers—to help you capture stunning images, boost sales, and make your shop stand out. Let’s get started!
What to Master Etsy Product Photography? Follow these Tips!
If you’re a seller on Etsy’s global marketplace, you know product photography is vital for standing out. Clear photos with professional appeal attract buyers and boost your shop’s average rating. The good news? You don’t need a studio for professional photos of your products.
Whether for specific listings or marketing on social media, strong visuals are the best way to showcase the best image of your product and increase sales! In this section, we will share practical tips for taking polished, scroll-stopping photos for your Etsy listing. Read on to discover how to master Etsy product photography!
Read our blog on Type of Fashion Photography: A View on 9 Different Types
1. Prepare for the Perfect Photoshoot
Planning is a critical function in achieving the perfect product photo. A well-planned photo shoot reduces the chances of oversight and confusion. From choosing the right equipment to scheduling your shoot according to light conditions and creating a shot list, every aspect needs careful attention and thoughtfulness.
Choose the Right Equipment
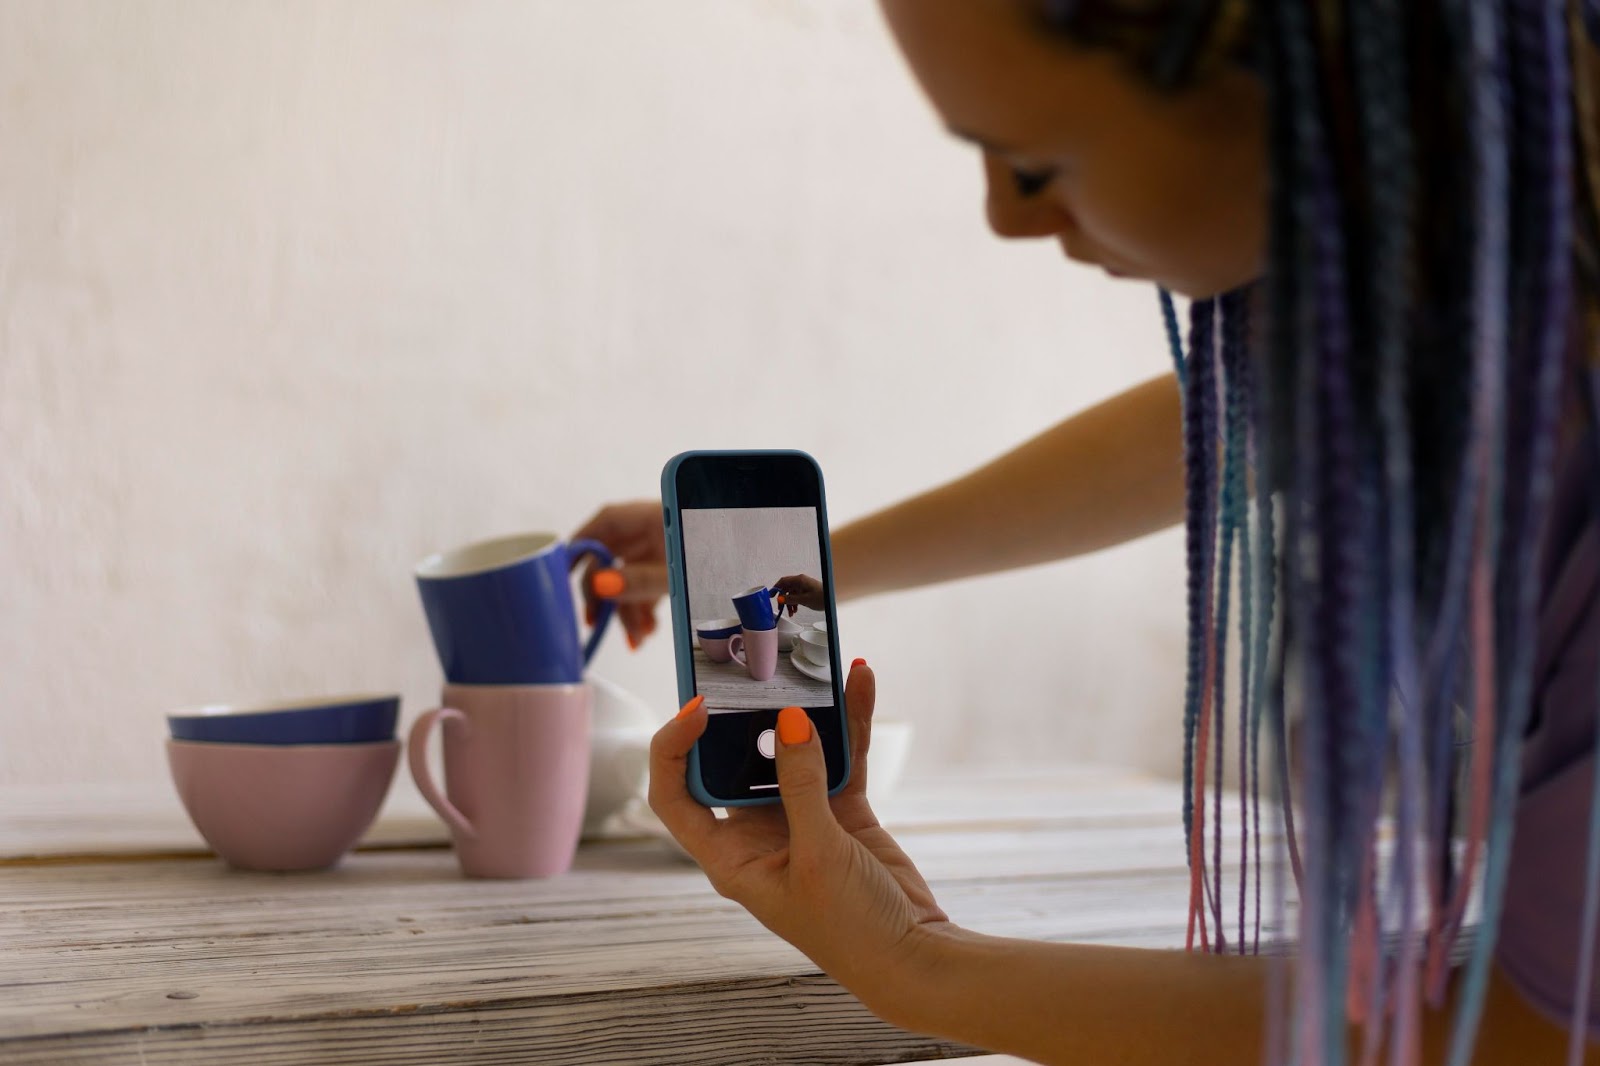
The right equipment can significantly enhance the quality of your product photos. While professional-grade DSLRs and mirrorless cameras are excellent choices, today’s smartphones are also capable of capturing high-quality images. Here are some tools you may need:
- Camera: This is the most basic requirement. You can use DSLRs, mirrorless cameras, or even your smartphone camera.
- Tripod: It is essential to keep your camera steady while taking photos. A tripod is a reliable tool for this purpose.
- Lenses: Various lenses can be used depending on your needs and subject size. For instance, a macro lens captures small items or fine details.
- Lights: Decide between natural light, studio lights, or a combination of both. You can even consider DIY light boxes.
Schedule Your Shoot
Deciding when to schedule your shoot is as important as deciding where. Good lighting conditions are critical for product photography, and the time of day you choose for your shoot discernibly affects this.
Overcast or cloudy days are ideal when natural light is used, as they offer diffused lighting, eliminating harsh shadows. If you’re shooting indoors, plan when ample natural light is pouring in without directly hitting the product. This helps avoid overexposure or washed-out images.
Develop a Shot List
Creating a shot list can be incredibly useful to streamline your shoot. This list should detail the different aspects of your product that you want to highlight and how to capture them best. It aids in planning your shots and determining the specific equipment needed for each shot.
Also, look at batching your photos, i.e., capturing multiple items at the same time. This saves time and ensures consistency across images. Always note the day, time, and lighting conditions each time you shoot to replicate the same ambiance in your future shoots.
Read our blog on Unlocking 9 Latest Fashion Photography Trends in 2024
2. Lighting Techniques for Etsy Product Photography

Excellent lighting is a vital part of product photography, determining the clarity and appeal of the image. Whether it’s natural light or artificial lighting, how you use these light sources to your advantage can significantly affect the final outcome. Avoid hard shadows, overexposure, or underexposure by setting up the right lighting conditions. Here’s how each lighting technique helps.
Natural Light
Natural light, when used correctly, can lead to brilliant photos. Ideally, the light should be strong yet diffused to avoid harsh shadows that might detract from the product’s details. Shooting under a cloud-covered sky or near a window that’s not directly receiving sunlight is a viable option when using natural light.
Remember that the key is to mimic a natural radiance. Using ‘bounce cards’ made from white poster boards or aluminum foil-covered cardboard can help redirect and diffuse light onto your product.
Artificial Light
Artificial light can be helpful, especially when natural light is insufficient or inconsistent. Softbox lights are a great choice as they dissipate light evenly, reducing harsh shadows. For small items, a light box can work wonders.
An important rule while using artificial light is to avoid mixing it with natural light, as they have different color tones and can create inconsistency in the image. Flash, though not preferred, can be used if dispersed appropriately to avoid washing out the images.
DIY a Light Box
Do light conditions seem hard to control? A DIY lightbox could be your solution! Here’s an easy way to make one:
- Find a Cardboard Box: Make sure the size suits your product. Bigger products will need a larger box.
- Cover the Sides with White Paper or Fabric: This will act as a diffuser, creating soft light inside the box.
- Install Your Light Sources: You can use desk lamps or inexpensive tabletop studio lights. Ensure the light is directed towards the diffusers.
- Place a Seamless Backdrop Inside: A smooth, white cardboard piece can do the trick here.
This homemade lightbox can give you well-lit, professional-looking product photos.
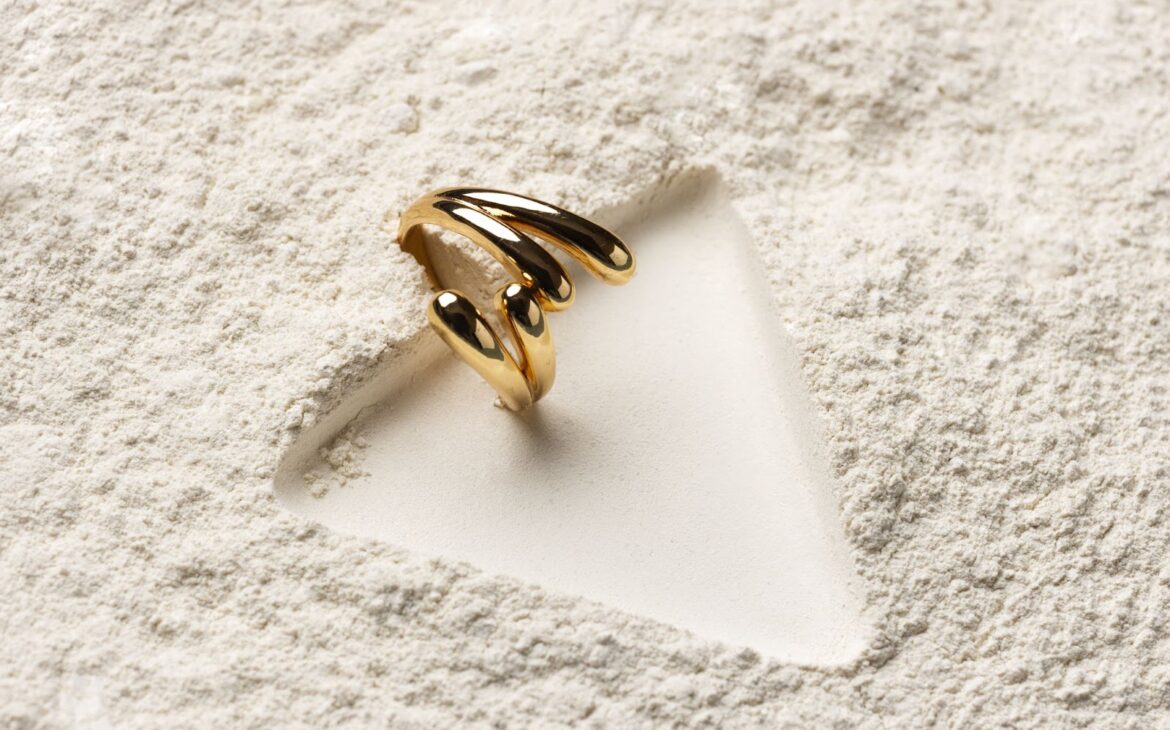
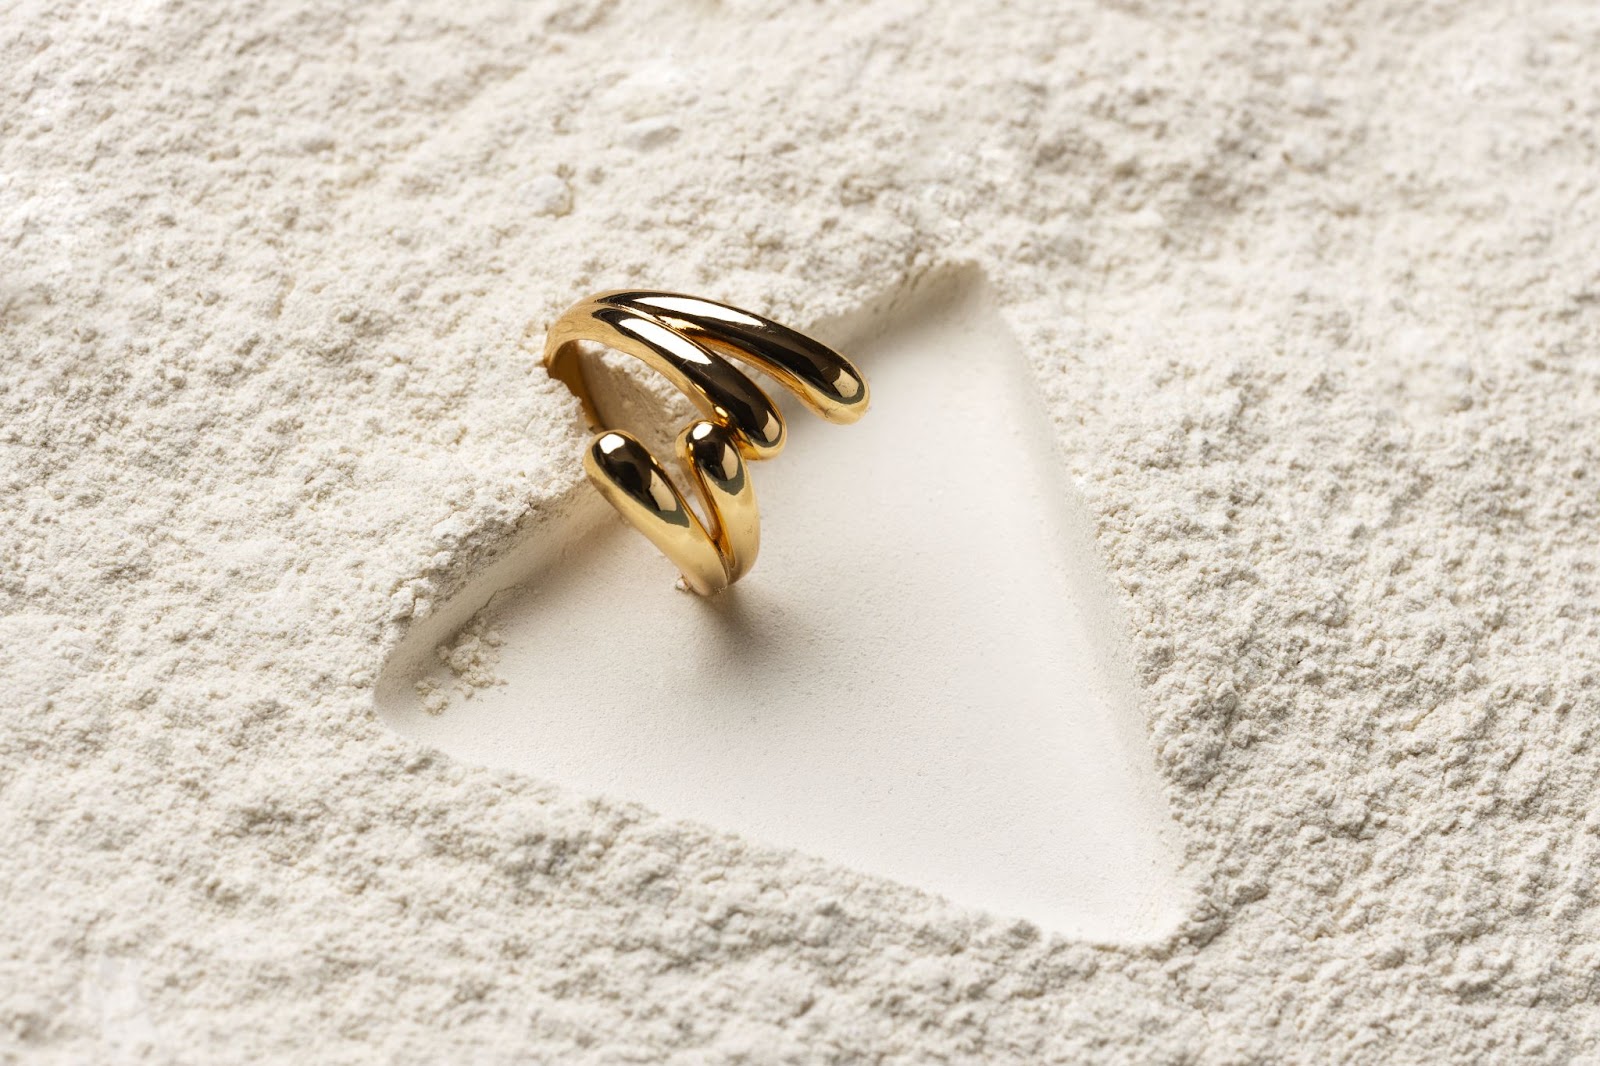
3. Choose your Background Carefully
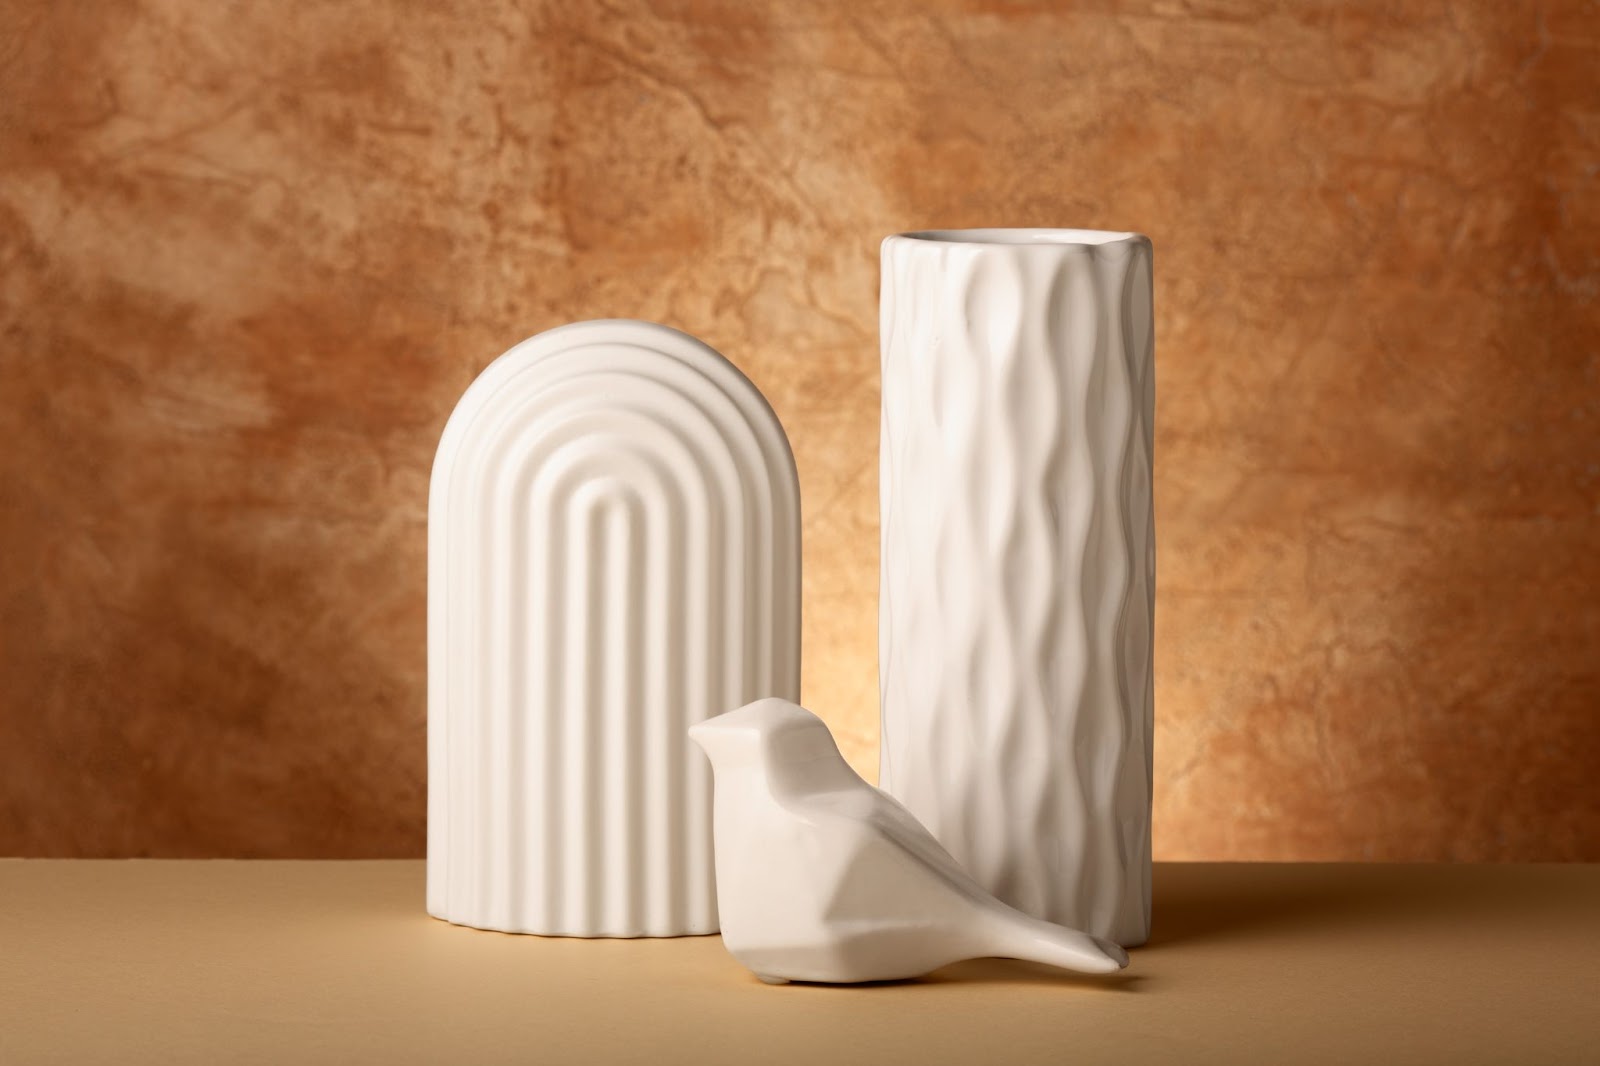
Your choice of background plays a critical role in how your product captures attention in an image. A white background is often ideal, as it provides a clean, professional look and ensures the focus remains solely on the product.
For more brand-specific aesthetics, consider neutral-colored backgrounds like beige or gray, which add subtle elegance. In some cases, textured backgrounds such as wood, marble, or cloth can enhance the image, creating a unique style that aligns with your brand identity while complementing the product.
4. Tips to Get Sharp Shots
Sharp shots let your customers examine the details of your products. Achieving clarity involves cleaning your camera lens, using autofocus, stabilizing your camera with a tripod or a stable surface, and adjusting your shutter speed. Here’s how:
Clean the Lenses
Having clean lenses is basic yet cardinal. It ensures flawless shots by eliminating haziness due to dust or fingerprints on the lens. Whether you’re using a high-end DSLR, a mirrorless camera, or your smartphone, regularly cleaning the lens is a healthy habit.
You could simply wipe them clean for clear, sharp photos. Remember to avoid using your phone’s digital zoom, which may result in lower-quality images.
Use Auto Focus
Investing all your attention in framing and lighting the shot might make you overlook focusing. Auto focus is a feature that modern cameras employ well. It zeroes in on the objects more precisely than manual adjustment. Ensure your auto focus function is on, as this can significantly enhance the sharpness of your photos.
Use a Tripod and Remote Trigger
Even the most stable of hands can’t match the steadiness of a tripod. If blurry images have been an issue, investing in a tripod can be a game-changer. Here’s how you can take advantage of it:
- Stable Shots: Mounting your camera on a tripod eliminates chances of movement and helps get crisp shots.
- Exposure: A tripod is indispensable to avoid shaky images for long-exposure shots or in dim light conditions.
- Fine Adjustment: Tripods allow you to fine-tune your framing.
- Remote Triggering: Paired with a remote trigger, a tripod lets you capture shots without touching the camera, further reducing shake.
Also read Elevate Your Shoot: 15 Shoe Photography with Model Ideas
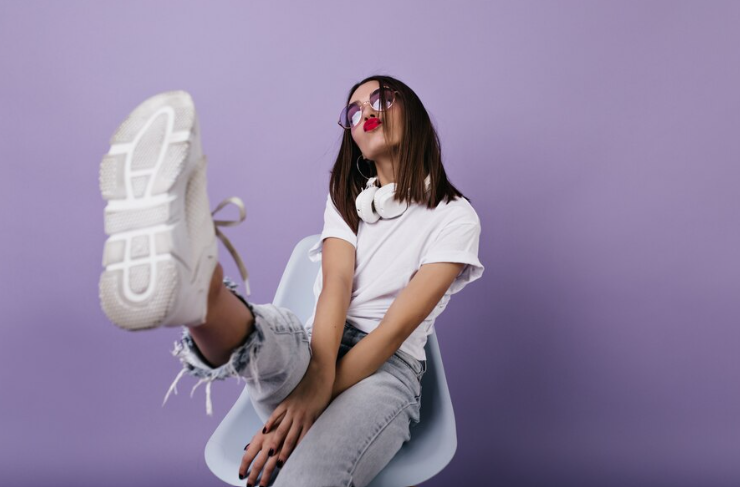
5. Take Product Photos from Different Angles
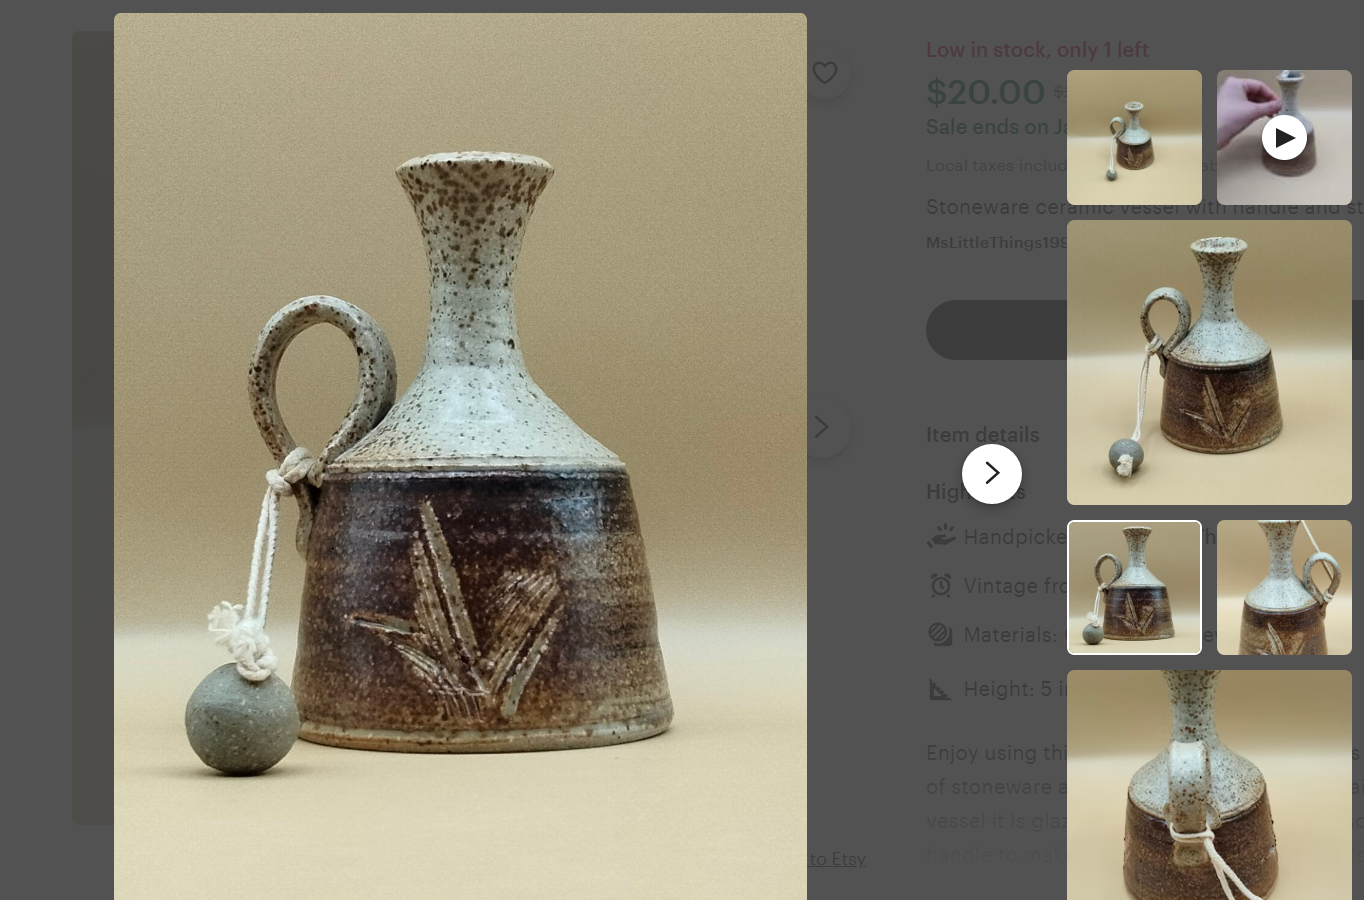
A single photo often fails to capture the essence of your product. By showcasing your product from multiple angles, you provide potential buyers with a comprehensive view, building trust and increasing purchase likelihood. Etsy allows up to ten photos per product page—use this to your advantage with these popular shot types:
- Full Product Photos: Showcase the product from various sides (front, back, side).
- Scale Shots: Display size comparisons using universal objects like coins or rulers.
- Close-Up Shots: Highlight stitching, texture, or intricate details.
- Action Shots: Feature your product being used or worn to add context.
Keep backgrounds distraction-free to maintain focus on your product!
6. Composition Tricks for Great Product Photos
In photography, composing your shot with mindful techniques can elevate your photographs from good to great. Implementing principles like the rule of thirds, leading lines and symmetry not only makes your photos look professional but also adds interest and depth to them. Here’s how to use the.
Rule of thirds: The rule of thirds is a simple yet powerful composition technique. Visualize your frame divided into nine equal squares. Align your product along the intersection points of these imaginary lines to attractively position it in the frame. Many cameras even have gridlines that you can use to enable easy composition.
Leading lines: Leading lines are a technique that can guide your viewers’ eyes toward your product. Integrating lines in your composition can subtly steer attention to the focal point – your product. Combining this with other composition rules can create visually striking images.
Symmetry: Using symmetry in your product photos introduces harmony and balance. It can be as simple as dividing the frame into two equal halves and placing your product in the center. Subtle variations in lighting or color can further accentuate the symmetry and make your photo stand out.
Also read Hidden Gems: 10 Fashion Photography Tips You Need to Know
7. Edit your Etsy Product Images
While capturing great photos is the first step, editing them brings out their best potential. Through adjustments like correcting white balance, cropping and resizing images, and color correction, you can enhance the quality and appeal of your product photos.
Adjust the White Balance
White balance ensures the colors in your photos appear natural and true to life by correcting color tones affected by lighting. When whites in your photos look truly white instead of tinted, other colors are also more accurately represented, improving the overall appearance.
Properly adjusted white balance prevents unnatural coloration, enhances realism, and makes your product photos more visually appealing and professional, leaving a better impression on potential buyers.
Crop and Resize the Images
Cropping and resizing images are essential for refining your composition and ensuring your product stands out. By removing unwanted elements or adjusting the frame, you can focus attention on key details, creating a more engaging visual.
Tools like Adobe Express offer user-friendly features for these adjustments, allowing you to perfect your images and present a polished, professional look that captures potential buyers’ interest.
Color Correction
Color correction is crucial for ensuring that your product images reflect their true colors accurately. By adjusting contrast, exposure, and saturation, you can enhance the realism of your photos.
However, it’s important to maintain a balance—over-editing can lead to unnatural, exaggerated colors. Keeping edits minimal helps preserve the authenticity of your images, making them visually appealing while maintaining trust with potential buyers.
Read: 25 Fashion Photography Poses to Try
Capture Attention on Etsy with Flix Studio’s Professional Photography
While DIY product photography has advantages, professional product photography services like Flix Studio offer a step above. With experts handling your product photography, you can expect top-notch, attention-grabbing photos that can significantly amplify your presence and sales on Etsy.
At FlixStudio, we pride ourselves on delivering world-class, high-end studio lighting to capture true colors with unmatched precision. Our use of a grey card eliminates color casts, ensuring your product images maintain a remarkable 99% true color representation. With a pure daylight environment and a rigorous 60-point quality check, we guarantee flawless images that perfectly match physical samples.
Trust us to provide unparalleled image quality and ensure your visuals are flawless every time. Our easy-to-use portal allows you to review and download your high-quality images effortlessly, putting you in control of your project’s success. Choose FlixStudio for uncompromising excellence in image perfection.
Conclusion
Product photography is essential for selling effectively on Etsy or any eCommerce platform. High-quality images build confidence in potential buyers, encouraging them to make purchases from your shop.
You don’t need an expansive setup or professional manpower to get stunning images. Even with your smartphone camera, appropriate lighting, strategic composition, and productive post-production editing, you can create appealing and persuasive product images.
Remember, consistently good photos build customer trust and brand image, consequently boosting your sales over time.
Frequently Asked Questions
Why is product photography important for my Etsy shop?
Product photography is critical for Etsy sellers as great images substantially influence potential buyers’ purchase decisions. Quality photographs not only present your product in the best possible light but also add credibility to your shop, ensuring proper account authentication and security measures for buyers.
What photo format is best for Etsy?
According to Etsy recommendations, JPEG, GIF, and PNG formats are acceptable for uploads. An aspect ratio of 4:3 and a 72PPI resolution is suggested for optimal image display.
Can I use my phone to take product photos for Etsy?
Yes, you certainly can! Modern smartphones have advanced cameras capable of capturing high-quality images, enough for effective product photography.
Can I add text or branding to my Etsy photos?
Yes. You can include branding elements or additional details in the text format in your images. Remember not to overdo it, as the main focus should always be on the product.
How do I ensure my photos look good on mobile?
Etsy recommends resizing your photos at least 2000 pixels for the short side. Checking your images on several screens and devices before uploading is another good practice to ensure mobile compatibility.