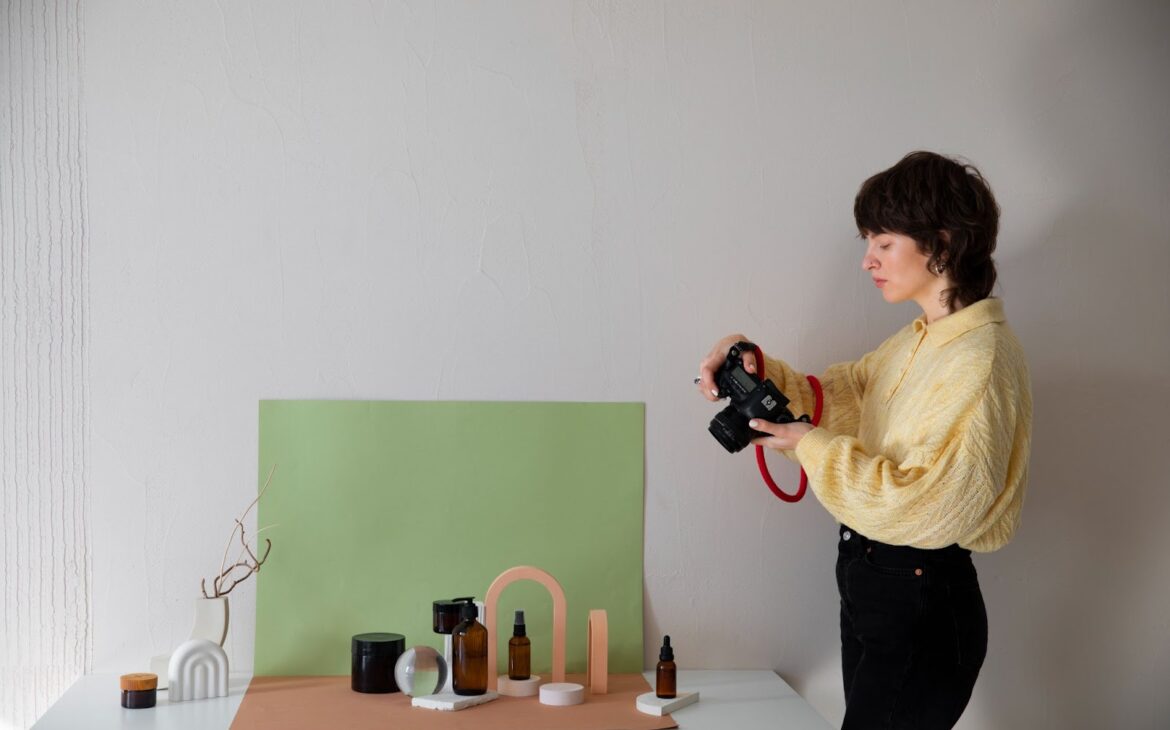
Stepping into lifestyle product photography can be daunting for beginners. This type of photography goes beyond sterile white backgrounds, placing products in real-world settings to create a narrative and engage audiences.
Lifestyle photography captures interactions with products, evoking emotions and aspirations tied to the associated lifestyle. It adds charm to your product imagery and resonates with your target audience. Explore this beginner’s guide to kickstart your journey in product lifestyle photography.
What is Lifestyle Product Photography?

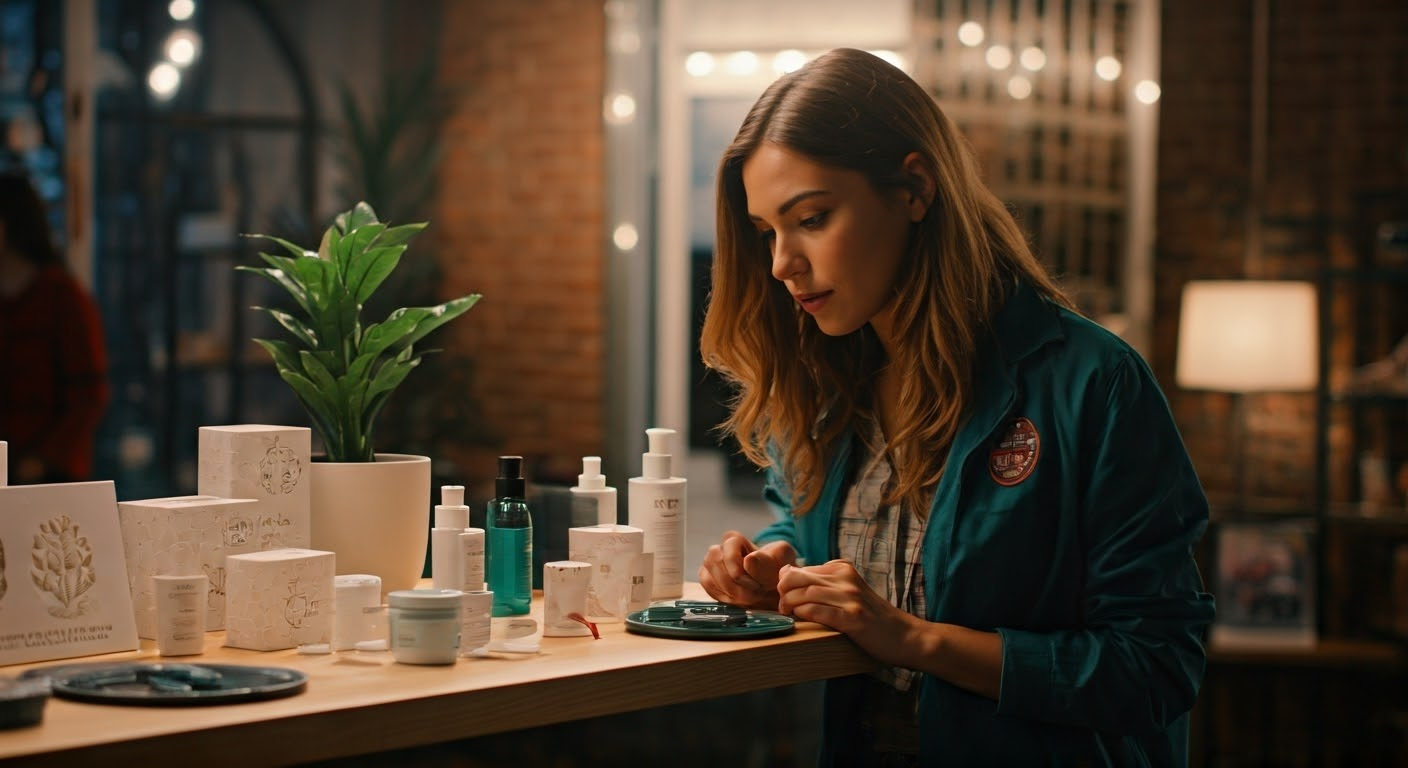
Lifestyle product photography goes beyond aesthetics to showcase products in real-life situations, emphasizing their utility and benefits for consumers in their own lives. Creating relatable narratives forges an emotional connection with your audience and influences purchase decisions. Incorporating people using the product and selecting appropriate settings are crucial for authenticity. Strategic lighting and composition aim to create a spontaneous, appealing look. The goal is to make viewers feel a connection to the moment. It’s about sparking emotions and helping them imagine themselves right there, living that scene.
Also read: Capturing the Best Shots: Apparel Product Photography Guide.
What Equipment Do You Need for Lifestyle Product Photography?
For lifestyle product photography, the essential equipment includes a digital camera for high-detail images, a versatile portrait lens (50mm-85mm), and a Macro Lens (90mm-100mm) for detailed shots. Artificial lighting and a sturdy tripod are crucial for controlled illumination and stability, translating your vision into impactful product images. Below, we have specified about them more in detail!
Camera and Lenses
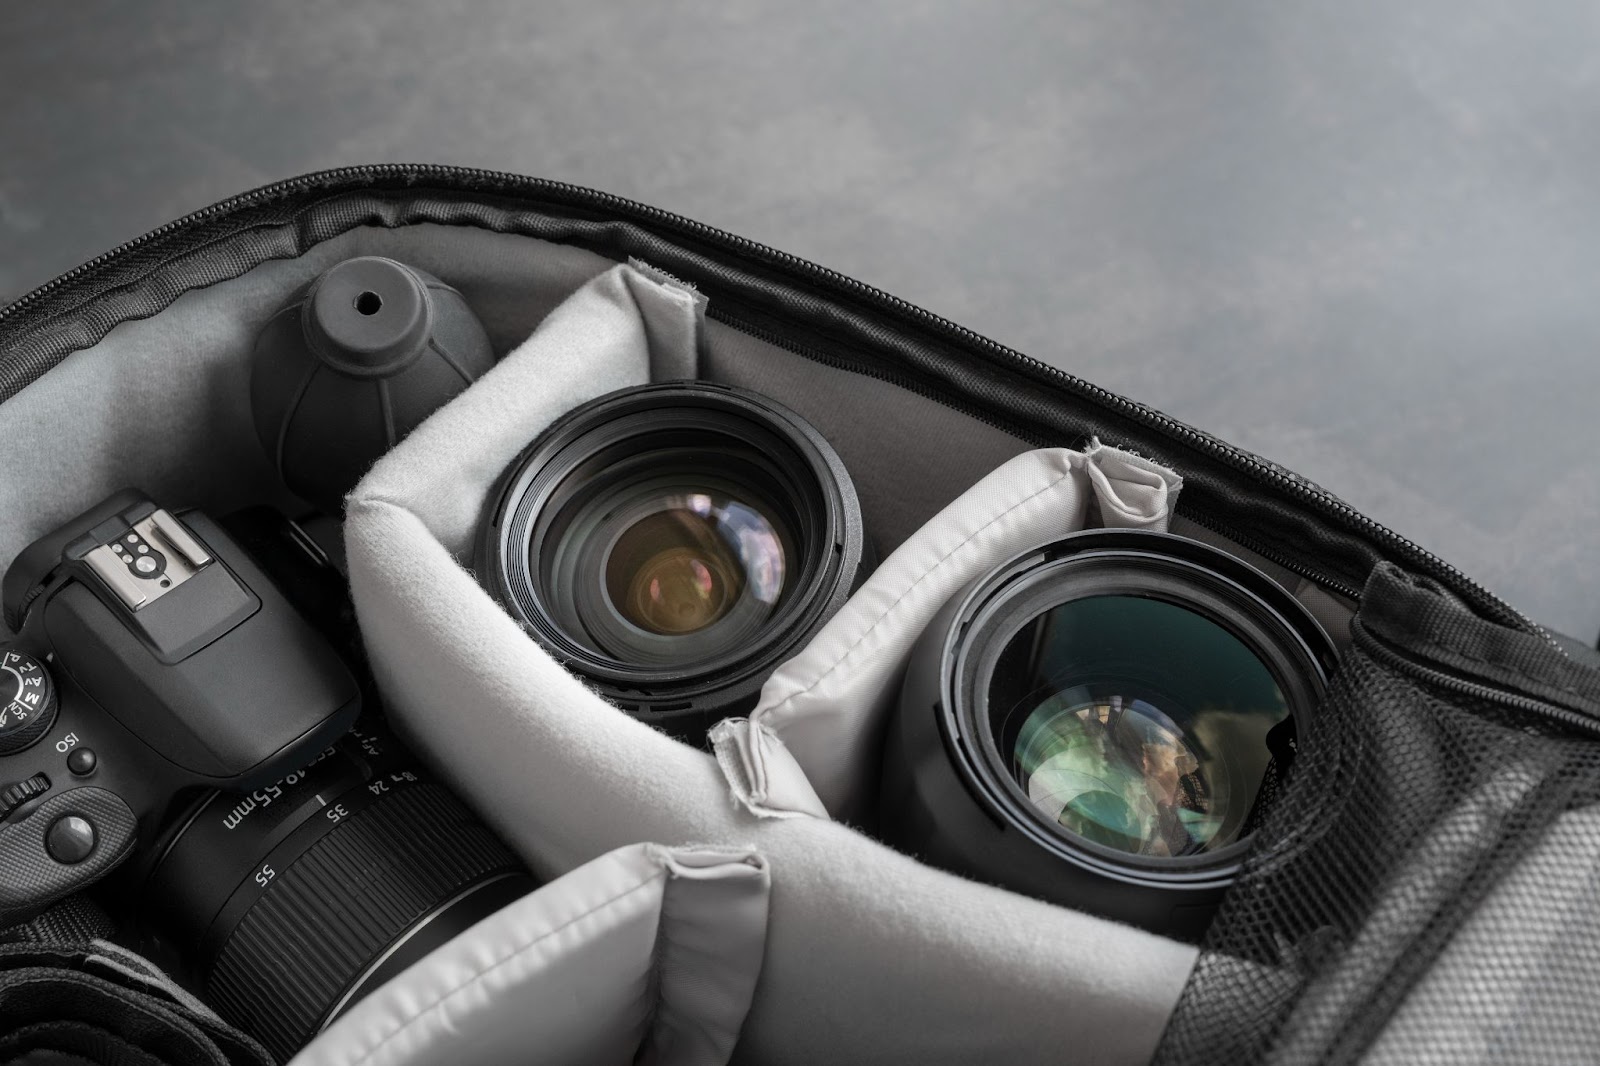
Your camera is crucial for lifestyle product photography, especially with a professional photographer. An advanced Digital Camera or high-end iPhone can capture compelling images with detailed shots and user-friendly modes for beginners. Supplementing your camera, lenses form a key asset to create varied perspectives:
- Portrait Lens (50mm – 85mm): Ideal for capturing the product as the central figure of your composition, the portrait lens isolates your subject by providing a blurry background effect. It’s perfect for emphasizing the product and producing sharp, clear images.
- Macro Lens (90mm-100mm): This is especially handy for getting highly detailed shots of your product. It lets you focus closely on the product, picking up minute details that become appealing selling points in your photography narrative.
Lighting Equipment
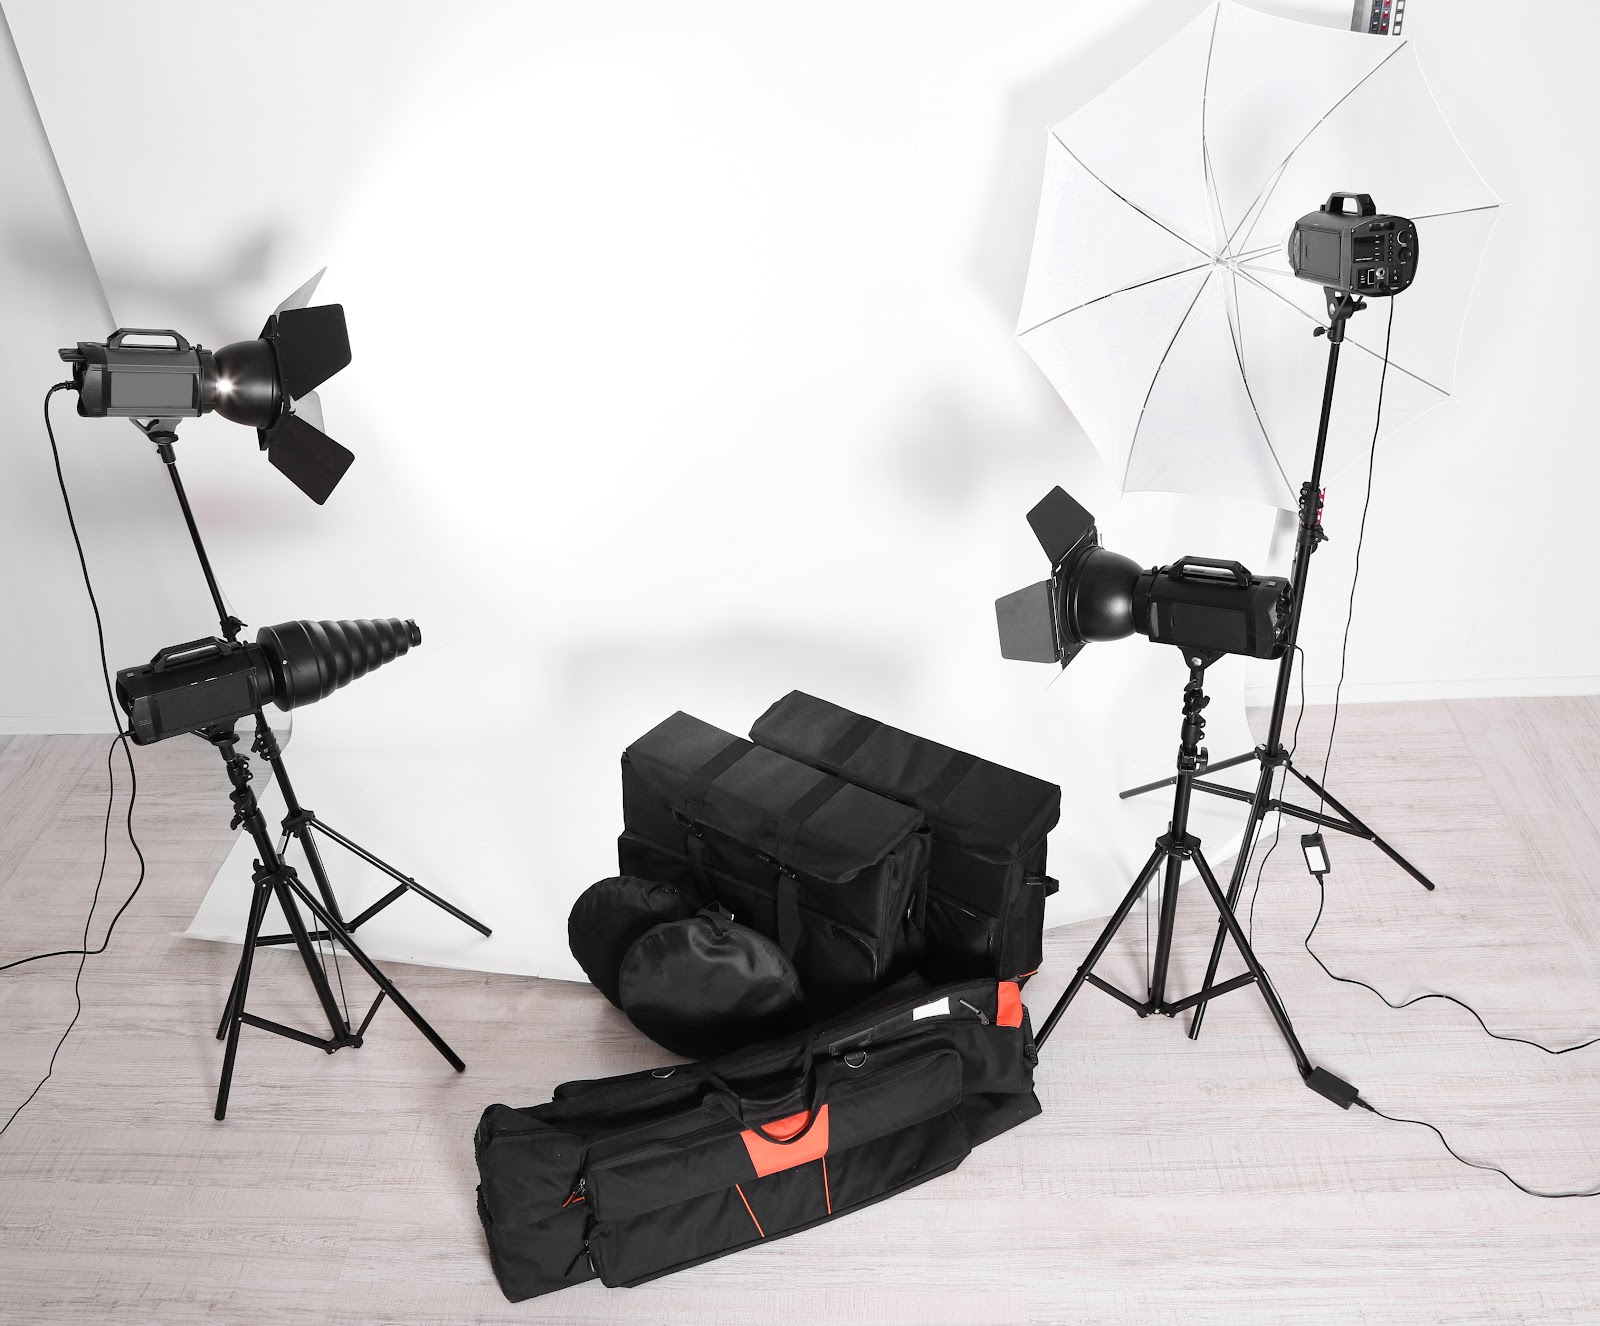
Lighting breathes life into your photographs, ensuring your product stands out prominently against its surroundings. The proper lighting can be challenging yet rewarding, significantly enhancing the overall visual appeal. Here are some essentials:
- Artificial Lighting Setup: This comprises studio lights replicating daylight and tungsten light. Artificial lights come in handy when natural light is not sufficient or optimum. It also helps emphasize your product, reducing unwanted shadows and providing uniform illumination.
- Softbox: Attached to your studio light, the softbox spreads light evenly across your product, softening any harsh shadows and creating a pleasing, soft glow.
- Reflectors: These bounce light onto your product, further brightening shadowed areas and contributing to a balanced light distribution.
- Diffusers: Working in unison with your studio light, a diffuser spreads light across the scene, reducing the harshness of direct light and producing a softer, more subtle lighting effect.
Tripod and Accessories
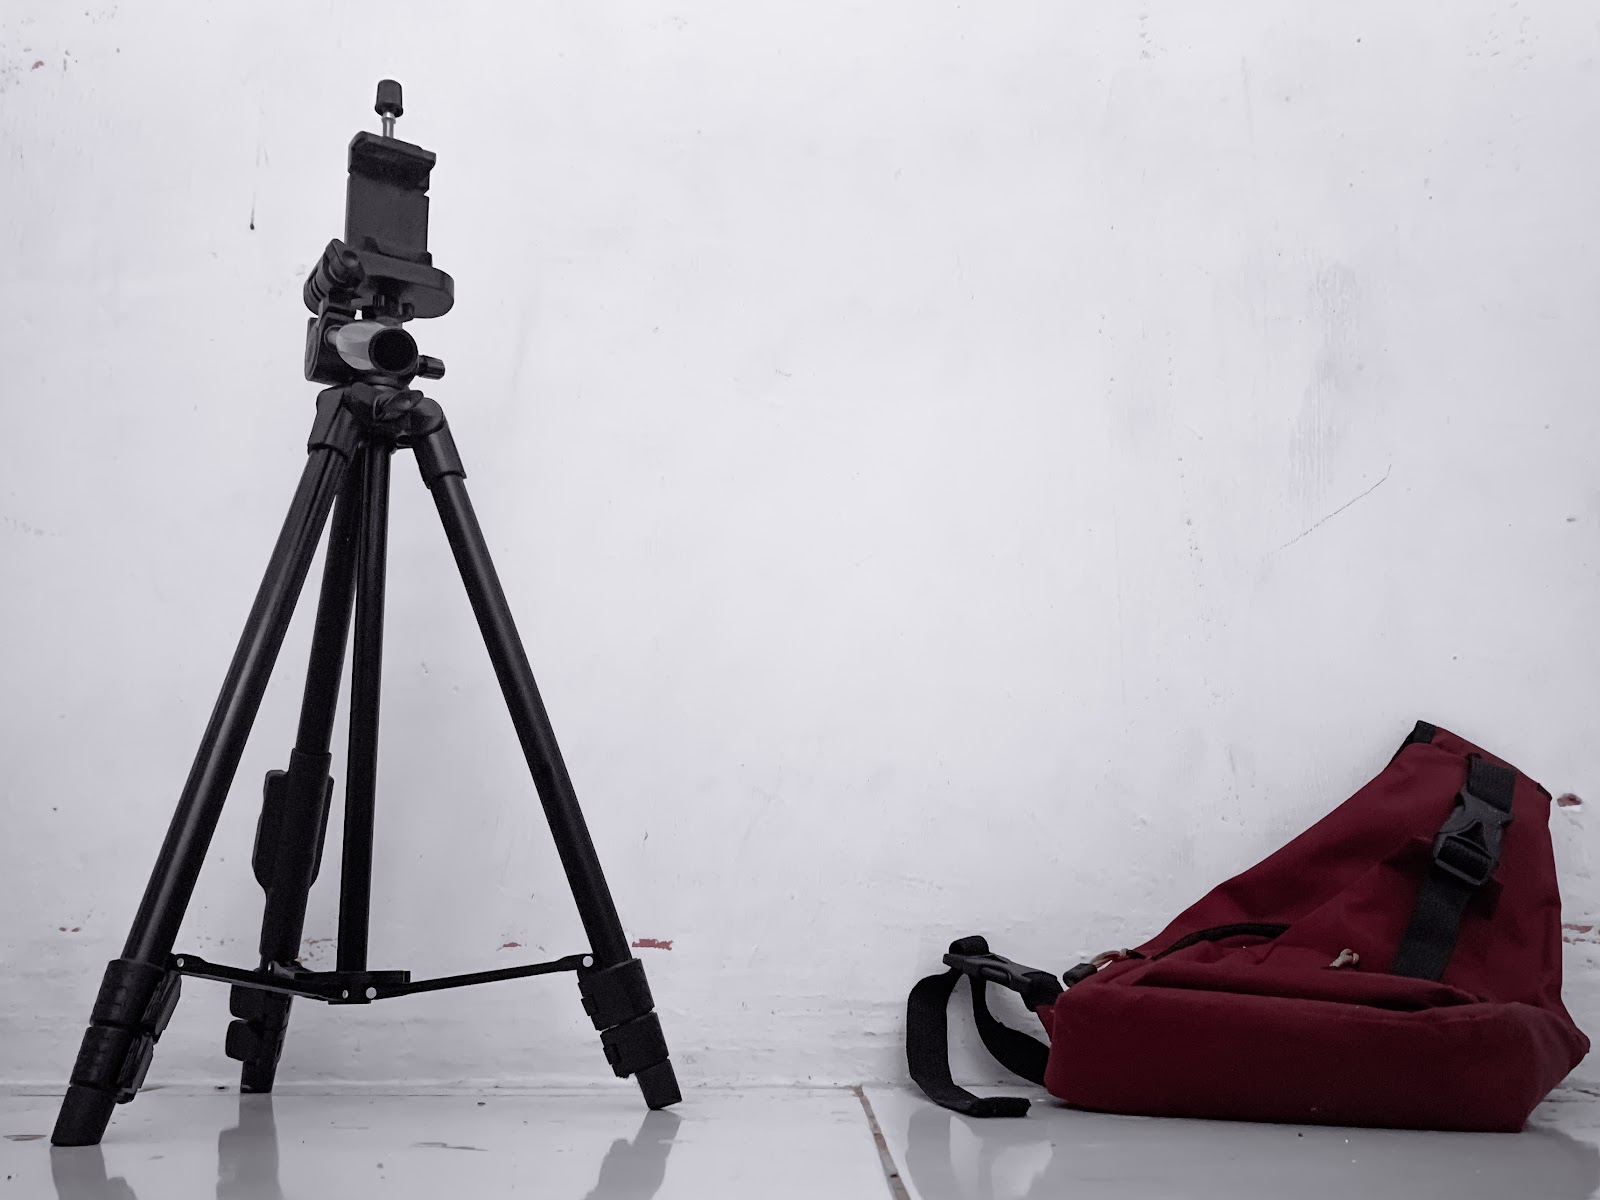
Stability and precision are critical when taking professional, high-quality photos. A tripod and some handy accessories can help.
- Tripod: A tripod is stabilizing equipment that prevents motion blur from unintended movement while shooting. It also allows you to adjust and experiment with various camera angles without compromising stability.
- Remote Release: This feature allows you to take shots without pressing the camera shutter button, reducing any camera shake that could blur your images.
- Cleaning Equipment: Cleaning essentials like clothes, brushes, and air blowers should always be part of your photography kit, ready for cleaning after each shoot.
- Table or Flat Surface: Depending on your product, you might need a steady, flat surface to pose and ensure it stays in the correct position throughout the photoshoot.
Planning the Lifestyle Photoshoot: Tips and Tricks!
Planning a lifestyle photoshoot? Start by knowing your product and imagining it in real-life scenarios. Pick a setting that tells your story, and use props and models to keep it authentic. Don’t forget a shot list—it’s your key to capturing diverse, stunning photos!
Choosing the Right Setting
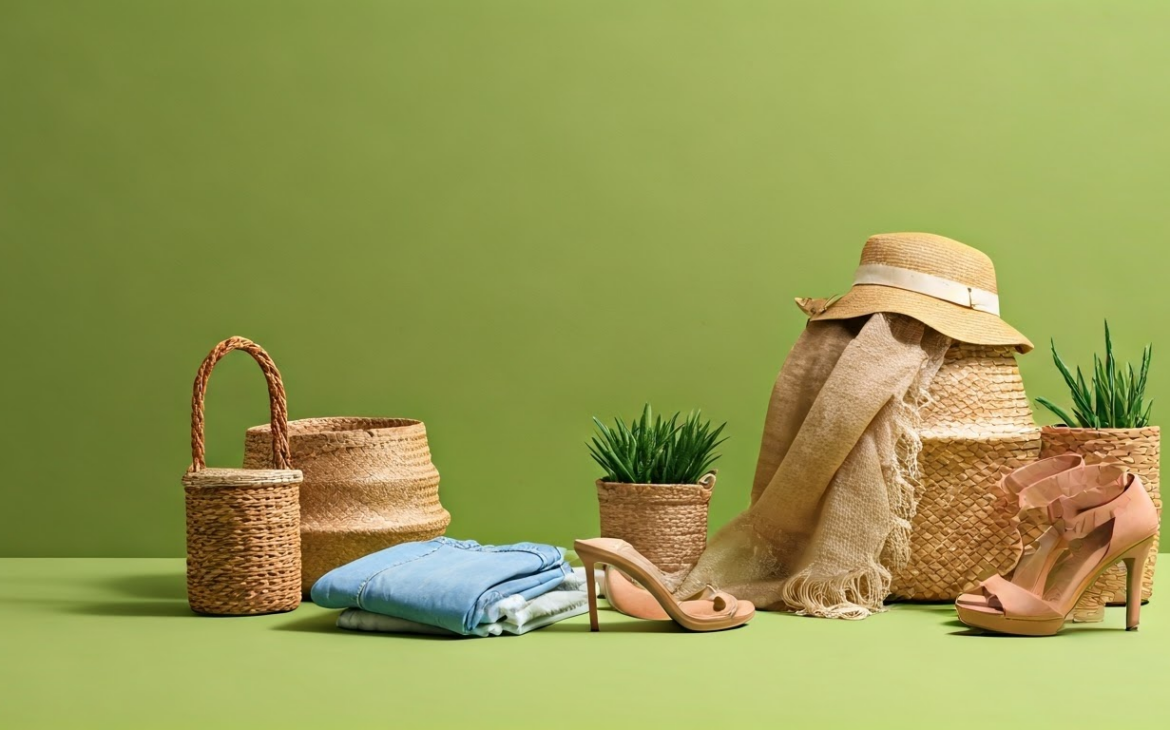
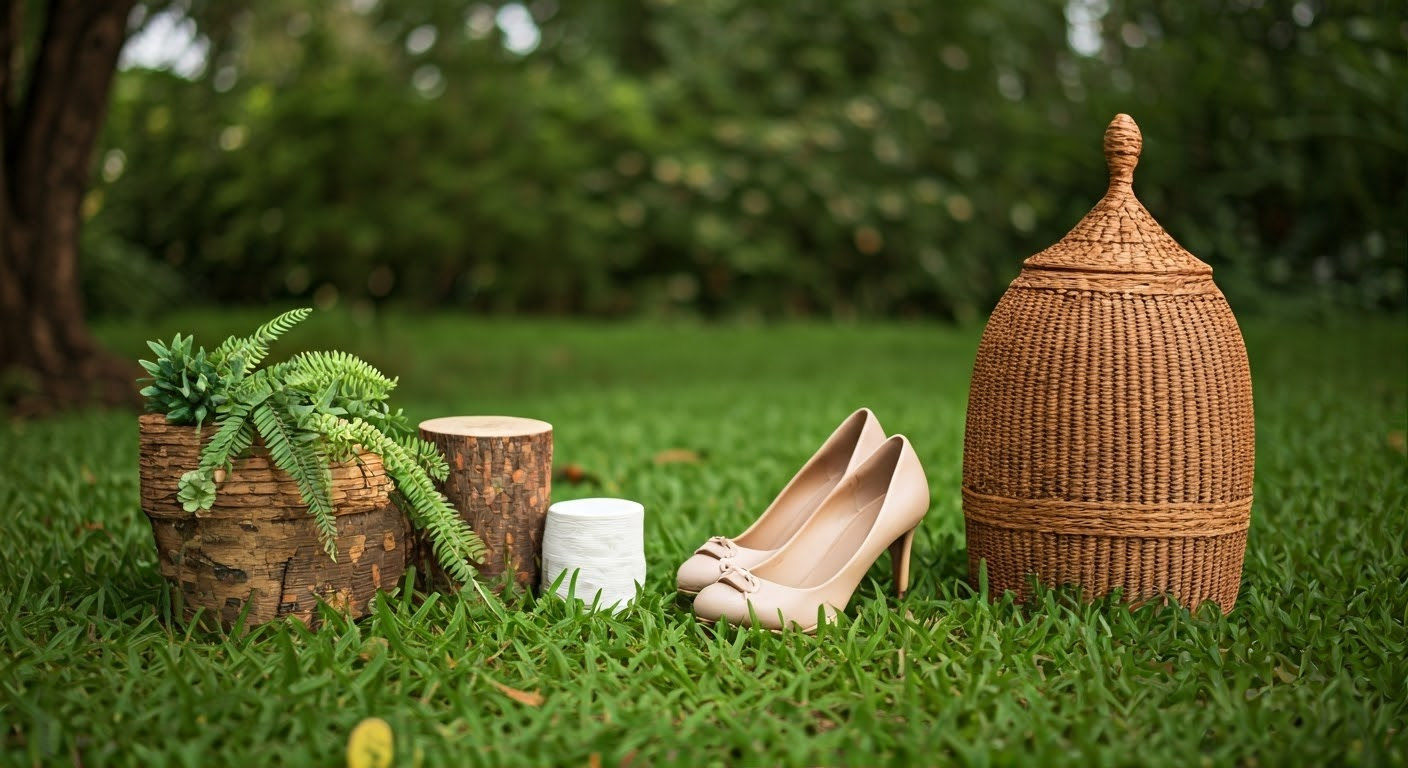
The right backdrop enhances your product’s appeal by providing engaging context. Choose settings that reflect real-life usage scenarios and resonate with your target market’s lifestyle. Everyday environments like living rooms, cafes, and outdoor spaces add relatability and visual appeal. Props, such as books in a library or coffee cups in a café, enhance authenticity and connection with your audience. Authentic spaces in product shots create a more inviting feel for viewers.
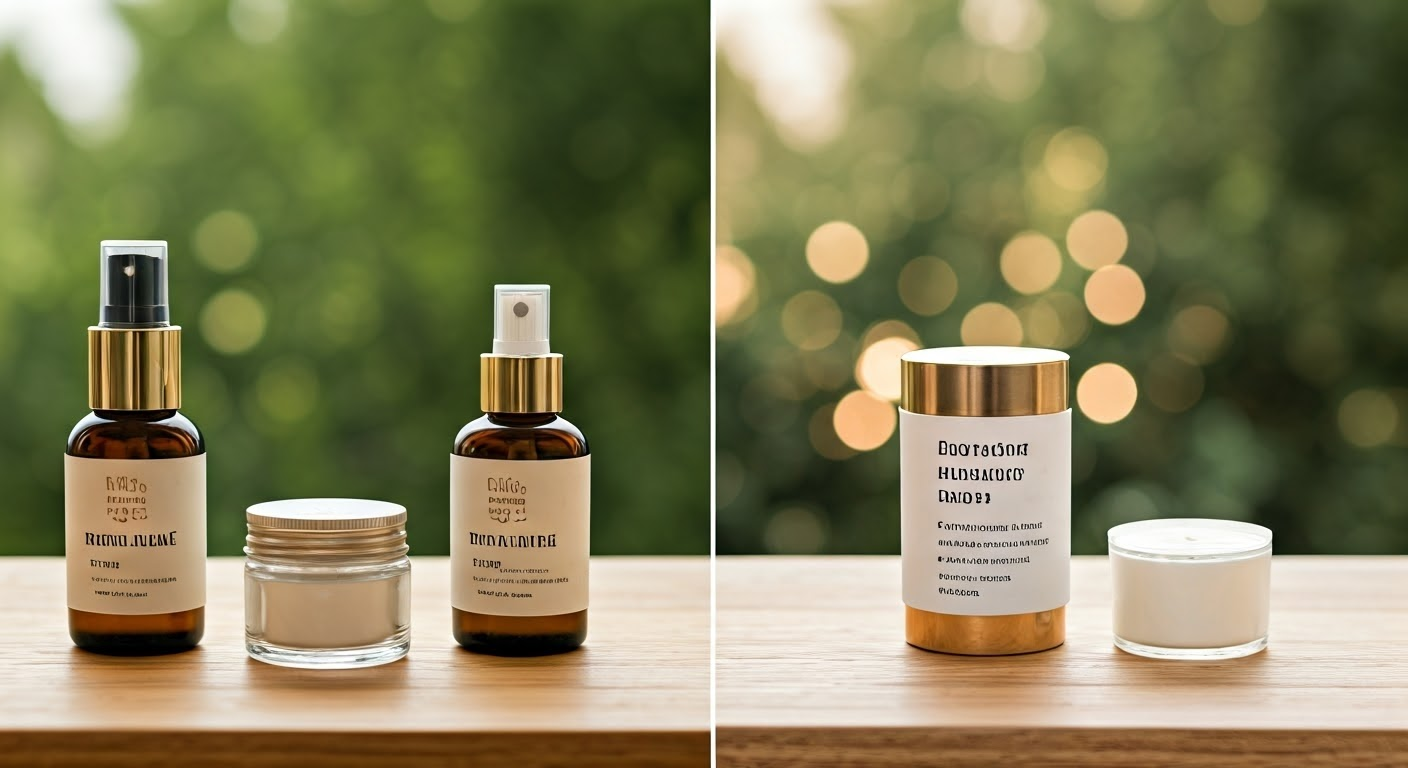
Incorporating Brand Elements
Consistency is key to a strong brand identity. In lifestyle product photography, integrating brand elements enhances recognition and engagement. Reflecting your brand narrative and aesthetics in each image is crucial. This can be as simple as subtly incorporating brand colors into the scene or props to maintain visual consistency. Aligning scenes with your brand values and palette reinforces your identity. For instance, placing an infused water bottle on a yoga mat for a health-focused brand. These intentional incorporations amplify the cohesive feel of your collection, establishing familiarity with your audience.
Selecting Models and Props
No lifestyle photo shoot is complete without models or props, as they add dynamism and depth to your photographs. They inject life into your narrative, showing how the product fits into daily life. For relatability, choose models that reflect your target audience. Props should complement your story. Less is more – props should support, not overwhelm, your product. This combination creates a canvas for your lifestyle product photos.
Lighting Techniques for Lifestyle Product Photography
“Lifestyle photography thrives on lighting – it sets the mood, enhances features, and elevates your picture’s appeal. Whether natural or artificial, mastering light manipulation is key to crafting a compelling narrative and evoking the desired mood in your photos.”
Natural Lighting
Natural light, especially sunlight, offers excellent photo opportunities. It provides a soft, ethereal quality and a familiar touch to your images. The warm hues during the ‘golden hour’ perfectly highlight products. However, mastering natural lighting conditions is essential, as they vary in intensity and character throughout the day. Shooting near windows or open spaces maximizes natural light. Reflectors can help balance exposure by eliminating shadows. Adapting to changing light conditions can lead to unique and captivating product photos.
Artificial Lighting
Artificial lighting offers control and reliability that natural lighting lacks. Whether in the studio or on location, these light sources enhance the visual appeal of your product and surroundings. You can adjust intensity, direction, and color to create desired effects. Softboxes and studio lights are standard equipment that provide even lighting and reduce harsh shadows. By adjusting the white balance, you can match the colors in your scene or add ambient hues for creative expression in lifestyle product photography.
Tips for Composition and framing
In lifestyle product photography, composition and framing are crucial for guiding the viewer’s attention within the image. These elements provide structure and influence how the product is perceived. By following best practices like the Rule of Thirds, leading lines, and emphasizing the product, your images can showcase your product effectively and captivate your audience with dynamic and engaging visuals.
Rule of Thirds
The Rule of Thirds is crucial in lifestyle product photography, aiding in creating balanced compositions that guide the viewer through the image for a more impactful story. This rule suggests placing key elements at intersections or along these lines by dividing the frame into a grid of nine rectangles.
This technique enhances visual appeal, drawing viewers naturally to these focal points. Positioning your product at an intersection point creates a dynamic composition while aligning horizons with grid lines balances landscape scenes. The Rule of Thirds helps craft well-proportioned frames that showcase your product and convey a compelling story.
Leading Lines
Powerful leading lines guide the viewer’s focus on your product, shaping the visual story. They can be straight, curvy, or diagonal, explicit like roads or subtle like shadows. Whether it’s a table edge, a shadow, or human gestures pointing at your product, these lines create depth and order in your composition. Expert use of leading lines enhances the viewing experience and elegantly showcases your product.
Focusing on the Product
Product photography in lifestyle settings should highlight the product as the primary focus. To achieve this:
- Use a wide aperture to keep your product in sharp focus.
- Control lighting to draw attention to your product.
- Position your product strategically within the frame using composition techniques like Rule of Thirds and Leading Lines.
Focusing on these elements will ensure your photos effectively showcase the product while adding a compelling storyline and lifestyle context.
Tips on Working with Models and Directing Poses
Model-directed lifestyle product photography offers expressive narratives showcasing your product in natural use. Balancing clear directives and spontaneity inspires authentic expressions. Models interacting genuinely reveal contexts resonating with your audience. With guidance on poses and dialogue, create vivid, realistic images effortlessly.
Encouraging Natural Poses
Capturing dynamic lifestyle product photos hinges on achieving natural poses that reflect ease and relatability. To enhance authenticity:
- Prioritize Comfort: Ensure models feel at ease for genuine expressions.
- Encourage Action: Emphasize interaction over static poses for a candid touch.
- Incorporate Movement: Allow fluid movements to add dynamism to shots.
- Utilize Props: Props like coffee cups or magazines can enhance narratives and offer comfortable actions for models.
These elements help create realistic, relatable, and captivating lifestyle shots.
Communicating with Models
Building a positive rapport with models is crucial for successful lifestyle product photography. Key aspects to consider are clear expectations, positivity, open dialogue, and constructive feedback. Effective communication between the right photographer and models elevates the quality of photos, resonating remarkably with the audience.
Editing and Retouching Lifestyle Photos Tricks
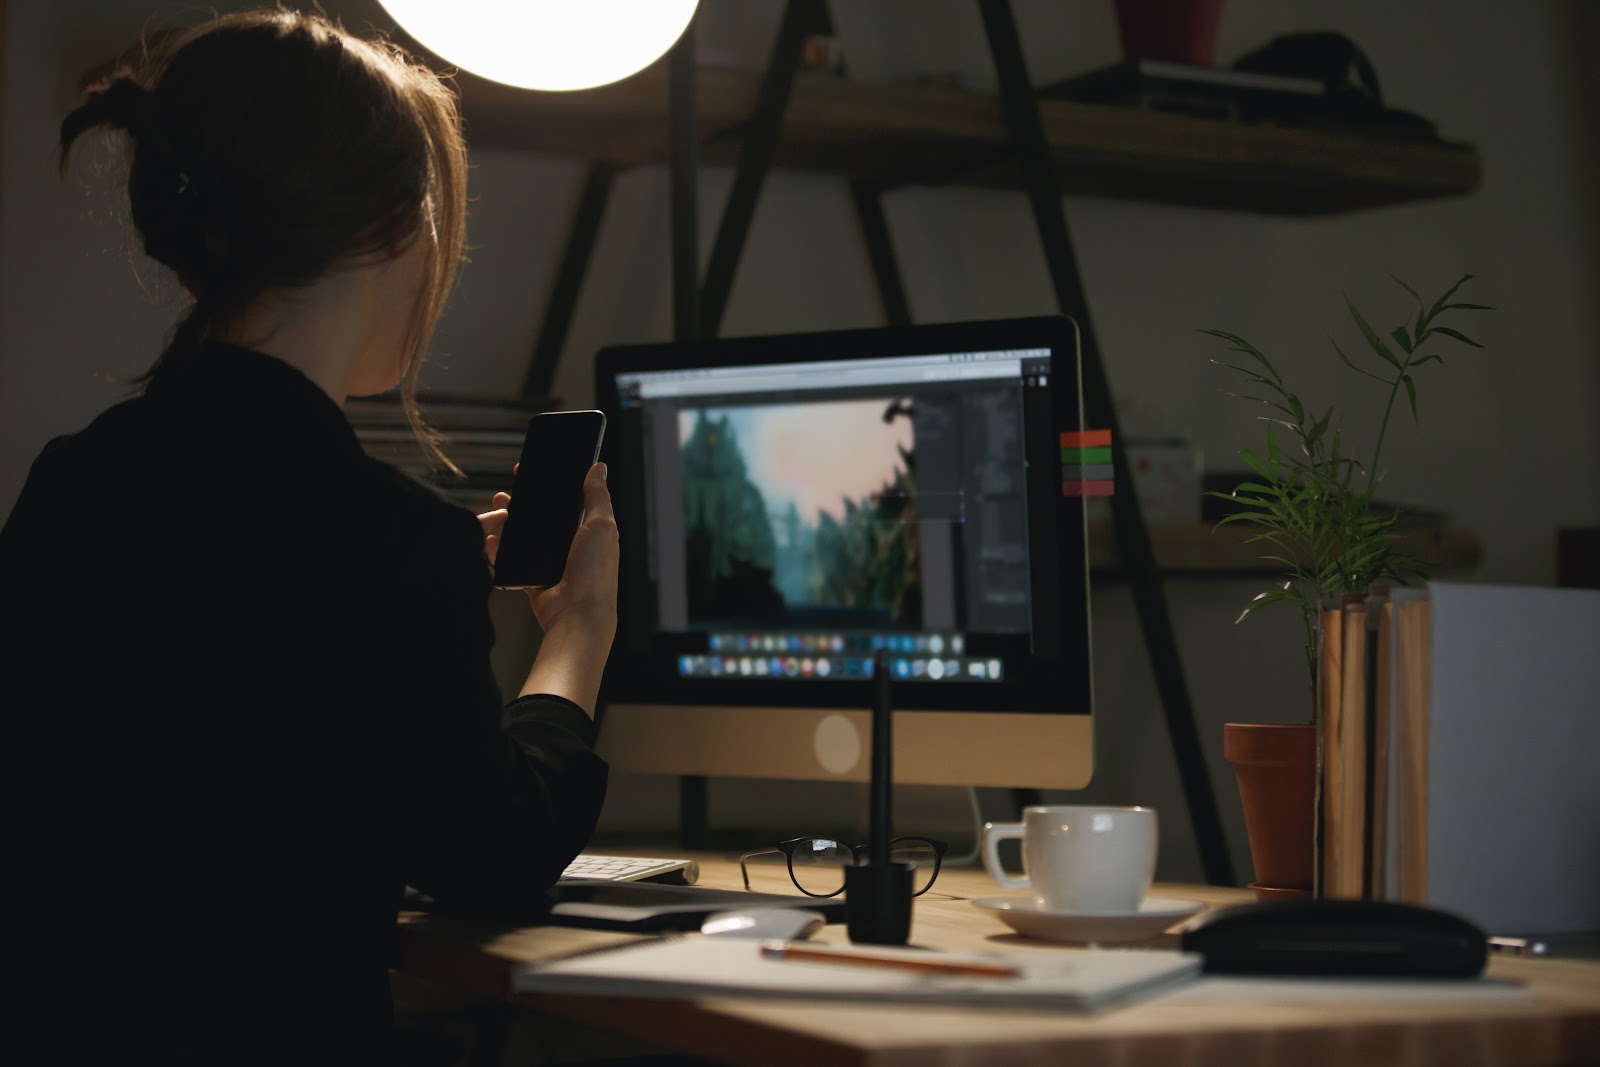
Lifestyle product photography’s magic extends beyond the camera click. The next step after the photoshoot involves editing and retouching to enhance images by balancing color, adjusting lighting, removing distractions, and boosting overall appeal. With tools like Adobe Photoshop and Adobe Lightroom, raw images are refined into professional, captivating photos that maintain authenticity and realism.
Basic Adjustments
The editing process starts with basic adjustments to prepare your image for further refinement. Follow these steps:
- Crop and Straighten: Resize your image, improve composition, and align horizons or objects.
- Exposure Correction: Adjust brightness, contrast, shadows, highlights, whites, and blacks for better light balance.
- White Balance Adjustment: You can correct color tints by adjusting the temperature (blue-warm) and tint (green-magenta) sliders.
Cheat sheet for basic editing steps:
|
Adjustment Steps |
Impact |
|
Cropping and Straightening |
Improves framing and alignment |
|
Exposure Correction |
Balances lighting aspects |
|
White Balance Adjustment |
Corrects color cast |
Adept management of these basic adjustments using tools like Adobe Lightroom sets a clean and balanced slate for proceeding with more specific enhancements.
Removing Distractions
Even meticulously staged photoshoots can have unwanted elements. Post-production lets you polish your images by removing distractions like dust particles, blemishes, or clutter. Software such as Adobe Photoshop offers tools like Spot Healing Brush and Clone Stamp for precise editing without distorting the image’s natural look. This effort results in cleaner, higher-quality images that highlight your product.
Master the Art of Lifestyle Product Photography with Flixstudio
Flixstudio is your go-to platform for mastering the art of lifestyle product photography. Whether you’re a professional photographer, influencer, or brand owner, our platform provides expert guidance on capturing stunning lifestyle shots that bring your products to life. Learn essential techniques like natural lighting, authentic compositions, and creative styling to showcase your products in real-life contexts that resonate with your audience. With Flixstudio, explore the latest trends in lifestyle photography, gain creative inspiration, and refine your skills to create captivating visuals that tell a story. Elevate your brand’s online presence and connect with customers more effectively. Join us today and transform your product photography into storytelling masterpieces!
Conclusion
Lifestyle product photography bridges the gap between products and customers by presenting them in engaging narratives. It combines creativity and marketing to showcase your product in action, often using a professional camera to enhance image quality. Understanding equipment, planning, settings, techniques, and editing is crucial to excel in this field. Practice and patience are key to crafting visuals that resonate with your audience’s lifestyle. Experiment, learn from mistakes, find your unique style, and enjoy the process. Lifestyle photography’s allure lies in its authenticity and zest for life.
Frequently Asked Questions
What is the difference between lifestyle photography and product photography?
Product photography primarily focuses on the product against a simple, often plain white background, while lifestyle photography puts the product in real-life settings. The latter portrays the product and tells a story about its use and application within everyday life.
What types of editing software are commonly used in lifestyle product photography?
Adobe Photoshop and Lightroom are popular software for editing lifestyle product photos. These powerful tools offer a wide range of options to refine your images, from basic adjustments to advanced retouching, ensuring high-quality, professional results.
How can I improve my lifestyle product photography skills?
Improvement often comes with practice, experimentation, and learning from errors. Additionally, you could engage in online courses or workshops to glean tips from professionals. Stay updated with current trends, competitor strategies, and popular aesthetics across social media platforms to evolve and refine your photographic skills continuously.
How do I choose the right models for my lifestyle product photoshoot?
While selecting models, consider individuals who represent your brand’s target audience. They should reflect your potential customers’ demographics, creating connective imagery that showcases how your product fits seamlessly into their lifestyle. Diversity in the choice of models also ensures wider audience recognition and relatability.