Product photography essentially breathes life into inanimate objects by highlighting their physical attributes. Beyond the actual product itself, photography backgrounds play a crucial role in creating the overall impact. The right backdrop not only enhances the product’s charm but also lays a strong foundation for a compelling visual narrative. In this blog post, we’re uncovering various background ideas for product photography, ranging from the timeless classic of a white background to imaginative setups. Let’s get into it!
The Importance of Choosing the Right Background for Product Photography
Picking the right background is paramount in product photography. Why so? It’s because backgrounds contribute significantly to drawing the viewer’s attention towards the product by creating a harmonious blend between the foreground and its surrounding elements. They augment the product’s features while subtly speaking volumes about the brand’s identity. Now, let’s delve into the specifics.
Attracting customers’ attention
Visual elements tend to catch our attention before any textual content. In a world where social media is rife with clutter, the need for your product to stand out in that Instagram feed or eBay listing becomes more significant than ever before. An enticing background can allure prospective customers and coax them into learning more about your product. From a complementary plain white backdrop to a vibrant splash of color or an intriguing pattern, different backgrounds with different colors can work wonders in enhancing your product’s appeal.
Enhancing product features
Backgrounds serve as silent storytellers, accentuating the key features of your product. They can intricately represent the utility, benefits, or the distinctiveness of your product, thereby making it more appealing to the potential customer. A carefully chosen background can draw attention to the product’s minute details, quality, color, or even its exquisite craftsmanship. For instance, a wooden texture might lend an earthy feel to a natural skin-care product, while a sleek black background could stress the sheen and style of a chic perfume bottle.
Building brand identity
Backgrounds are not just about showcasing the product alone; they help in building a brand’s identity and its promise to the customer. By consistently deploying similar backdrops in product photography, brands can achieve better recall value among the audience. A nature-inspired background could reflect a skincare brand’s commitment to creating high-quality ethical and organic products, whereas a colorful, bold backdrop might signify a makeup brand’s playful and experimental ethos.
Also read: Capturing the Best Shots: Apparel Product Photography Guide
10 Must-Try Product Photography Background Ideas
But how do you identify the right backdrop for your products? With a myriad of choices at your disposal, selecting a perfect fit can seem overwhelming. However, we’ve got you covered! Here are ten diverse creative photography background ideas that can add a dash of creativity to your product shots, ranging from the simplest white backdrop to DIY solutions (pro-tip: they’re easy on the pocket too!).
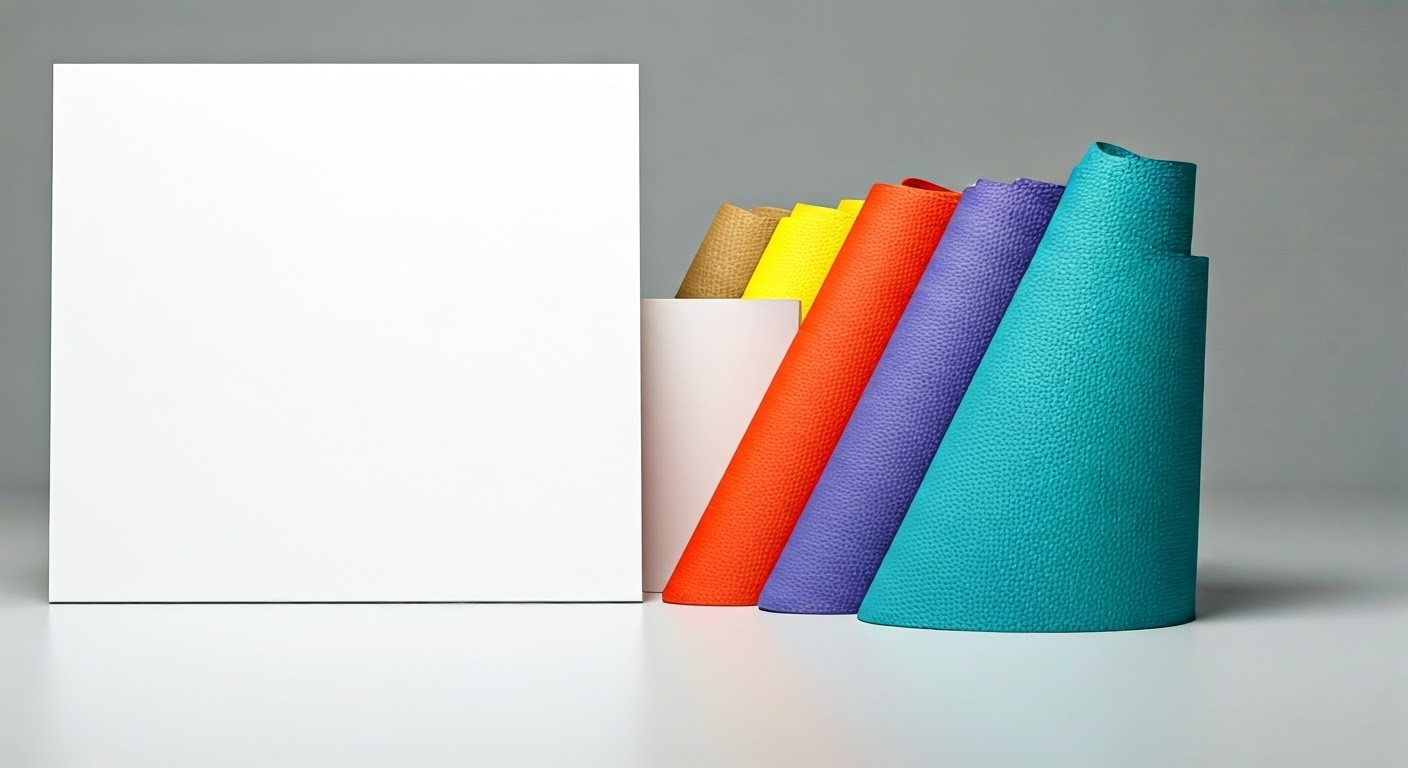
1. Plain white or off-white background
White, in its subtleness, can often make the even the most powerful statement. As high as 76% of e-commerce product images opt for a plain white background with AI assistance. The reason being, it directs the viewer’s focus solely towards the product, thus creating a clean and uniform look for your website. Moreover, the simplicity of a white setup can evoke associations with qualities like freshness or purity—qualities that may resonate with certain products or brand identities.
For achieving a flawless white background, you can resort to materials like seamless paper, seamless white paper rolls, poster boards, foam boards, vinyl backdrops, or even a simple white wall. For smaller items, you could utilize a photography light box known for creating a ‘floating’ effect, making it easier to edit post-shooting. However, keep a note if using fabric; eliminate wrinkles before the shoot or during post-production to guarantee a seamless white finish.
2. Colorful solid backgrounds
Color undoubtedly adds a spark of life to everything it touches, and product photography is no exception. A tart pop of color in the backdrop can make your product stand out, invoking various feelings and impressions as colors wield a universal psychological impact. You can leverage this power of colors to communicate specific emotions to your customer base. You can employ colors in two ways—either as a vibrant contrast to your product shot or as a harmonious complement that syncs with your product/brand palette.
Examples:
- Baby-blue backdrop pushing forward the white classic trainers,
- Emerald-green background bringing out the gold detailing of the sophisticated wristwatch,
- Soft-pink background enhancing the innocence of the plush teddy bear.
Bear in mind, your product should never have to compete with the backdrop. Prioritize using complementary colors.
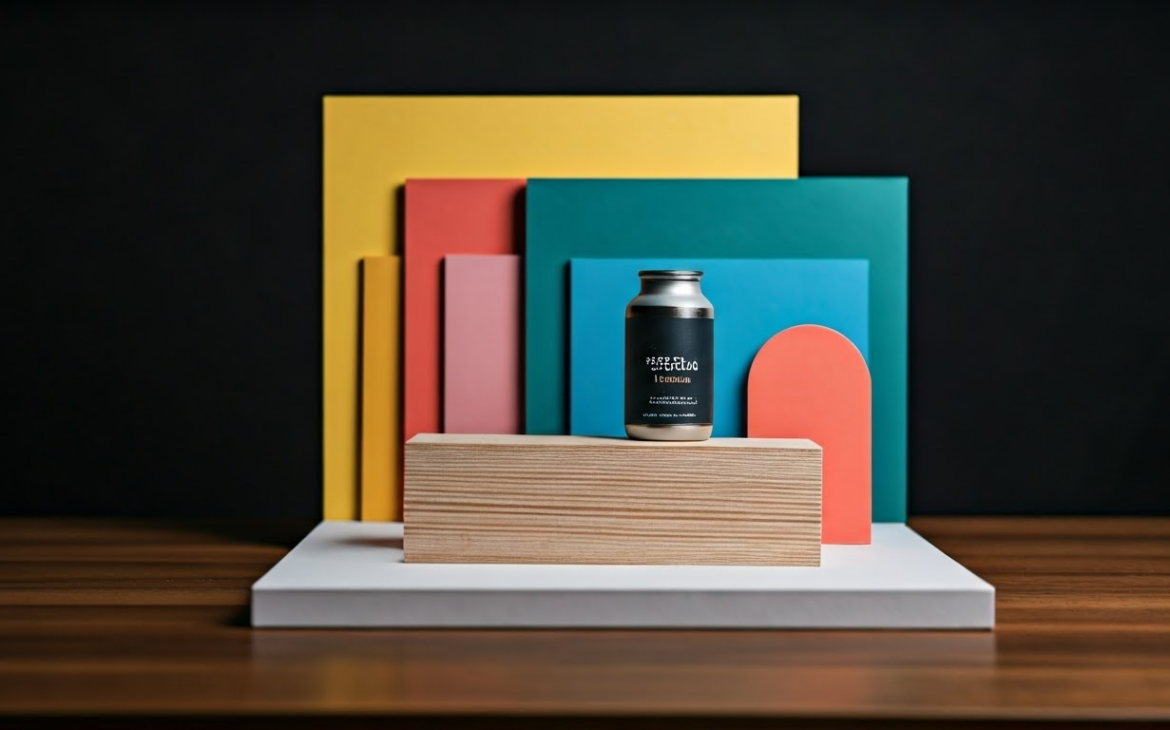
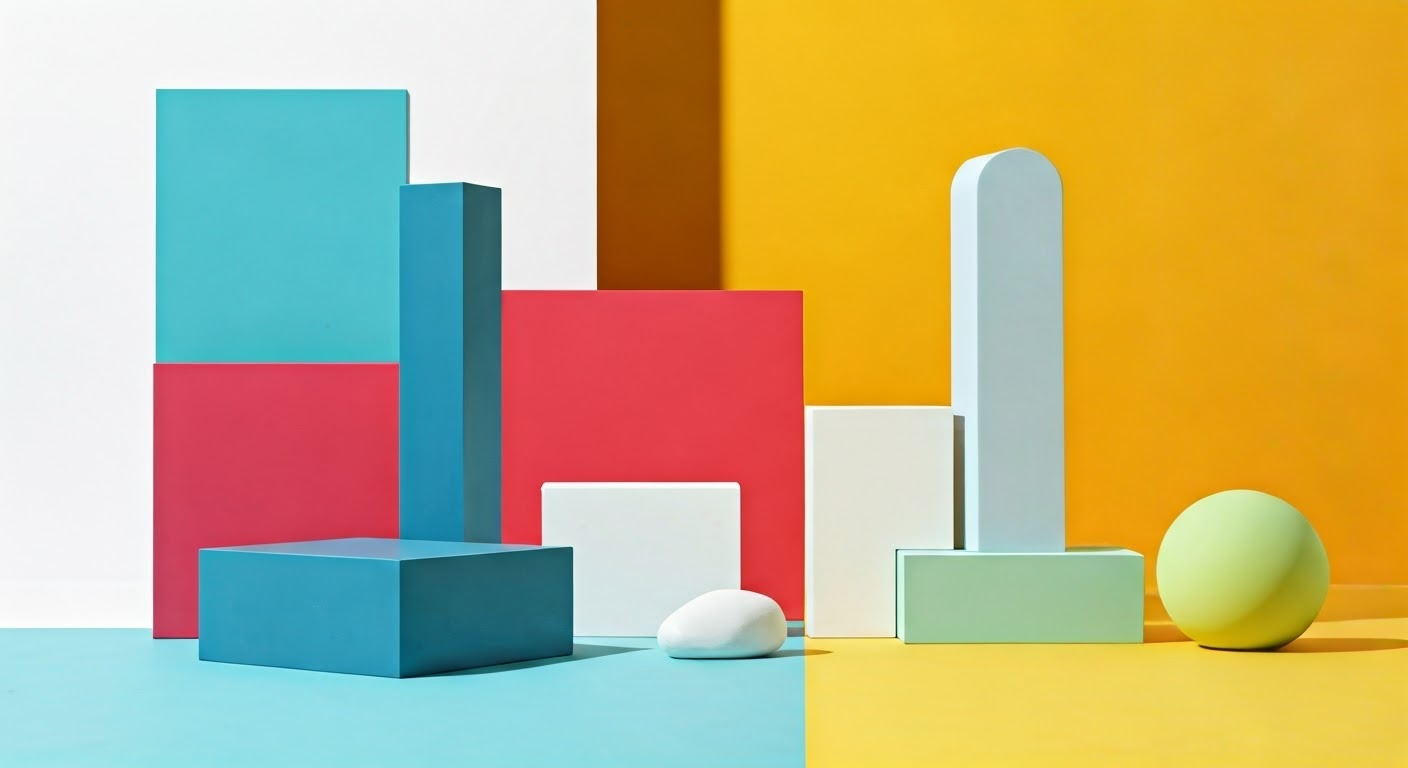
3. Patterns and geometric shapes
Patterns or shapes in the backdrop can infuse a dash of playfulness and character in your product photos. From subtle marble backgrounds to striking geometric shapes, the sky’s the limit for you to experiment. However, it’s essential that patterns mustn’t clutter up your photo or make it appear chaotic, thereby distracting from your product.
An aesthetically pleasing solution is to adopt patterns or shapes either during the shoot or add them in later stages of post-production. You may choose anything from a circular gradient starting behind a product and blending into another color filling the rest of the photo, or use studio lights to create a subtle halo around the product for a simple gradient impact. Mixed LED lights, or gels in various hues, can add an element of playfulness.
For instance, consider a sustainable home-care brand implying the botanical ingredients in its products by incorporating plants alongside the product against a subdued marble-pattern backdrop. The pattern mimics a kitchen counter or dining table surface, thus resonating with the product’s usage context.
4. Textured backgrounds
There’s no denying that texture can enhance depth in a photo and lend our eyes a sense of context. Using this context will allow customers to visualize your product in their lives better.
Texture refers to the feel, appearance, or consistency of a surface, which can range from a soft blanket signifying warmth and welcoming feel, to gritty concrete hinting at an urban appeal, including various textiles. Hence, your choice of texture entirely depends on the impression you wish to create with your product.
Textured backdrops can dramatically transform the entire feel of the image and transport your viewers to the world your product embodies. While a fibrous canvas might imbue an earthy aura in tune with an organic tea brand, a glossy metallic finish background could perfectly elevate the elite status of a high-end tech gadget, showcasing a variety of backdrops to cater to different themes.
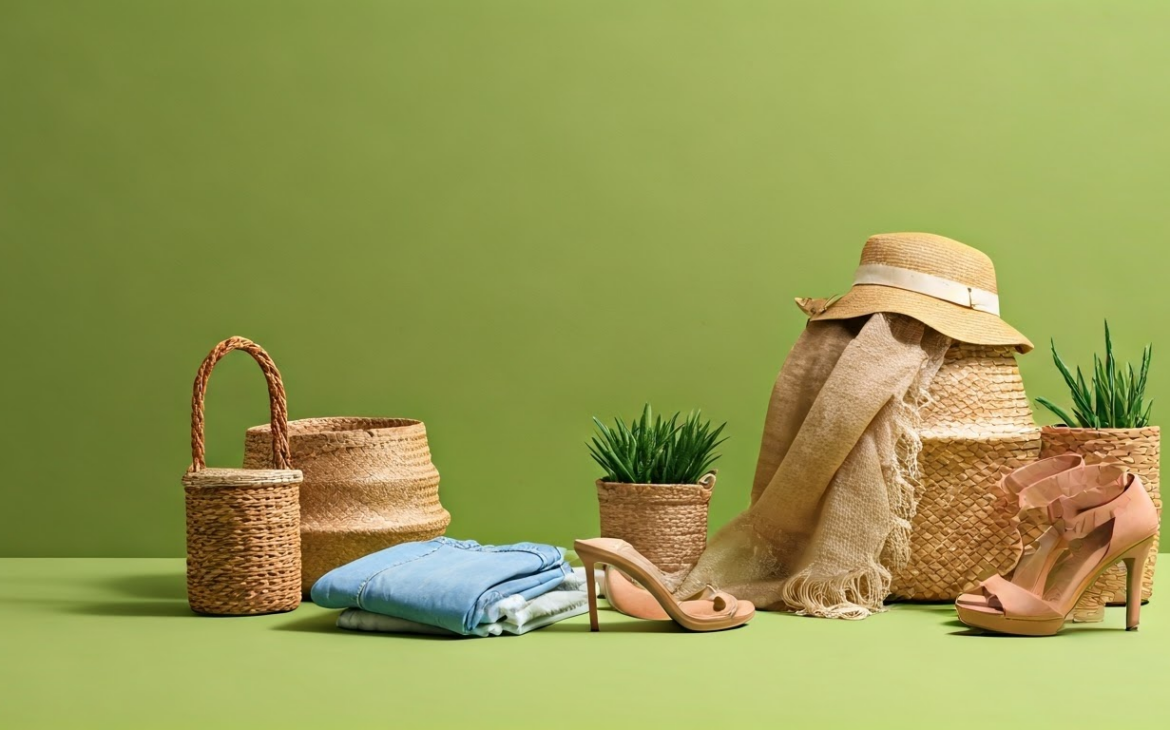
5. Natural elements and scenes
Incorporating natural elements and scenes in your background not only feels visually pleasing but can lend authenticity to your product story, making it ideal for your next product shoot. Anything from wood, stone, leaves, dirt, or even bark can serve as an effective backdrop for standout product photography. The best part is these elements are easy to source and don’t burn a hole in your pocket. An exciting aspect of leveraging nature-inspired backgrounds is that you add interest and character to the photos without engaging in any complex setups.
Consider a skincare brand emphasizing the natural ingredients in its products by using live foliage and flowers in the composition. These elements charm the viewer with a touch of freshness, underlying the brand’s commitment to creating pure and organic skincare solutions.
Another popular choice could be sand or wood backsplashes that are often associated with rustic vibes adventurous feels. Use your imagination to view ordinary settings from an extraordinary perspective!
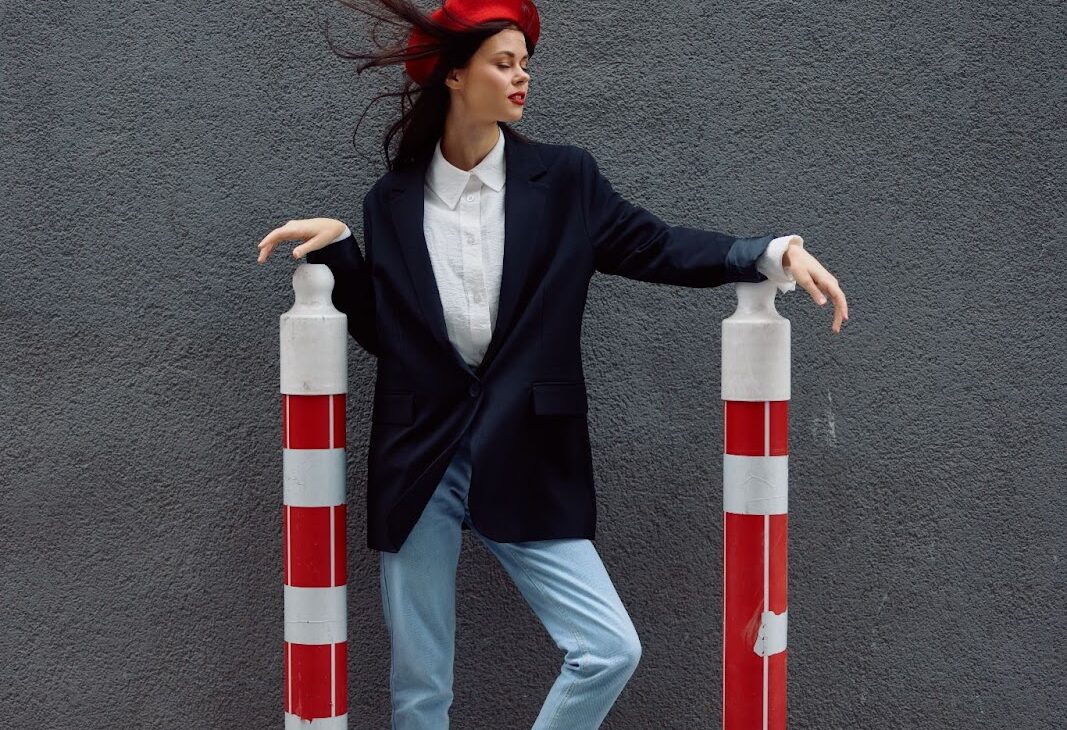
6. On-location backgrounds
The allure of on-location shooting in a living room lies in its inherently realistic touch. It provides customers with a logical context to view your product. Instead of being limited by a single sheet of backdrop, here, you have an entire room or an outdoor spot to use as the setting. You can exploit elements like walls, furniture, or windows already available at the location to host your product. And yes, don’t miss out on mirrors, floors, and rugs—they too can make creative backdrops!
At times, it might seem tricky to pinpoint the perfect spot. A little time invested in observing the given location and experimenting with different angles can lead to some mind-blowing results. Try to think outside the box! If things don’t go according to plan, you can even consider using laptop and TV screens for adding a background to smaller product photos. After all, innovation knows no bounds!
7. Bokeh and blurry effects
Bokeh, a term deriving from the Japanese word ‘boke,’ translates to ‘blur.’ It’s a camera technique wherein the photographer creates a creative blur filled with small balls of light behind the subject of the photograph. Precisely speaking, it’s an optical phenomenon that portrays out-of-focus areas with a hazy aesthetic appeal. This effect is useful for products like jewelry, perfume, watches, and tech gadgets that benefit from evoking feelings of warmth or luxury.
Doing justice to its meaning, bokeh aids in adding a magical touch to the photos by dousing them in soft light and warm tones. While creating this effect, one needs to use a camera lens, or multiple lenses, with a large aperture. A prime lens is an excellent option as it offers a larger aperture, resulting in an effective bokeh.
Here are the steps to create an upon-effect bokeh:
- Use a camera lens with a large aperture (low f-stop number).
- Set your product in focus and maintain plenty of space between it and the background.
- Use studio lights or fairy lights as a source of light.
- Adjust positions to get the desired light orb effect.
8. Gradients and light effects
Gradient backgrounds are quite a popular option for lending a trendy touch to the product photos. Most commonly, a gradient background has one color or image that subtly transitions into another. It is an excellent way to create a progressive transition and depth in your product photographs. There are numerous ways to play with gradients ranging from using a single color that switches from darker to lighter tones or having multiple colors that blend seamlessly.
Creating a gradient effect can be as straightforward as using studio lights capable of generating a soft halo around the product. Colorful LED lights or gels are other great alternatives to add fun elements to the mix. A favorite among photographers is the circular gradient that begins behind the product and melts into another color that fills the rest of the photo. It’s visually appealing and helps in capturing the viewer’s attention. So, brace yourself to experiment and unleash your creativity with gradients!
9. Creative themes and setups
If you’re someone who loves exploring beyond conventions, creatively themed setups will be right up your alley! This essentially involves creating a miniature setup or scene leveraging various props that complement the product and resonate with its narrative. You can either use readily available household items or purchase miniatures and props from craft stores.
For instance, cosmetics brands often include elements like confetti, glitters, or ribbons to add a festive touch to their product shots during holiday seasons. Jewelry brands, on the other hand, might use elements like luxe velvet boxes or faux flowers to enhance their product’s elegance.
Simple steps to design creative themes for your product:
- Decide on a theme that aligns with your product’s ethos.
- Collect appropriate props that reinforce the story.
- Arrange your setup in an appealing manner around the product.
- Experiment with different angles and lighting for perfect shots.
10. DIY and low-cost solutions
Last but not least, let’s touch upon some DIY wallpaper and low-cost solutions that you can use as product backgrounds. If you’re just starting or wish to keep your expenses under control, these are perfect to try out.
You can turn fabrics like tablecloths or curtains into handy backdrops, ensuring they are well-ironed to eliminate wrinkles. Large white sheets of paper serve as an easy and efficient backdrop for smaller items. Spare a thought for items like cardboard, canvas, or crease-resistant polyester fabric, which you can unleash your creativity upon with paints and textures.
Don’t forget the magic of everyday items. Trust us when we say that ordinary objects often make extraordinary backgrounds! Ever considered shooting on the floor? Well, now is the right time to start considering!
Also read: The Art of Ecommerce Fashion Photography
Selecting the Right Background for Your Product Type
Selecting a backdrop specific to your product type is a fine balancing act. You need to weigh different factors such as your product’s attributes, associated emotions, its usage, and the overall brand theme. It demands a keen sense of observation and the ability to translate those observations into a suitable backdrop. Not to forget that a wrong choice can distract from the product, causing you to lose potential customers. Up next, we discuss the noteworthy factors while making this selection.
Factors to consider
Zeroing in on an appropriate background for your product type needs pondering over a few key considerations that align with your product and brand narrative:
- Analyze the Product: Take note of the product’s size, colors, features, and selling points. This analysis will help decide a background capable of enhancing these factors.
- The Brand Story: Opt for a background that gels well with the storytelling aspect of your brand.
- Complementary Colors: Aim to highlight your product with backgrounds that complement rather than overpower.
- Testing & Feedback: Invest time in testing different backgrounds, gauging audience response to perform better.
Remember, the ultimate motive remains to ensure your product is the undisputed hero of the frame!
Matching your brand aesthetic
Aligning your product backdrop with the brand’s aesthetic is essential to maintain consistency across all visual content. This coherence aids customers in associating a particular style or theme with your brand, thereby strengthening brand recall and making it more appealing to the target audience. For example, a wellness brand might consistently use serene natural backdrops like light wood textures or muted earth tones. Fashion brands, on the other hand, might prefer bold and vibrant backdrops to mirror their dynamic and trendy personality.
Revolve, an e-commerce clothing retailer, often uses outdoor locations with natural lighting for its product images, thus projecting a carefree, youthful, and adventurous image that their target customers relate to.
Your chosen backdrop should be a canvas that accurately exhibits your brand’s ethos and complements your product.
Tips for Shooting with Different Backgrounds
Now that you’re equip with multiple backdrop options, let us deep-dive into some practical tips for shooting with these diverse backgrounds. Each backdrop comes with its unique set of challenges and ways to capture it right. So, whether it’s about dealing with lighting techniques or nailing the perfect composition, you will find insights into regulating these elements for your specific backdrop in this section. Come, let’s explore!
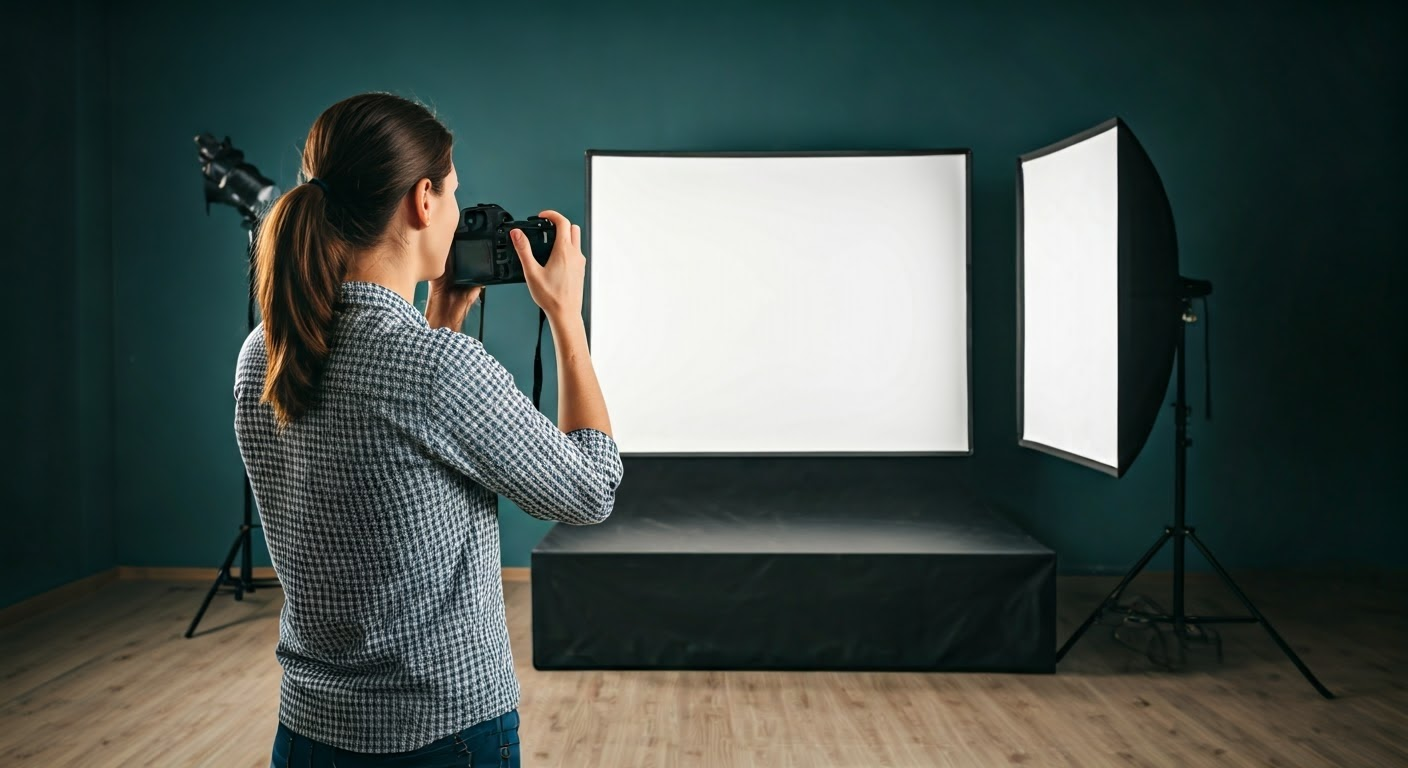
Lighting techniques
Lighting plays a pivotal role in defining the mood of your product image. The proper use of light creates a photorealistic effect, making the product look more appealing and genuine.
For instance, white and light-toned backdrops usually demand strong and direct illumination to bring out their true shade and avoid any shadowy effects. On the contrary, with dark or black backgrounds, you might have to play with light creatively to bring out the distinct aspects of the products.
Keep in mind that using too many bright lights on reflective surfaces or metallic products might create harsh glares. In such cases, opting for soft lighting or using diffusers will help in distributing the light evenly and minimizing unwarranted reflections.
Composition and layout
Composition and layout collectively give structure to your photograph. They guide the viewer’s eye movement across the photo, thereby creating a sense of harmony and balance. As a photographer, your role is to make sure the product and the backdrop are composed in the frame in such a way that the viewer’s attention naturally gravitates towards the product.
One proven technique is the rule of thirds where the frame is divided into nine equal rectangles, and the points of intersections are considered the ideal spots to position the product. Another method often used in product photography is the centered composition, which places the product right at the center while the background envelops it.
Also, it’s crucial to remember that the backdrop should never engulf the product. Position the product such that it forms the focal point of the image and the backdrop merely complements it. You must also ensure that the product placement and background don’t clash or confuse the viewer’s sight.
Also read: How to Achieve Stunning Product Photography with Models
Conclusion
Product photography is an ideal blend of science and art. While it’s necessary to have the technical know-how of camera settings, light, and compositions, an element of creativity is equally vital to infuse life into these static products. The backgrounds in product photography are a component of this creative side, enhancing the innate charm of your product while also echoing a story about your brand and its unique personality.
The myriad background options in your armory allow you to experiment and discover what works best for your product. Whether you opt for the simplicity of a monochrome backdrop, the vibrance of a colorful one, or decide to go down the DIY lane, each backdrop has its own tale to narrate. Your task is to employ these backdrops in a way that brings alive their tale, ensuring it merges harmoniously with your product’s tale.
This in-depth exploration of the various background choices aims to spark your imagination and inspire you to explore. Remember, there’s no one-size-fits-all formula here – it’s all about experimenting, learning, and evolving. Happy Shooting!
Frequently Asked Questions
What is the ideal background color for product photography?
The ideal background color for product photography is largely dependent on the product and its intended context. But for e-commerce product images, white is often considered the best choice because it emphasizes the product, making it easier for the shopper by eliminating potential distractions.
How to set up a background for product photography?
Setting up a background involves selecting an appropriate backdrop and placing it behind your product. Ensure it’s wrinkle-free if it’s a fabric. For smooth gradients and to eliminate shadow, allow it to fall onto the surface on which the product is placed, creating a curve.
How to style product photos?
Styling product photos involves arranging your product, backdrop, and any additional props in a visually appealing manner. The styling should enhance the product features, complement it, and align with the brand’s aesthetic. Effective lighting and composition further enhance the styling.
What is a photography portfolio?
A photography portfolio is a collection of a photographer’s best work curated to showcase their style, skills, and versatility. It serves as a visual resume, helping potential clients understand what they can expect from the photographer’s services.