
Have you ever wondered what makes a perfume unique? Perfume is more than just a fragrance; it’s a signature, a personal statement that reflects identity. The scent encapsulates emotions, memories, and moments, telling a story without words.
When it comes to perfume photography, it’s not only about capturing a bottle on a shelf. It’s about showcasing the artistry of the scent and creating an image that evokes the essence of the fragrance itself. The right lighting, angles, and composition are crucial to express the delicate nature of a perfume and its luxurious appeal.
This blog is made to guide you through every step of perfume product photography. From selecting the right equipment to mastering lighting, exploring creative photography ideas, and perfecting your shots with post-production edits, this comprehensive guide will help you elevate your perfume images to match the elegance of the fragrance inside. So, let’s begin!
Choosing the Right Equipment for Perfume Product Photography
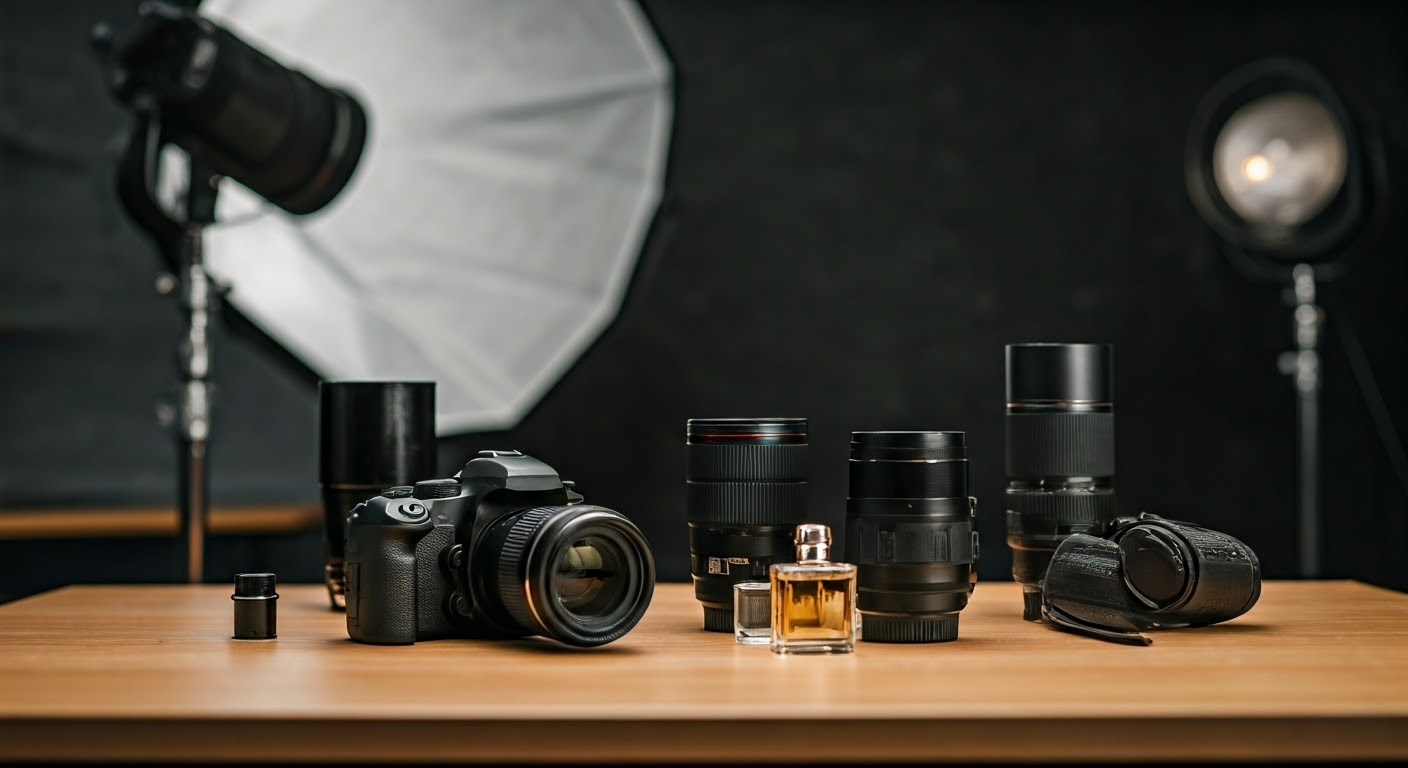
The first and most important aspect of perfume photography entails choosing the right equipment. Quality equipment is the backbone of any successful photo shoot. For perfume product photography, you need a good quality camera, preferably a DSLR, to capture high-resolution images, as well as many other things. In the following sections, we will discuss several pieces of equipment in detail.
1. Selecting the Appropriate Camera and Lens
A professional-grade DSLR camera is the best choice for perfume product photography as it allows a high degree of control over settings like aperture, shutter speed and ISO. Meanwhile, a macro lens is particularly beneficial for precisely capturing minute design details on the perfume bottle.
It enables you to get close to the subject while retaining sharp focus, bringing out nuances that add depth to your images. Hence, investing in a good camera and appropriate lens will immensely enhance the quality of your perfume product photos.
2. Importance of Lighting in Perfume Photography
Lighting plays a pivotal role in photography. In the case of perfume bottles, proper lighting can accentuate the contours, texture and color of the bottle, reflecting its aesthetic appeal. Utilizing natural light can provide a soft, natural look. However, artificial light sources such as softboxes or LED panels are helpful if you shoot indoors or in low-light conditions.
These ensure adequate illumination and allow control over the intensity and direction of light. Hence, mastering the art of lighting setups is essential to capturing stunning perfume photos.
3. Tripods for Stabilization
Tripods are an indispensable tool for stabilization in perfume product photography. They keep the camera steady, ensuring sharp, blur-free images – a crucial aspect when shooting close-ups with a macro lens.
Investing in a good tripod can help you click dozens of good perfume bottles’ pictures that truly shine!
Creative Perfume Photography Ideas and Concepts
The aesthetic appeal of a perfume bottle and its packaging can be amplified manifold by creative concepts and ideas. These concepts can range from utilizing elements of nature, playing with shadows and reflections, capturing the perfume in action, or exploring minimalist or futuristic backgrounds. Let’s delve into how these ideas and concepts can be effectively implemented to enhance your perfume product photography.
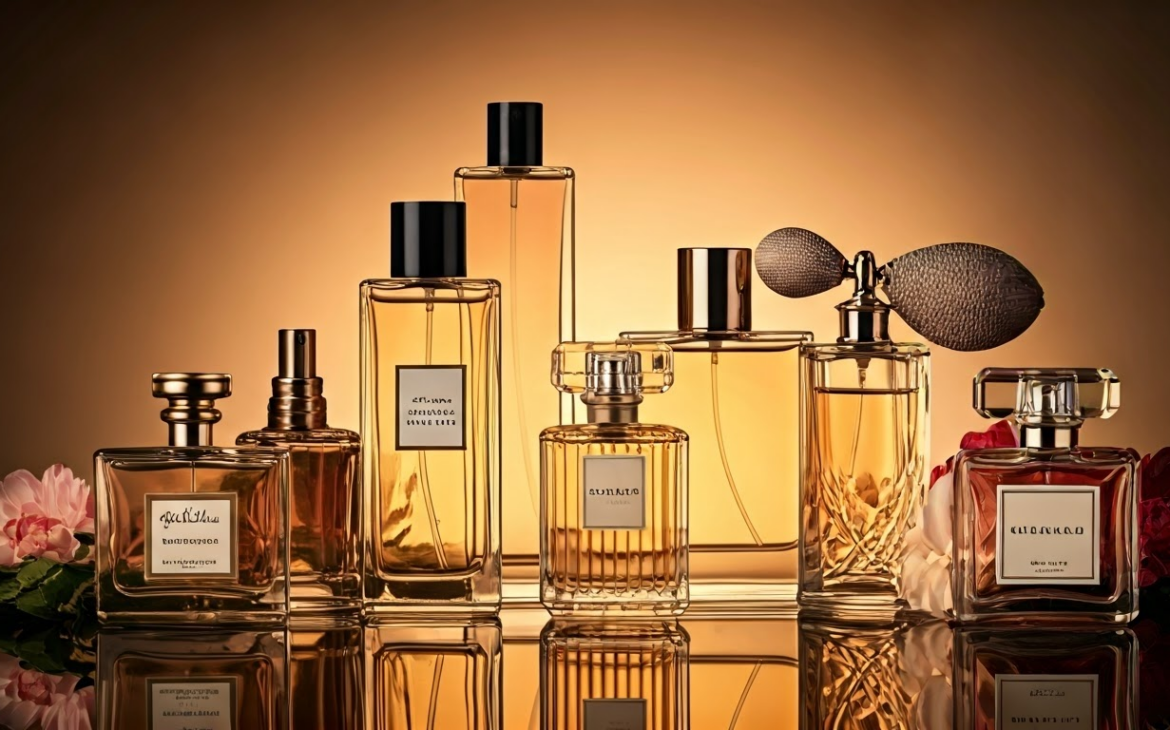
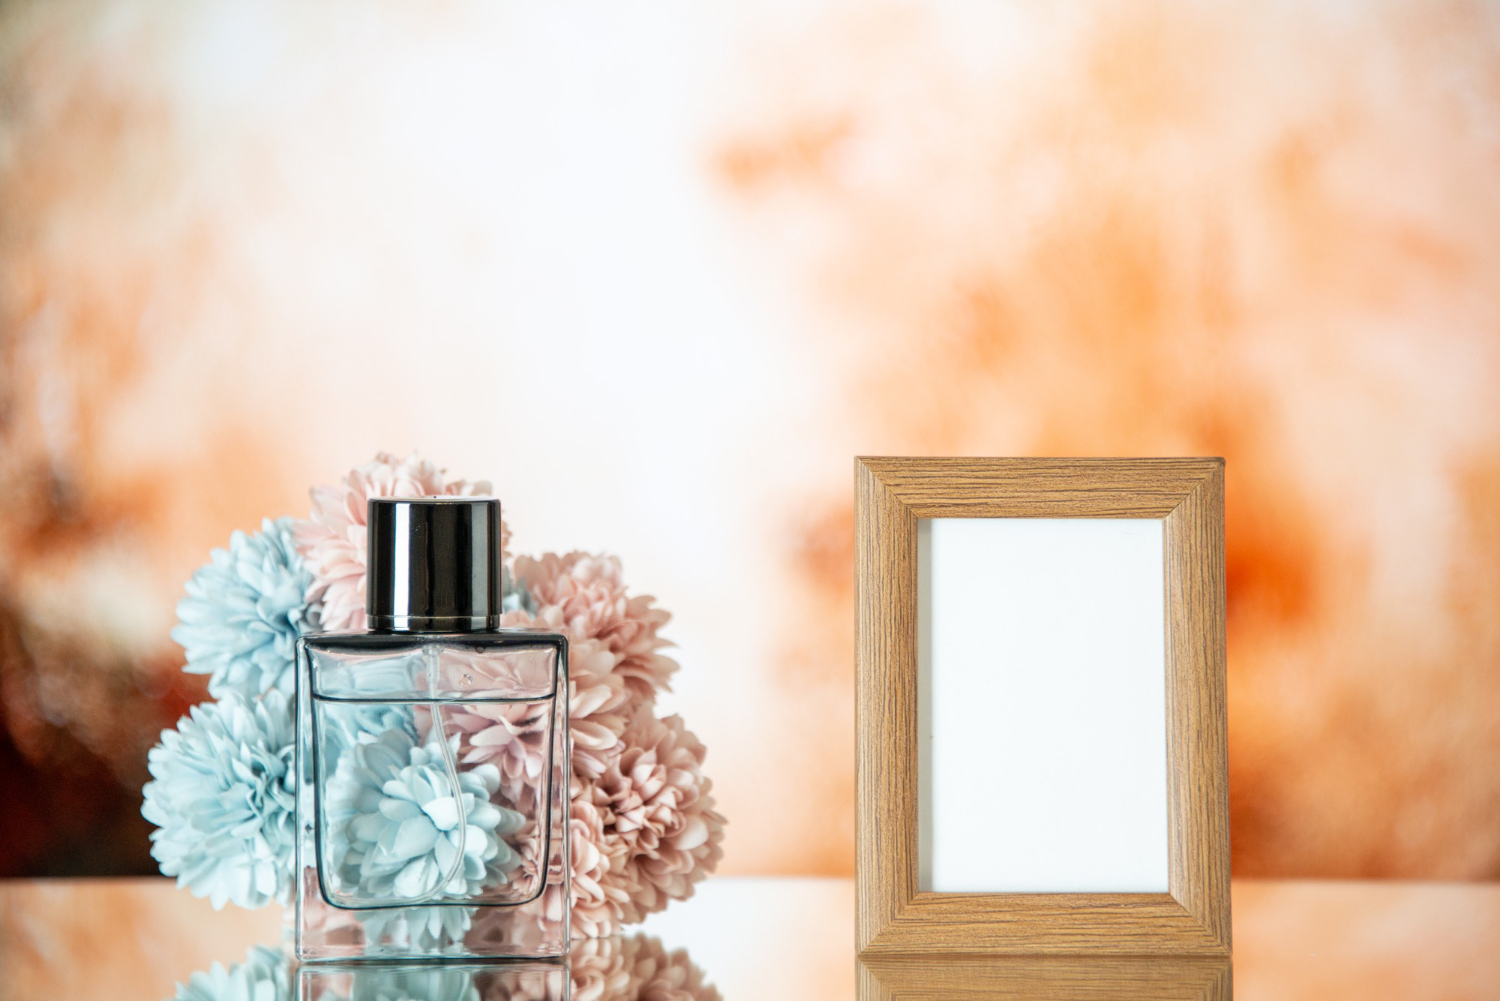
1. Using Nature and Floral Elements
Incorporating natural or floral elements in a perfume photo shoot can create a harmonious connection between the scent and its natural origins.
Some ways to do this include:
- Surrounding the perfume bottle with flowers or leaves that reflect its fragrance.
- Props like seashells, petals or driftwood are used to create beachy or fresh perfume.
- Placing your perfume bottle in natural settings, perhaps on a bed of moss or amidst autumn leaves, to depict a deep, earthy scent.
These additions make photos visually appealing and convey an enticing story about the perfume’s fragrance.
2. Playing with Reflections and Shadows
Effective use of reflections and shadows can add a dramatic touch to your perfume photographs.
Some ways to do this include:
- Mirrors or shiny surfaces can create a fascinating reflection of the perfume bottle, imparting a luxurious and elegant feel to the image.
- On the other hand, manipulating light to cast shadows on the bottle imparts a sense of depth and intrigue.
- A well-captured shadow can define the shape of the perfume bottle and highlight its unique design.
Thus, carefully using reflections and shadows in your perfume product photography can lead to captivating visuals.
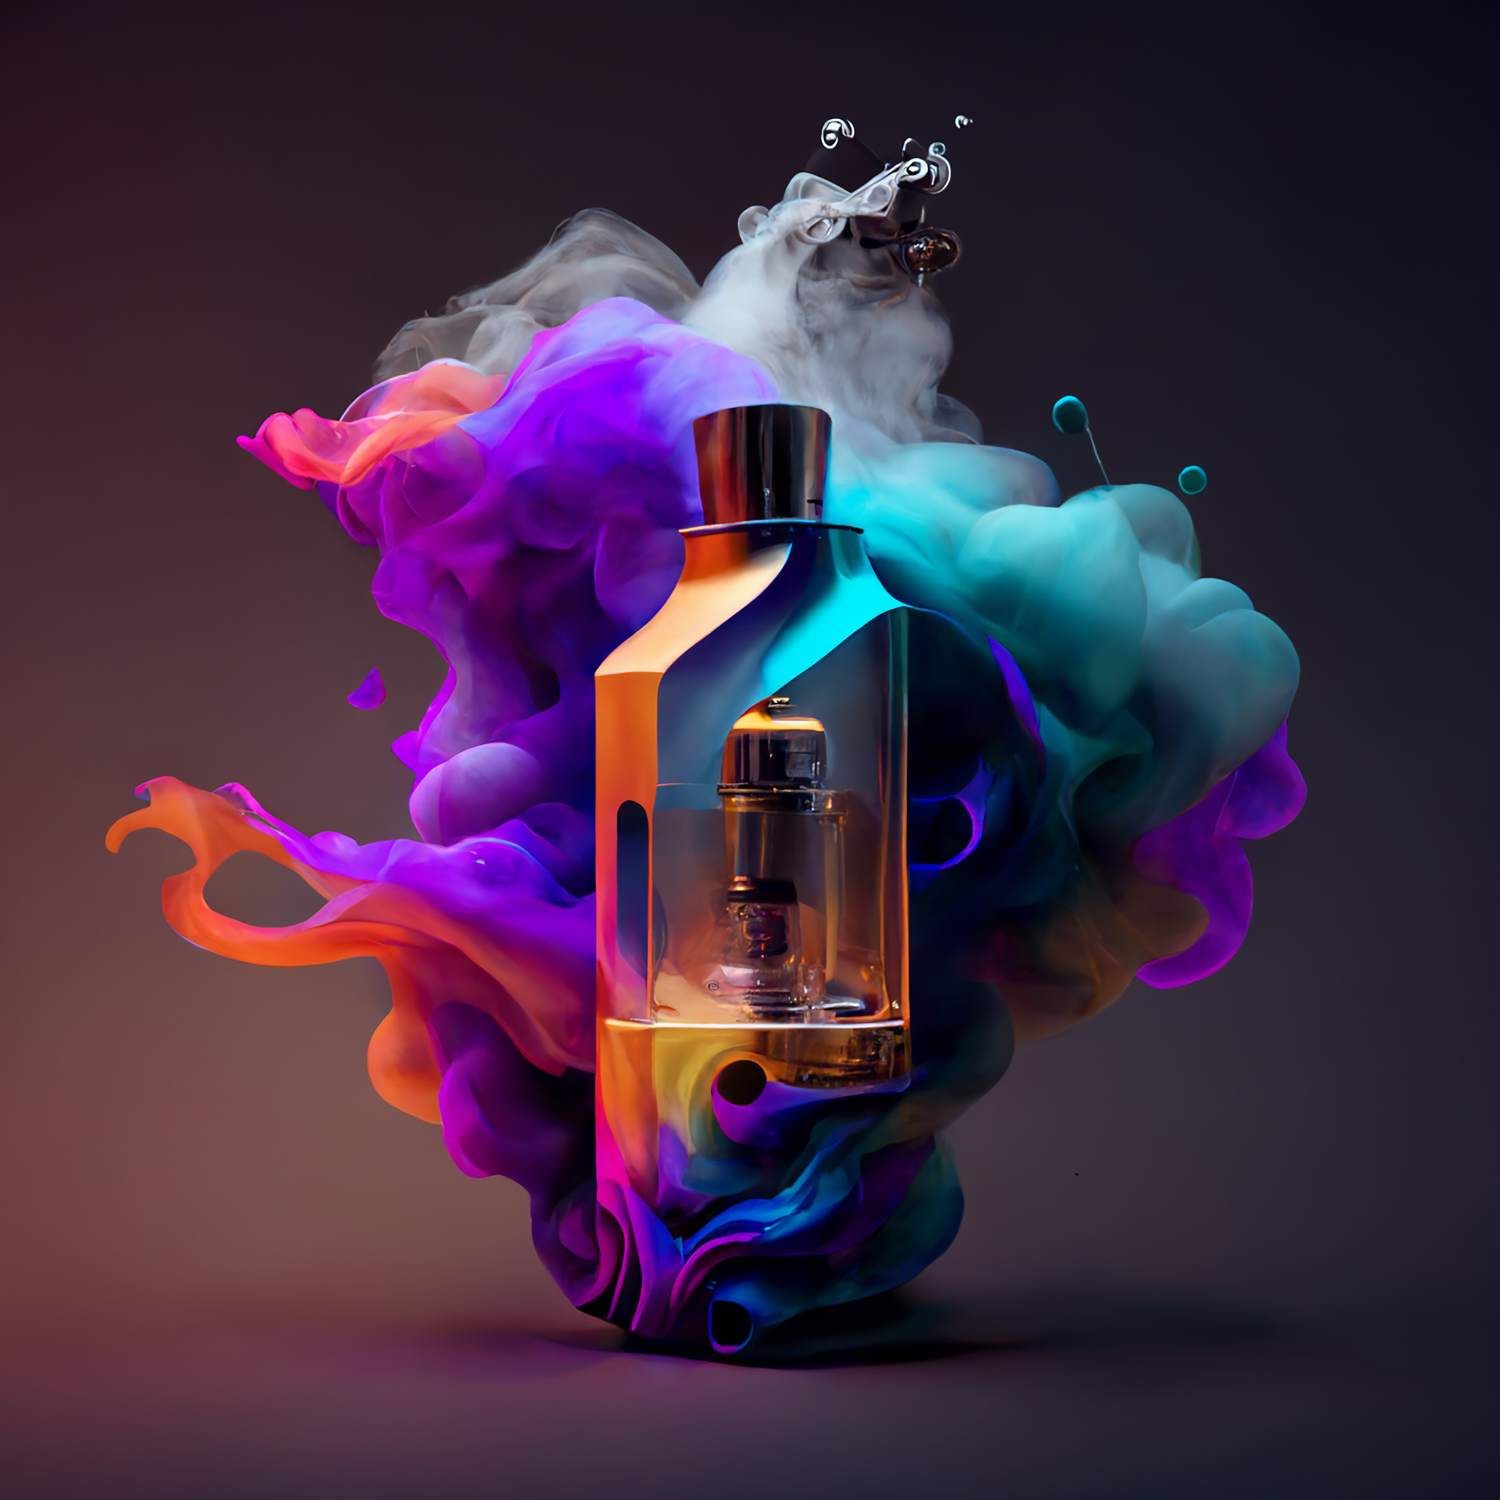
3. Capturing the Perfume in Use or Action
Showcasing the perfume in use or action can create engaging and dynamic images.
Some techniques include:
- Photographing a model applying the fragrance.
- Capturing the mist as the perfume is sprayed.
- Shooting a droplet falling from the perfume bottle.
These actions not only lend motion and dynamism to your still photo but also help potential buyers envision themselves using the product, thus enhancing their buying experience.
4. Exploring Futuristic and Minimalistic Backgrounds
Futuristic or minimalist backgrounds provide a modern and cutting-edge feel to your perfume bottle images.
Some ways to explore backgrounds are:
- Sleek lines, geometric shapes or high-tech elements lend the photograph an innovative and intriguing feel.
- On the other hand, a minimalist approach could involve a plain background focusing solely on the perfume bottle, accentuating the product’s minimalist aesthetic.
Trying hands-on to explore different backgrounds can truly make the photography look aesthetic.
Setting Up the Perfect Scene
A well-set scene lays the foundation for an exceptional perfume image. The process starts with positioning the perfume bottle in the composition, then strategically placing props and arranging them aesthetically. There are various ways to do this, which we shall learn in the following sections.
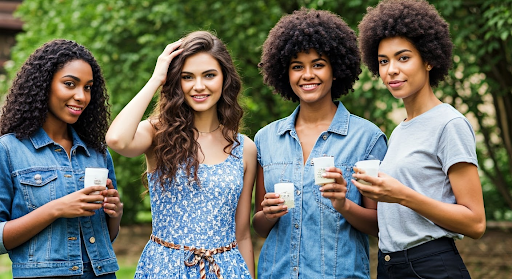
1. Selecting Props and Models
Choosing the right props and models is instrumental to setting up a perfect scene. Props should resonate with the theme or composition, enhance the ambience and add depth to your images. If the perfume caters to a specific demographic, having a model representing that group can induce relatability and connection. For instance, if your perfume presents vibrant, youthful notes, use bright and dynamic props with a youthful model to represent your target audience.
Here’s a breakdown table of types of props and models you might consider:
|
Prop/Model |
Purpose |
|
Flowers |
Evoke the feeling of a floral scent |
|
Vintage Vanity Table |
Impart a nostalgic and elegant feel |
|
Young Model |
Appeal to younger demographic |
2. Properly Arranging and Using Props
Arranging props correctly and aesthetically in your composition is vital to creating a balanced and pleasing image. Each prop should complement the perfume and add visual interest without overpowering the main product.
Props should be positioned strategically around the perfume bottle to improve the overall composition. Layering different elements can add depth and make the image more engaging. Ensure that the props don’t steal the limelight or overshadow the perfume bottle,, which is the centerpiece of the image.
3. Ensuring a Clean and Clutter-free Environment
Maintaining a clean environment is crucial, as any clutter or disruption can create distractions that take the focus away from the perfume bottle. Ensure your shooting space in the studio is tidy and only contains the necessary items.
A clutter-free background also makes the perfume bottle stand out, ensuring viewers’ attention is directed towards the product. Therefore, minimizing the clutter and keeping the setup clean enhances the overall visual appeal of your perfume images.
Perfume Photography Techniques and Best Practices
Mastering perfume photography involves grasping specific techniques and best practices like adjusting camera settings, understanding lighting setups and angles, and executing proper composition and framing techniques. These technical aspects significantly influence the final results of your images and enhance the quality of your perfume product photos. Let’s delve into the various techniques and practices you need to consider.
1. Adjusting Camera Settings
Adjusting camera settings effectively can dramatically change the outcomes of your photos.
Here are some crucial aspects to consider:
- Aperture: Regulates how much light enters the camera. A larger aperture (lower f-stop like f/2.8) creates a blurred background, while a smaller aperture (higher f-stop like f/16) makes more scenes in focus.
- Shutter Speed: Controls how long the camera shutter is open. A faster shutter speed reduces the chances of blur.
- ISO: Influences the camera’s sensitivity to light. Lower ISO results in darker but sharper images.
- White Balance: Helps maintain true colors in different lighting scenarios.
2. Mastering Lighting Setups and Angles
In photography, lighting styles and angles can significantly impact a subject’s appearance. Both natural and artificial lighting can be changed to highlight the design elements of the perfume bottle.
Using diffusers or light tents with artificial lights can distribute light evenly, yielding balanced and well-lit images. Moreover, the positioning of lights at various angles creates gradations of light and shadow that add depth and dimension to your photographs.
Here’s a summary of how lighting and angles play into perfume product photography:
|
Angle / Setup |
Function |
|
Back Light |
Mimics effect of sunlight, ideal far from object |
|
Front-Facing Light |
Directly lights up the bottle, can have several effects |
|
Top Light |
Often diffused for a soft halo around the bottle |
3. Composition Tips and Framing Techniques
In perfume photography, compelling composition and framing techniques can elevate your images’ aesthetics and storytelling capabilities. The rule of thirds can facilitate an appealing and balanced composition, where the perfume bottle isn’t centered but placed at one of the intersecting points on a 3×3 grid.
Conceptualizing the photograph in layers can add depth to the composition while using negative space places focus squarely on the product. Experiment with various angles, such as shooting from above or from a low angle, to offer unique perspectives.
Post-Production and Editing Perfume Photos
Post-production is the final yet crucial phase of perfume product photography. Techniques like retouching, cloning, and image manipulation tools are pivotal in polishing your images, eliminating minor imperfections, and enhancing visual impact. Let’s discuss them further in the following sections.
1. Retouching and Cloning for Imperfection Removal
Retouching and cloning are fundamental post-processing techniques for removing imperfections and distractions from perfume photos. Fine-tuning details like removing any dust particles, fingerprints or scratches on the perfume bottle calls for precise retouching tools like healing brushes or clone stamps.
Cloning, on the other hand, helps eliminate any unsightly elements while preserving the natural look of the image. Utilizing these techniques professionally enhances the overall visual appeal of your perfume product photos, making them pristine and captivating.
2. Enhancing Visual Impact without Sacrificing Authenticity
While post-processing can significantly enhance your perfume photos’ visual impact, staying true to the product is essential. Applying techniques like adjusting color balance, saturation, sharpness, and contrast can heighten the appeal of your images.
However, overprocessing might lead to losing authenticity, making your images look unrealistic or unappealing. Striking a balance is key. Keeping post-processing alterations subtle and natural retains the authentic look of your perfume bottle and enhances its overall visual impact.
Reach Out to Flix Studio: Your Expert Partner for Perfume Photography
At Flix Studio, we specialize in capturing the essence of your perfume through stunning imagery. With a perfect blend of creativity and technical skill, we create photographs that tell the unique story of your fragrance.
From product shoots to captivating social media content, Flix Studio delivers imagery that embodies the luxury and appeal of your perfume. So, let us bring your fragrance to life through expert photography.
Conclusion
Perfume product photography is an art that not only illustrates the aesthetics of a perfume bottle but also unfolds a fragrance’s narrative in a visually captivating way. From choosing the right equipment, utilizing creative ideas and concepts, setting up an ideal scene, and mastering technical aspects to post-production editing – every detail contributes to creating an enticing image that does justice to the fragrance within the bottle.
Using the guidelines and tips mentioned in this guide, you’ll be equipped to embrace the challenge of capturing your perfume’s aesthetic and emotional essence, thereby appealing to potential buyers. The blend of technique and creativity in your perfume product photography journey helps create stunning high quality images that can transform your perfume into a visual, sensory experience for the viewers.
Frequently Asked Questions
What type of camera and lens should I use for perfume product photography?
Using a professional-grade DSLR or mirrorless camera with a macro lens is recommended for perfume product photography. The DSLR offers control over crucial settings, while a macro lens allows for precision in capturing minute details, rendering high-quality, sharp images.
How do I create unique and visually appealing concepts for my perfume photoshoot?
You can experiment with different creative ideas, such as incorporating natural or floral elements, playing with reflections and shadows, or using different angles and minimalist or futuristic backgrounds. Each concept adds a unique visual dimension to your perfume product photos while aiding narrative storytelling through images.
What are some standard lighting setups and techniques for capturing perfume products?
Standard lighting techniques include backlighting for a sunlight effect, top light often diffused for a soft halo around the bottle, and front-facing light to illuminate the bottle directly. Incorporating these techniques can add depth, dimension and visual interest to your perfume product photos.
How can I improve my perfume product photos during the editing process?
Post-processing techniques like adjusting color balance, saturation, and contrast can enhance the visual impact of your images. Retouching tools can aid in removing imperfections, while cloning can help eliminate any unwanted elements. Maintaining subtlety in adjustments ensures the images look enhanced yet authentic.