When shoppers can’t touch or try on footwear, they rely entirely on visuals to assess texture, form, color, and style. If your footwear product photography fails to capture these elements accurately, you’re likely losing potential customers to competitors with better imagery. Statistics reveal that 67% of consumers prioritize high-quality images before making a purchase decision, underscoring the critical role visuals play in converting browsers into buyers.
This blog is your ultimate guide to mastering footwear product photography, helping you overcome common challenges and avoid costly mistakes. Whether it’s perfecting your lighting, finding the right angles, or fixing editing missteps, we’ll cover actionable tips to transform your images. Let’s get started!
Want the Best Results for Your Next Footwear Product Photography? Follow the Tips Given Below!
To capture high-quality footwear images that stand out, meticulous preparation, precise techniques, and thoughtful editing are essential. In this section, we have provided tips for each aspect, starting from cleaning and polishing the shoes to editing and retouching the photos, helping you enhance your product shoe photography and creating visually appealing images that appeal to customers.
Tip 1: How to Prep Your Footwear for Product Photography?
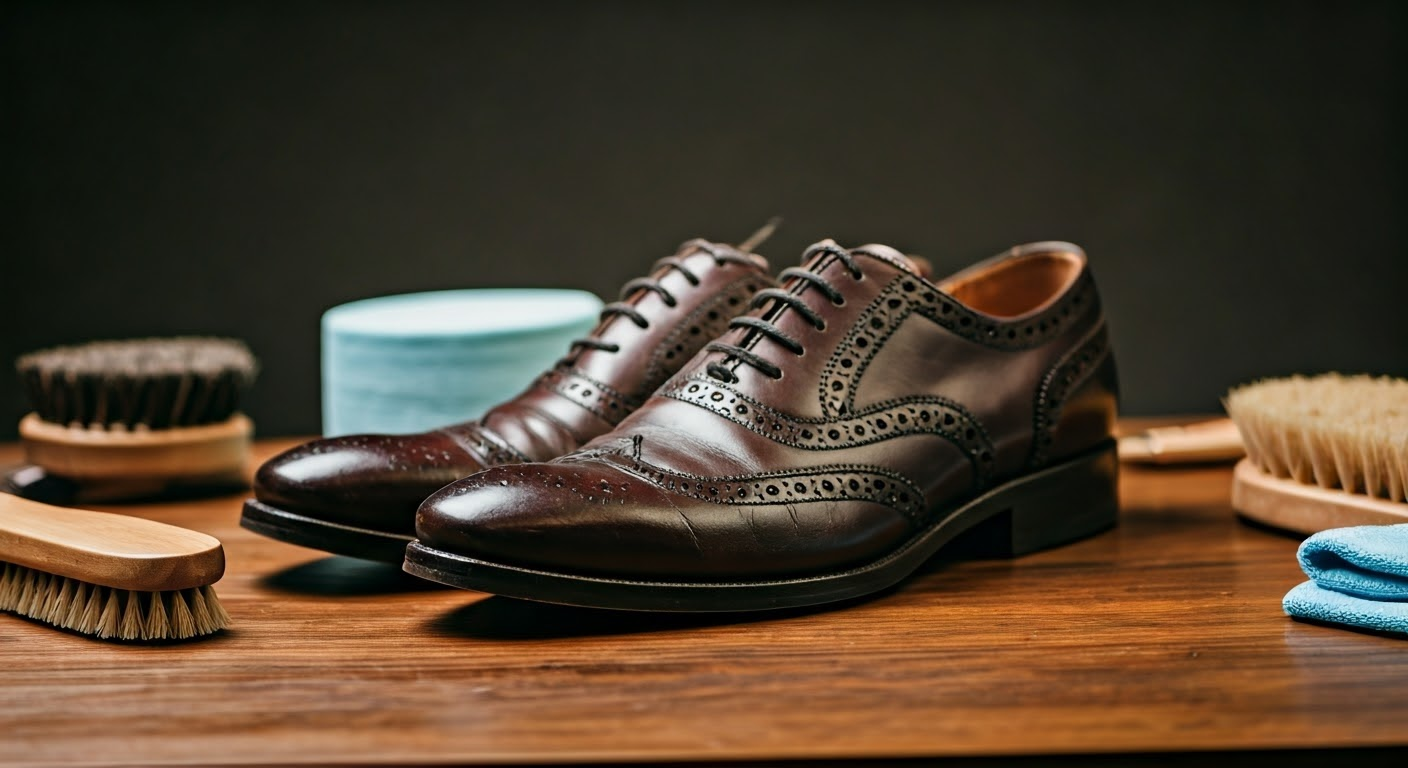
Before capturing stunning shots of your shoes, it’s essential to prepare them meticulously. The process involves making sure your shoes are clean, polished, and in pristine condition. Surprisingly, even small details like removing dust particles or stuffing shoes with tissue paper can make a significant difference in the final image quality. Let’s delve deeper into cleaning and positioning shoes to understand how to do it right.
Cleaning and Polishing Shoes
Even minor stains, scratches, or dust particles will stand out in high-quality photos and potentially distract your potential buyers. Begin with a thorough cleaning process, which includes brushing off the dirt and wiping the shoes with a damp cloth. Invest time in polishing leather shoes to give them a glossy and fresh-out-of-the-box look. For suede and fabric shoes, use a special cleaning solution or a mild soap.
If required, consider bordering the soles with masking tape to prevent them from attracting dust from the floor. You can remove the tape just before the photoshoot begins.
Furthermore, use a brush or an air can to eliminate visible dust particles on the surface of the shoes. Avoid touching the shoes with bare hands as they may leave fingerprints on the clean surface.
Positioning and Props for Shoes
Once the shoes are clean and shiny, the next step is to arrange them for the camera. This involves deciding on their position, orientation, and other accessories or props that might enhance the overall composition of the shot. Use basic supplies like tissue or paper to stuff shoes to maintain their shape during the shoot. This gives a realistic feel to the shoes, as if they are being worn.
Here are a few tips to keep in mind:
- Always position the pair together for a comprehensive understanding of the design.
- Vary the angles to focus on different elements of the shoe design.
- Use neutral props that complement the shoes without stealing the spotlight.
- Arrange the laces neatly, as they can drastically affect the shoe’s overall look.
Tip 2: Choose the Right Lighting Techniques for Footwear Product Photography
Selecting an appropriate lighting technique helps enhance the details, colors, and texture of the footwear, thereby creating a high-quality image that can impress viewers and encourage purchases. The choice between natural and studio light and the use of light modifiers like diffusers and reflectors can depend on multiple factors, including the kind of shoes, the intended mood, and the desired aesthetic. Let’s delve into the specifics of these lighting techniques for shoe product photography.
Natural Light vs Studio Light
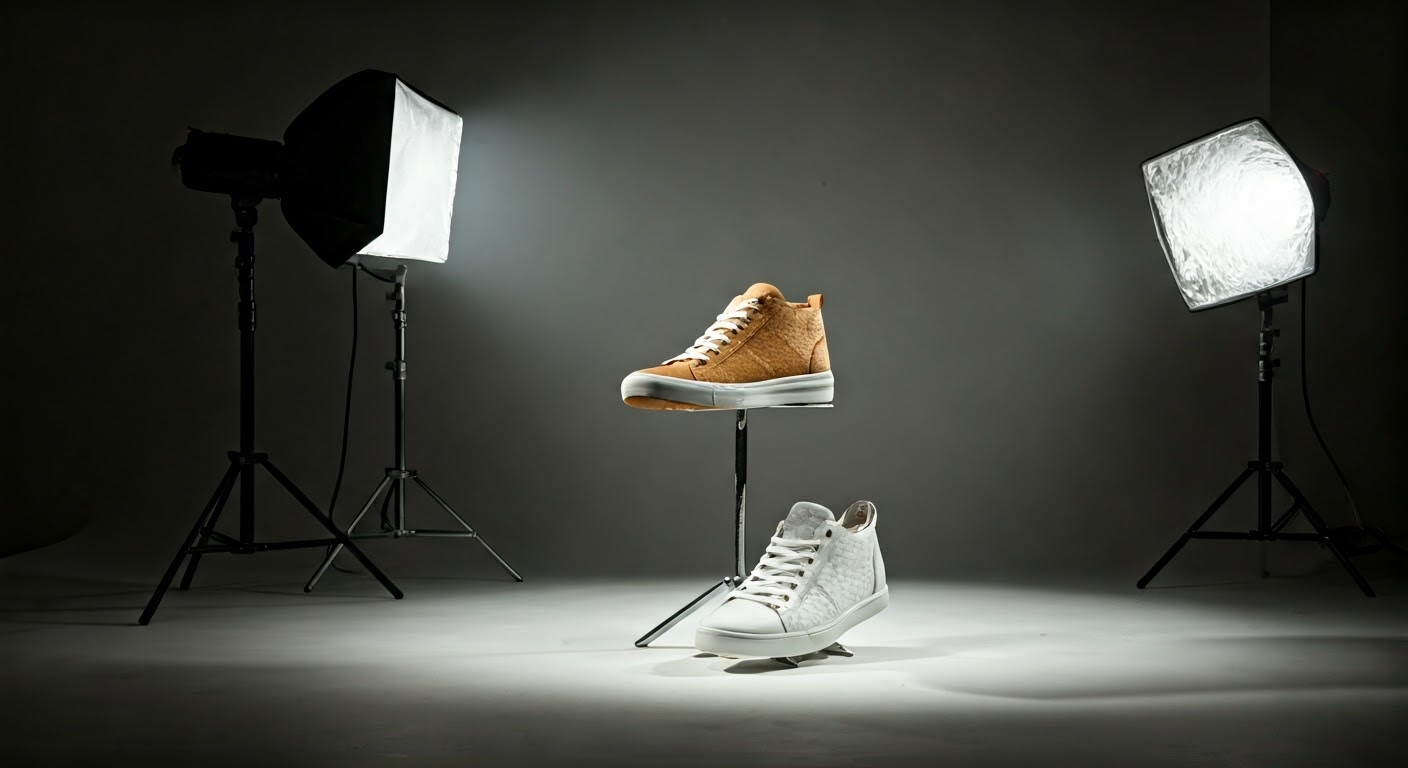
Natural and studio lighting each have distinct benefits and challenges in shoe photography. Natural light, especially during golden hours, creates bright, warm, and textured images ideal for lifestyle or outdoor shoots. It’s free but limited by weather, time, and seasons.
On the other hand, studio lighting offers complete control over light direction, intensity, and color temperature, making it perfect for consistent, predictable product shoots. It enables you to replicate any lighting condition regardless of external factors. However, it requires a clear understanding of shadows and reflections as well as using modifiers like softboxes and reflectors.
Ultimately, choosing between natural and studio light depends on your needs, resources, and desired aesthetic.
Using Diffusion and Reflectors
Lighting in footwear photography relies on managing shadows and reflections, with diffusion and reflection playing key roles. Diffusion softens the light, reducing harsh shadows and bright spots while highlighting shoe textures and details. This can be achieved using translucent materials like frosted glass, fabric, or sheets.
Reflectors enhance luminosity and balance shadows by redirecting light. Properly angled, they illuminate dark areas for evenly lit shots. In natural light, white foam boards or shiny surfaces work as reflectors, while studio setups offer advanced tools for both diffusion and reflection.
Bottom line: mastering the use of diffusion and reflectors can drastically improve the quality of your shoe photos, bringing out their true colors, details, and textures.
Also, read our blog on Essential Tips for Fashion Clothes Photography
Tip 3: How to Choose the Right Equipment for Footwear Photography?
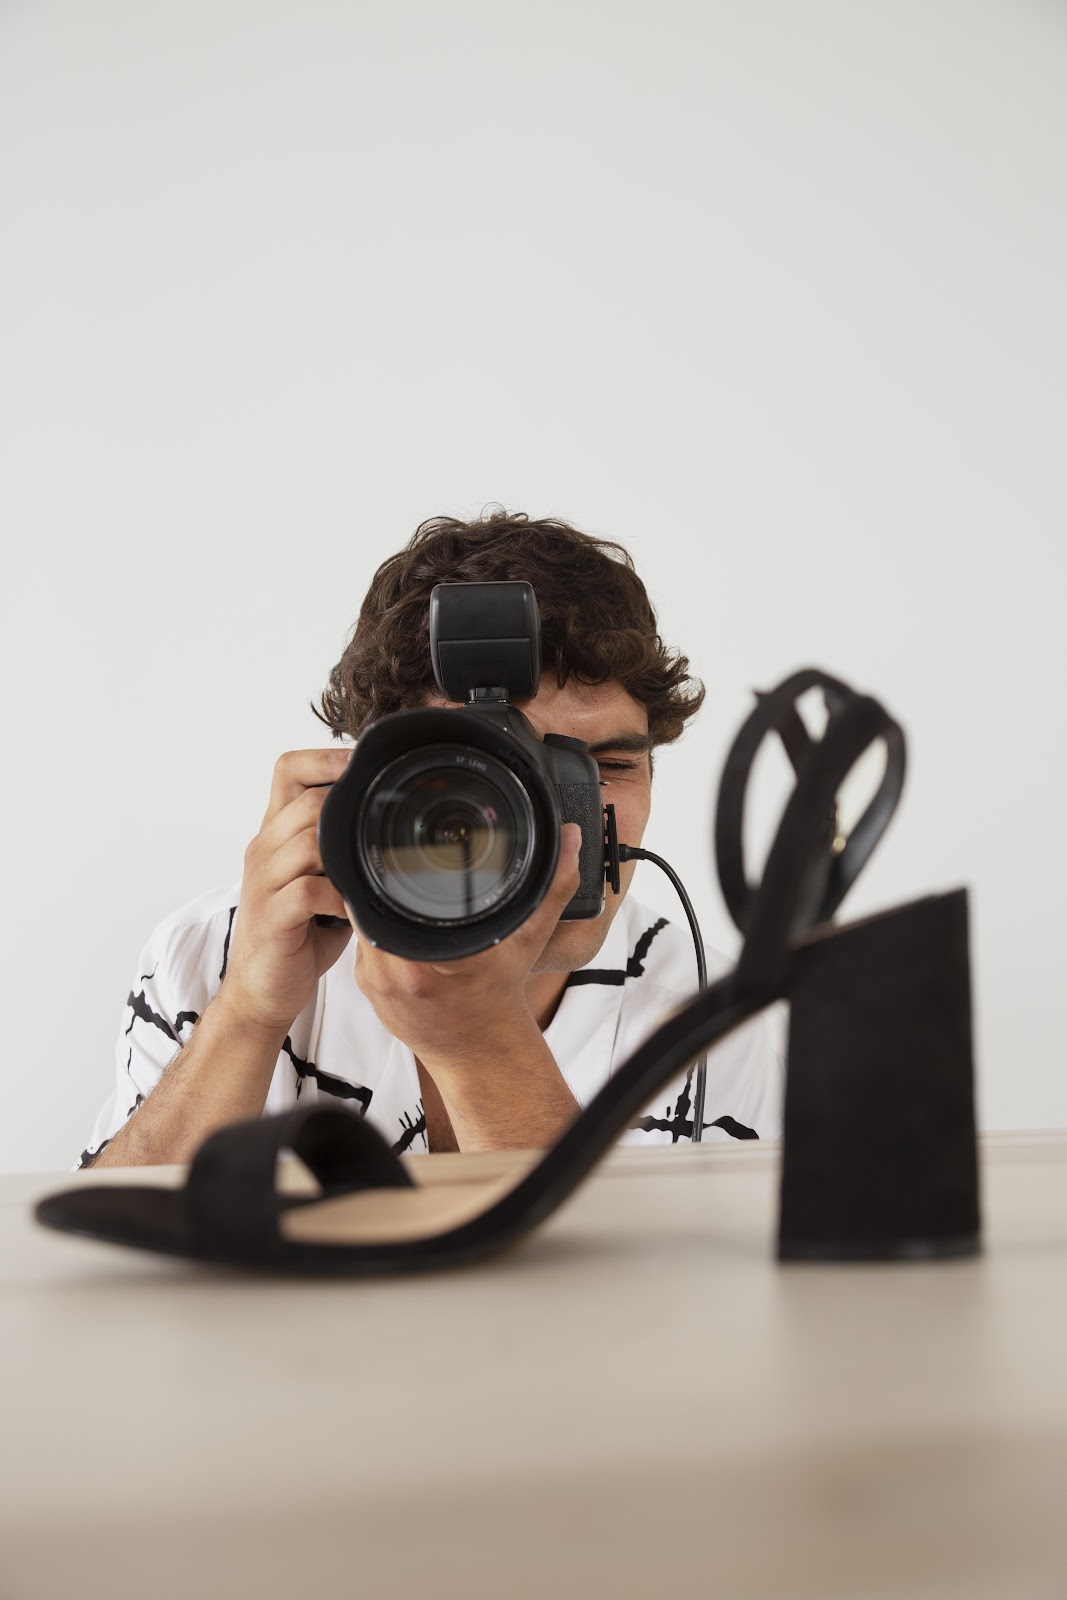
Selecting the right equipment for footwear photography is critical to producing high-quality images. The choice of camera, lenses, and stabilization equipment significantly influences the depiction of a shoe’s details. Let’s help you understand the two critical aspects: Cameras & Lenses and Tripods & Stabilization.
Cameras and Lenses
Several factors to consider when choosing a camera for creative shoe photography include sensor size, resolution, flexibility, and price. A full-frame DSLR or mirrorless camera with a high-resolution sensor can capture detailed and crisp images. For beginners, even a mid-range DSLR camera can produce reasonable results.
For lenses, consider the focal length, aperture, and shutter speed. A lens with a focal length of 50mm or above is generally suitable for shoe photography as it minimally distorts the product shape. A higher aperture (like f/11) keeps the entire shoe in focus. However, avoid lenses that can alter the natural appearance of the shoe.
Tripods and Stabilization
Stability plays a crucial role in capturing sharp and consistent pictures of shoes. It ensures no blurring caused by movement during the exposure time, justifying the investment in a sturdy tripod or other stabilization tools.
A tripod helps maintain consistent angles and distances from the shoes across multiple shots. When shooting from varied angles or doing repeated shoots, having a tripod becomes all the more important. It allows free movement of your hands and the liberty to operate your lighting systems efficiently.
Additionally, some tripods come with an adjustable head that offers flexibility in angling your camera, from straight-ahead shots to overhead images. Consequently, it can significantly improve your footwear photos’ production efficiency, quality, and consistency.
Tip 4: Backgrounds and Set Design for Footwear Product Photography
A suitable solid background complements your shoes, enhances their visual appeal, and directs customers’ attention towards the product. Neutral or white backgrounds are generally preferred, but one can explore other backgrounds depending on the brand aesthetic, shoot type, and the platform where images will be posted. Let’s examine how you can select the right background and create engaging set designs for your shoe photography.
Selecting the Right Background
Choosing the right background is crucial as it sets the tone for the image and accentuates the product’s features. A clean, single-color background is often preferred for footwear product photography as it minimizes distractions and highlights the footwear.
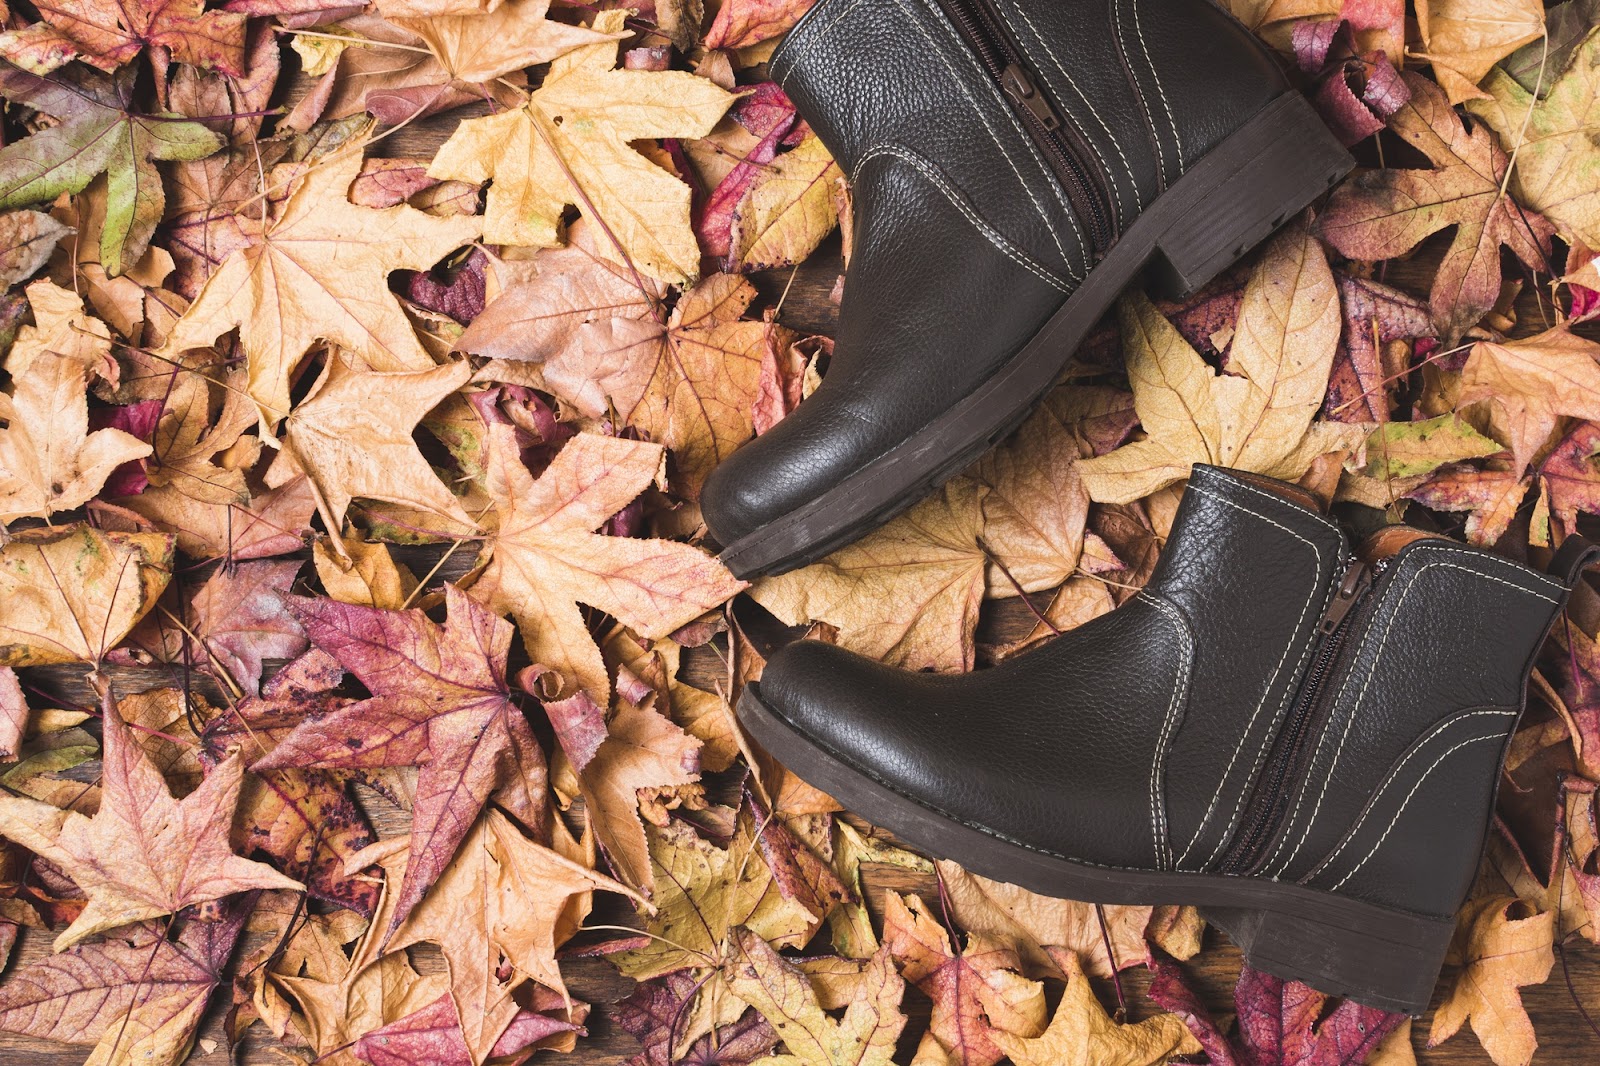
However, other neutral or pastel colors can work well based on the shoe style or brand’s personality. For instance, leather shoes might stand out on a grey or brown background, while colorful sneakers could look great on a pastel backdrop.
If doing lifestyle shoots, ensure the background resonates with the brand story and context. For instance, running shoes could be photographed on a running track or natural trails, whereas formal shoes could be shot against a classy urban setting or a minimal indoor scene.
Creating an Engaging Set Design
A well-thought-out set design can evoke emotions, tell a story, and create a contextual environment for your shoes.
In product-focused shots, props can be used sparingly to add depth or introduce color but should never distract from the shoes. For instance, a water bottle, towel, or sportswear could be appropriate for athletic shoes or sneaker product photography.
On the other hand, in lifestyle shots, consider the narrative you wish to tell. Is it about luxury and elegance, youthful energy and activity, comfort and everyday use, or rugged outdoor adventures? Design your set accordingly by choosing appropriate props, colors, locations, and models (if applicable).
Read: Type of Fashion Photography: A View on 9 Different Types
Tip 5: Capturing the Perfect Angles and Perspectives
Understanding the best angles and perspectives for shoe photography is a game-changer. It is important to highlight different aspects of the shoe, such as its shape, size, thickness of sole, texture of material, etc., from various angles. This makes the customer feel like they’re viewing the shoe in person. Let’s go through the tips for the best quality product photography.
Read: Capturing the Best Shots: Apparel Product Photography Guide
Ensuring the Footwear is in Sharp Focus
Maintaining sharp focus is a vital aspect of shoe photography. It ensures product clarity, enabling the customer to appreciate the finer details, thereby making an informed decision. The focus should primarily be on the shoe’s key features – its design, material, and unique elements.
You need to adjust the camera settings correctly to ensure a sharp focus. Use a smaller aperture (higher f-number) to increase the depth of field, ensuring more of the shoe is in focus. You can also activate autofocus mode on your camera and use a focal length lens for assistance.
Remember, while artistic images with soft or selective focus might look aesthetic, they may not serve well in eCommerce, where customers demand detailed and sharp product images. So, prioritize clarity and sharpness over artistic effects to increase your product’s appeal and trustworthiness.
Highlighting Unique Shoe Characteristics
Every shoe has unique characteristics that distinguish it from others. This could be a distinctive design element, a logo, special lacing, unique soles, quality of material, or an exclusive color combination. Identifying and highlighting these unique characteristics in your photos is key to capturing the customer’s attention and differentiating your product.
You can bring these unique features into focus by choosing the correct angle, using proper lighting, or doing close-up shots. For instance, if there’s intricate detailing on the side, an angled shot could be beneficial. Or, a shot from the ground up could help for interesting soles.
Utilizing a Shallow Depth of Field
A shallow depth of field refers to a technique in photography where a specific part of the photo is sharply in focus while the rest of the image is blurred. This technique can be employed skillfully in shoe photography to highlight specific design elements or features while softly blurring other non-essential parts or the background.
It’s significant to note that achieving the perfect shallow depth of field requires a good understanding of camera settings, particularly the aperture. For this effect, use a larger aperture (smaller f-number), which reduces the depth of field and creates a blurrier background.
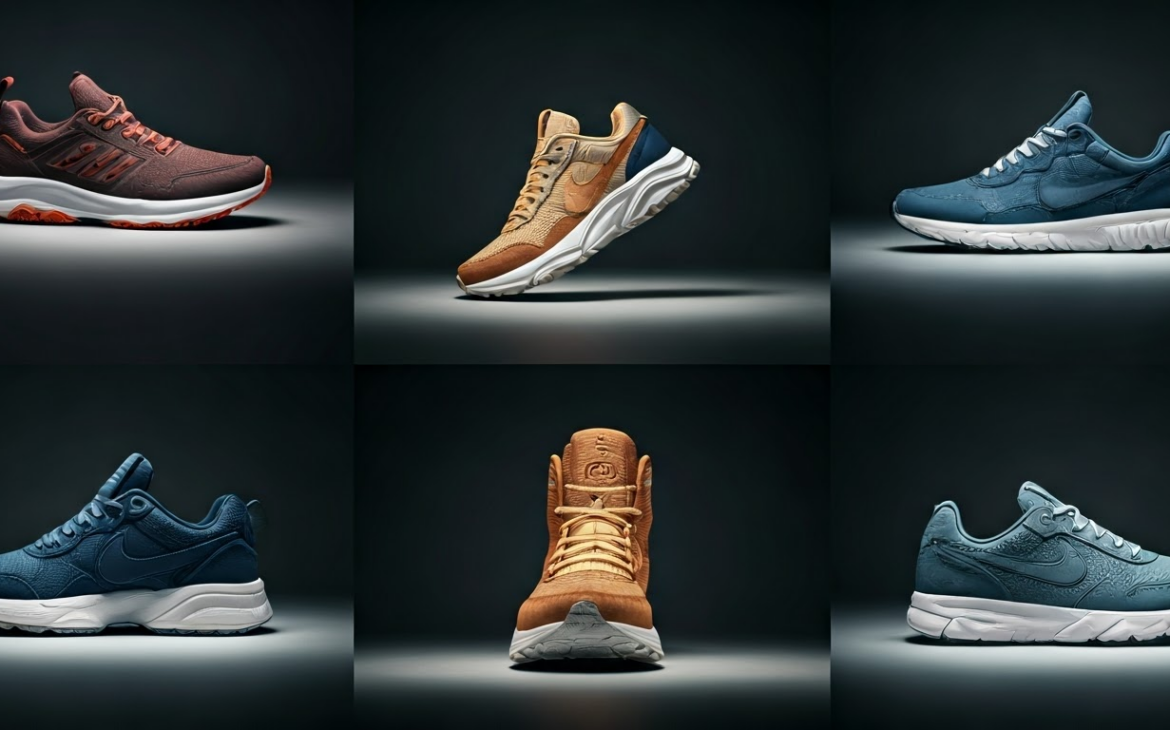
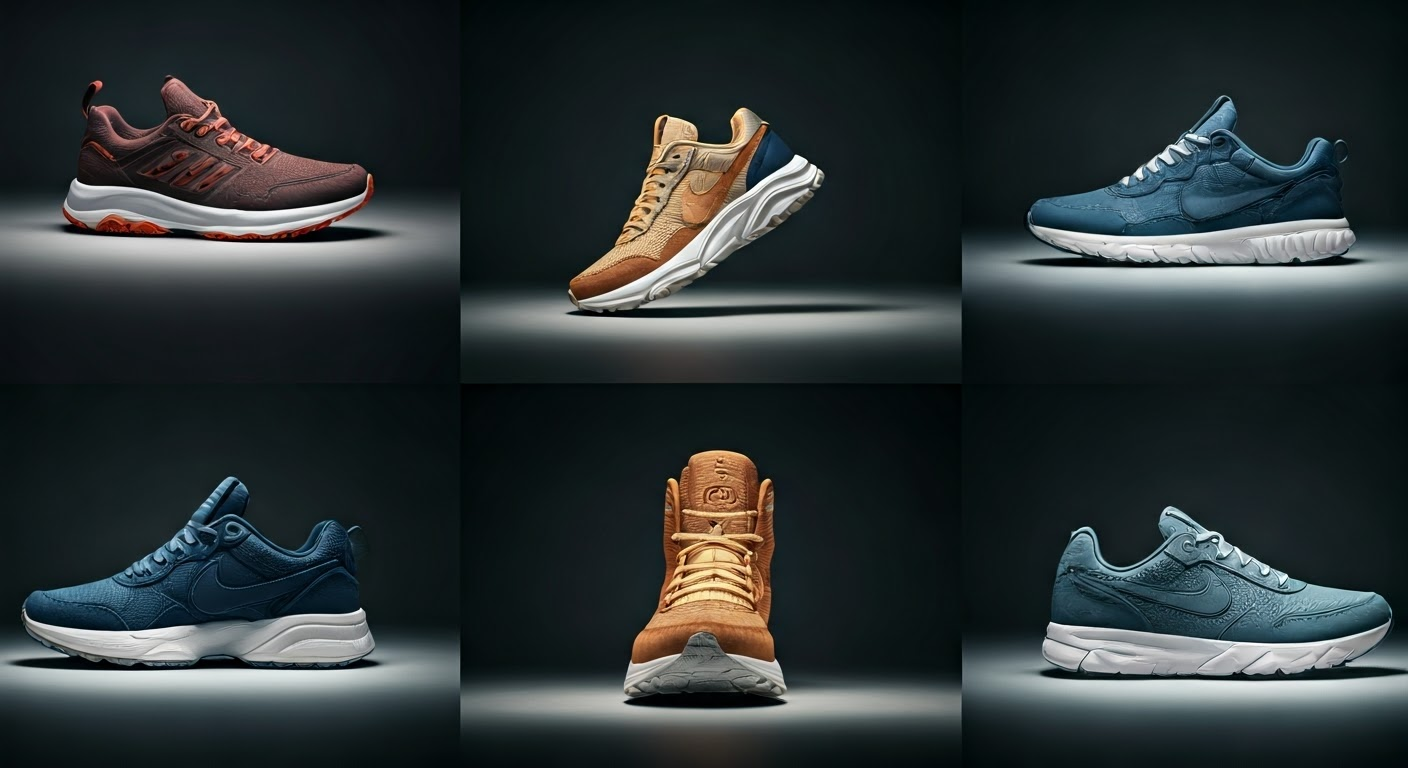
Variety of Angles for a Complete View
Photographing shoes from a variety of angles is crucial for eCommerce success. A single-angle shot (a side view or profile shot) might not be enough to provide a complete picture to potential customers. Instead, offering different angles, including 3/4 shots, front and back shots, and top-down perspectives, can give customers a well-rounded view of the product.
- 3/4 shots (where shoes are turned slightly toward the camera) offer a great diagonal view showcasing both the side and top of the shoe.
- Front angle shots highlight the toe box area and reveal whether the shoe has a pointed, round, or square front.
- Top-down views display the full design on the top of the shoe, while back shots offer a look at the heel height and design.
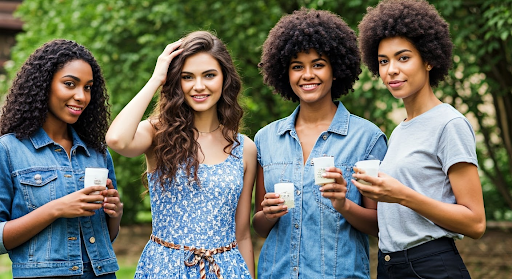
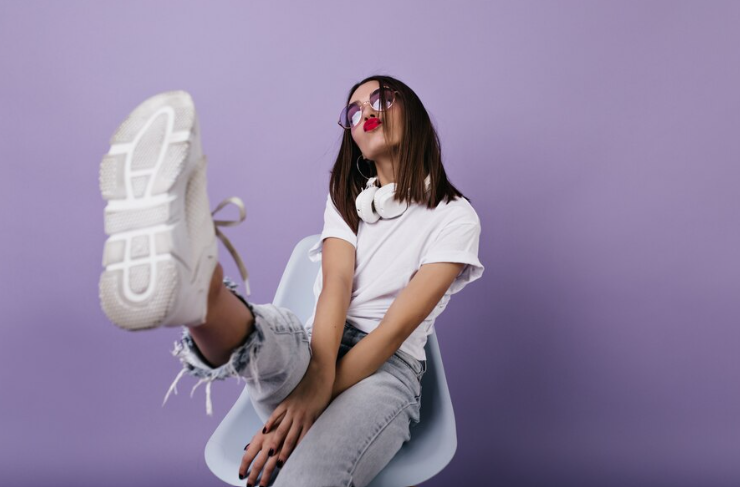
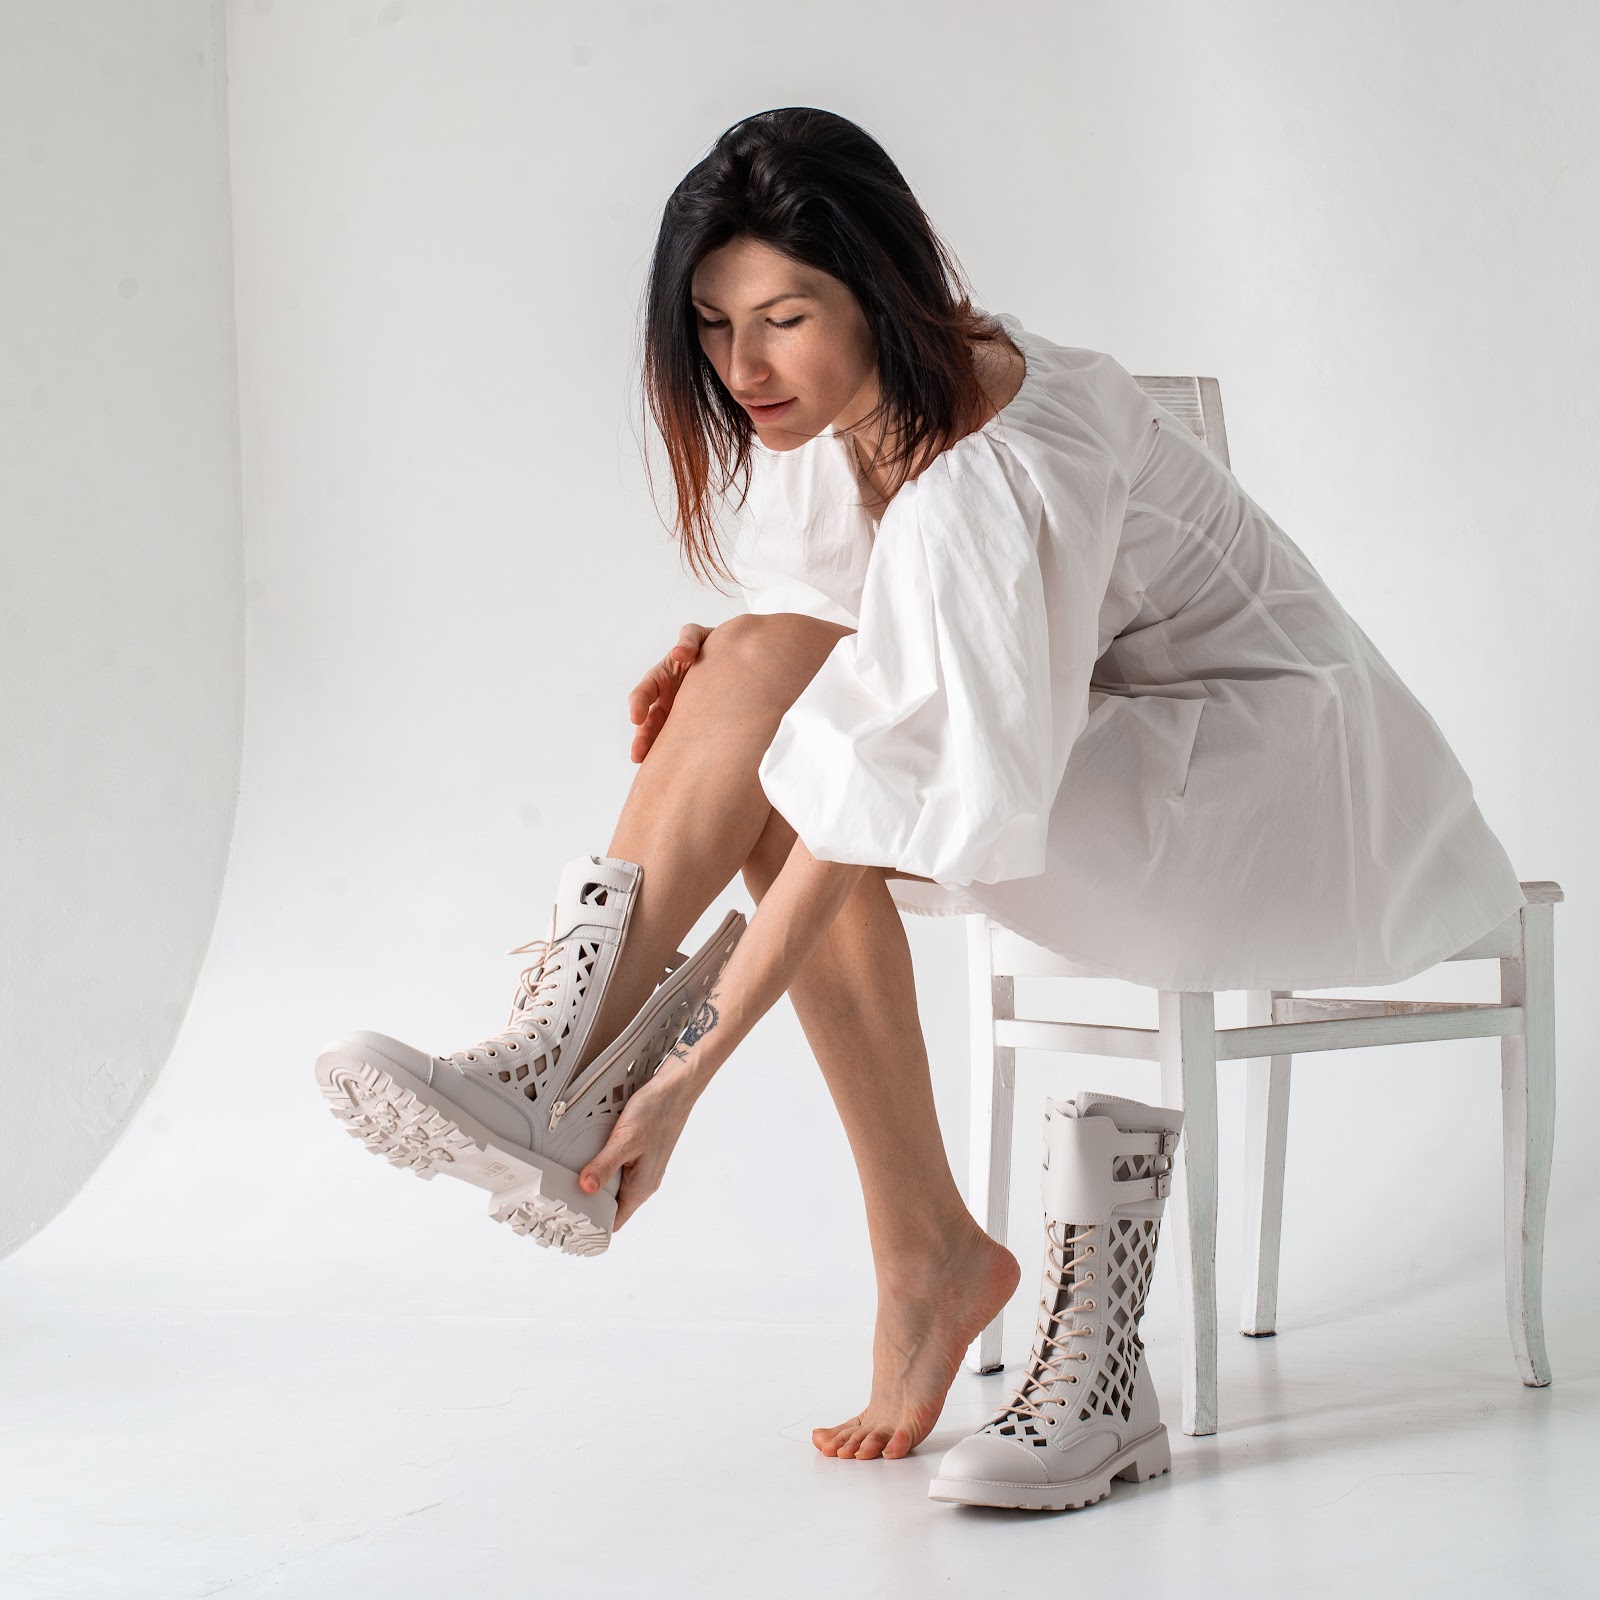
Utilizing Shoe Model Poses for a Human Touch
Standalone shoe photos offer clear detail, but adding a model helps customers envision wearing the shoes. Model shots provide context, show scale and fit, and add a personalized touch to product-centric images.
Ensure that the model’s pose complements the shoe style and suits your brand’s overall aesthetic. For athletic shoes, consider action poses like walking or running. For formal shoes or heels, standing or seated poses might work best. Consider shooting both close-ups of the feet (to focus on the shoes) and full-body images (to show the footwear in the complete outfit perspective).
Tip 6: Post-Processing and Editing Tips
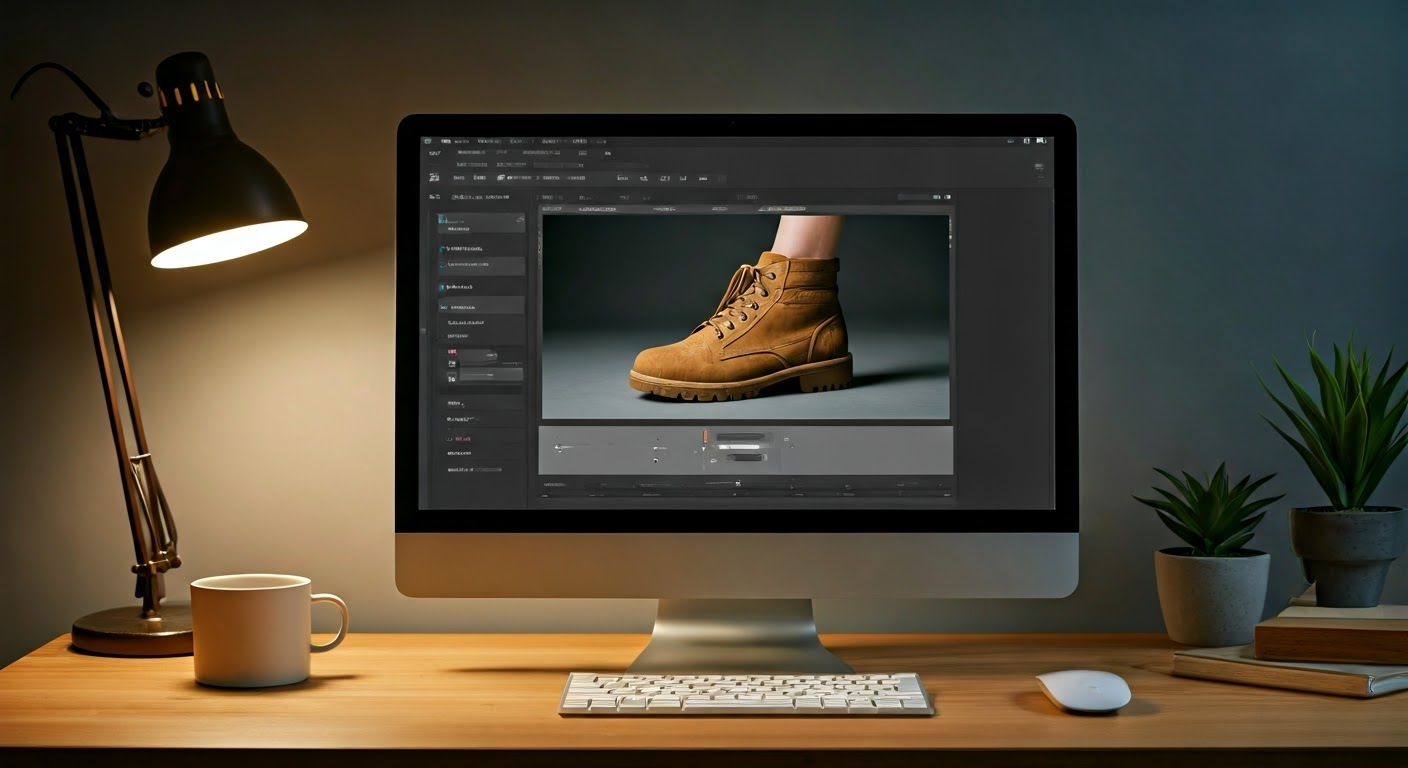
Even with precise preparation, quality equipment, and correct shooting techniques, footwear images often need some finishing touches after the shoot. Here are a few post-processing and editing tips to help you enhance the image quality, correct minor flaws, adjust the shoes’ color to be more accurate, and present them in the best possible light.
Adjusting Exposure and Contrast
Exposure adjustment helps to ensure that your photo has the right amount of light, neither appearing too dark (underexposed) nor too bright (overexposed). Overexposure often causes loss of detail, especially for lighter-colored shoes, while underexposure can hide the actual shoe color and intricate design details.
Contrast adjustment, on the other hand, improves color differentiation. It makes the darks darker and the lights lighter, thereby highlighting minute details. For instance, with colored shoes, a slight increase, in contrast, can make the colors pop and look more vibrant.
Post-processing software like Adobe Lightroom or Photoshop offers easy-to-use tools to make these adjustments. However, always remember that over-editing can make the photos look unnatural.
Retouching Imperfections and Cleaning Up Images
Retouching is an integral part of post-processing, aiming to fix any apparent imperfections and polish your image for the final display. This process is exceptionally crucial for eCommerce as you want your product to appear desirable yet believable.
Start by zooming into your image and identifying any flaws – spots, scratches, dust particles, some untrimmed threads, or uneven texture. Tools like the clone stamp, healing brush, and patch tool in Photoshop can be beneficial in removing such imperfections.
The cleanup stage often involves removing unwanted distractions from the image. This could mean cropping out some additional space, cleaning the background noise, or even replacing the background.
What are Some Common Mistakes and How to Avoid Them?
Just as knowing effective techniques can improve your footwear photography, being aware of common mistakes can help you avoid them. A clear understanding of the potential pitfalls can save you time and effort, ultimately helping create shoe photographs that appeal to your customers and accurately represent your products. Let’s delve deeper into the common mistakes and how to evade them.
Dirty or Poorly Cleaned Footwear
A common mistake in footwear photography is neglecting to clean the shoes properly before the shoot. Dirty or poorly cleaned shoes can make your image appear unprofessional and may even dissuade potential customers.
How to Avoid: You can create a detailed checklist for prepping the shoes, including cleaning, polishing, checking for any minor flaws, and stuffing them to make them look filled. This will not only enhance the quality of your photos but also reduce the time spent on retouching them later.
Inconsistent Lighting and Angles
Inconsistent lighting and angles create an unprofessional look, misrepresenting shoe colors and details. Random angles can confuse customers about the design and disrupt their shopping experience.
How to Avoid: Plan your lighting setup and camera settings before the shoot to ensure consistency across all images. Decide on the key angles that best show off your product, and stick to them for every pair of shoes. Consistency is key to providing a cohesive and enjoyable shopping experience to your customers.
Overlooking Important Details
In focusing on the overall look, some photographers may overlook essential details. However, it’s these unique features that make a shoe stand out and appeal to customers. Missing them can lead to lost opportunities to showcase what sets your product apart.
How to Avoid: Spend time examining the footwear before the shoot to identify its unique features – it could be anything from a logo, special lacing, or unique texture to an exclusive color combination. Make sure you have detailed shots highlighting these unique elements and offering customers all the visual information they need to choose your product. Don’t miss out on capturing the value of your footwear.
Improper Composition and Overediting
Poor composition can make your footwear photos appear unbalanced, while overediting can make the shoes look unnatural or different from their true appearance. Both can negatively impact the aesthetics of the image and mislead customers, leading to disappointment and potential product returns.
How to Avoid: Follow composition guidelines like the rule of thirds or golden ratio to frame footwear attractively. Keep the shoe as the focal point, with minimal distractions. In editing, focus on enhancing rather than dramatically altering the image. Ensure colors, shapes, and details stay true to the product.
Neglecting Human Element
While photographs of standalone shoes play an essential role in showcasing the product in detail, neglecting to include any shots with human models can be a mistake.
How to Avoid: Simple images of shoes worn by models can significantly enhance appeal by helping customers visualize themselves wearing them. Carefully select models, keeping diversity and inclusivity in mind, and ensure their styling aligns with your footwear and target audience.
Also, read our blog on Unlocking 9 Latest Fashion Photography Trends in 2024
Why Should You Choose Flix Studio for Your Next Footwear Product Photography?
Choosing the right partner for your footwear product photography can significantly elevate the quality of your images, making your shoes look not just desirable but irresistible. Flix Studio is one such competent partner that you can rely on. With our expertise in product photography, state-of-the-art equipment, and a team of professionals, we provide top-notch photography services tailored to your unique needs.
With an impressive portfolio of satisfied clients and years of experience, Flix Studio’s commitment to quality and detail can give your footwear the attention it deserves and enhance your online marketplace presence. So, why wait? Make your products shine with Flix Studio’s professional product photography services!
Conclusion
Mastering footwear product photography involves much more than point-and-shoot. It requires an acute understanding of both the product’s unique characteristics and the technical aspects of photography. From meticulous preparation and strategic lighting to post-processing and editing techniques, each step plays a crucial role in producing exceptional visuals that will capture your customer’s attention and heart.
Furthermore, avoid the common mistakes highlighted above and keep experimenting with different styles, lighting conditions, and compositions to uncover what works best for your product.
Last but not least, don’t hesitate to seek professional help if you feel overwhelmed. After all, great shoe photography is a worthy investment that boosts your brand image, product appeal, and, ultimately, sales!
Frequently Asked Questions
How can I make my footwear photos stand out in online marketplaces?
Ensuring high-quality images highlighting unique shoe details, using various angles for comprehensive view, smart composition, and correct lighting techniques can make your footwear photos stand out. Also, adding a human element with model shots and engaging in effective post-processing can significantly improve the impact of your photos.
Does the color of the shoes matter while photographing them?
Yes, the color of the shoes plays a critical role in how they’re perceived in photos. Different colors reflect light differently, which can affect the image’s exposure. It’s also essential to faithfully represent shoe colors in photographs, as inaccurate colors can lead to customer disappointment and returns.
How important is post-processing in footwear product photography?
Post-processing is vital in footwear product photography. It enhances image quality, corrects minor flaws, and accurately presents the shoe’s color, making it ready for online display. The process includes adjusting exposure and contrast, retouching imperfections, and removing unwanted elements or changing the image background.
What is the best lens for shoe photography?
The choice of lens in shoe photography largely depends on specific requirements. However, a lens with a focal length of 50mm or above is recommended as it minimally distorts the product shape. Practicing with different lenses can help you find what works best for your product.
Should I use a model for footwear product photography or just shoot the shoe itself?
Incorporating a human element through models can provide context and make the images more relatable. However, standalone shots of shoes are essential to showcase the product in detail. Ideally, a mix of both model shots and product-focused shots would give customers a well-rounded view of your shoes.